
They aren’t scanned fabulously, but heck, you get how they work. These WILL be posted on my Eastern Roman Garb page as well, but I wanted to get these on a blog page and tagged for searchability as I plan a better layout for the current page, but this is a huge step in the content direction.
HERE GOES.
Also, let’s try to start using the Greek terms, Kamision and Delmatikion, for Tunica and Dalmatica respectively to help disseminate Greek over Latin.
Anna’s Quick n’ Dirty Byzantine Kamision (tunica) and Delmatikion (dalmatica) Patterns!
These patterns are pretty self-explanatory for folks that are used to basic medieval clothing. Byzantine garb is basically all t-tunics, with only a few minor twists. The biggest issue is really the width of your fabric allowing for the nice curved underarm seam, that’s about it. These blocks are not the be-all-end-all ways to make these garments, but rather one interpretation to show you the pieces needed. Once you get a handle on the basic construction, all that’s left is embellishment and sleeve variations.
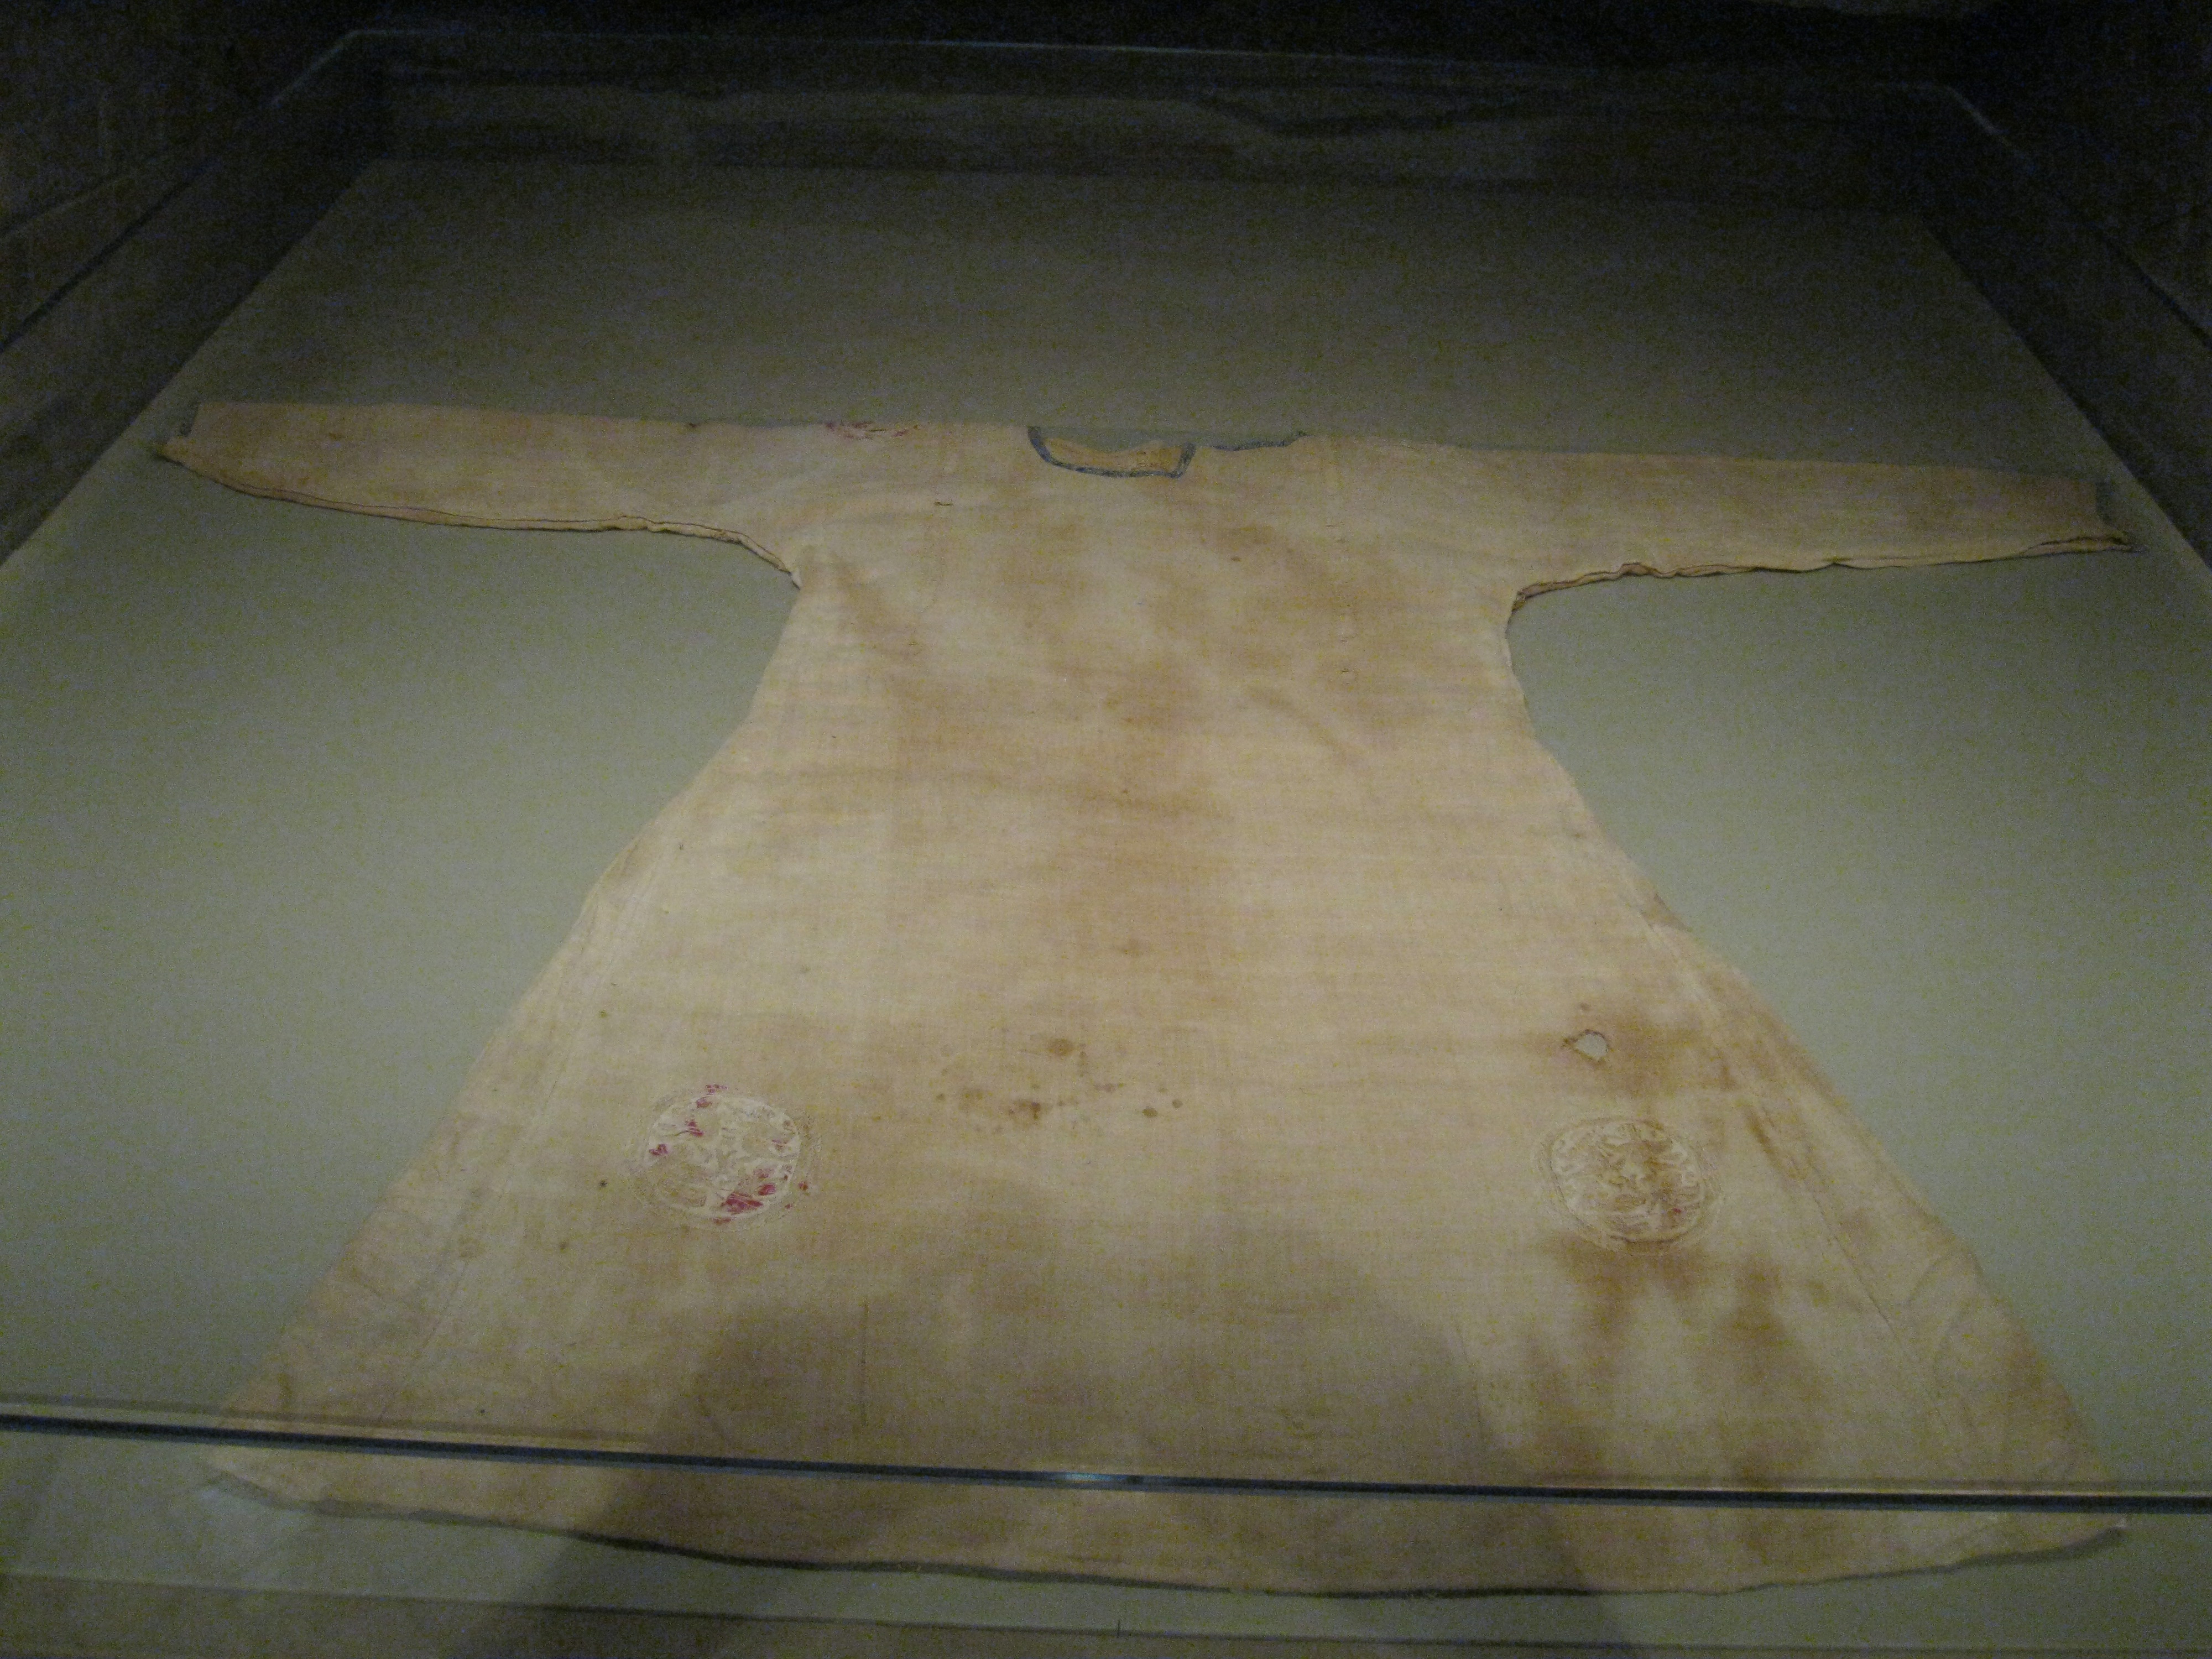
My pattern is based off of the 7th Century tunic in the permanent collection “Under the Stairs” at the Metropolitan Museum of Art in New York City.
Kamision (Tunica) instructions:
Recommended fabric: linen or very light wool
Recommended yardage: 4 yards of 60” wide
First, assess your fabric, and see if you can use this pattern layout, note the positions of the folds. This pattern is not to scale, and the average sized person may not have enough extra fabric on the sides to warrant the inclusion of the gores. This is okay, as they can be cut separately.
A breakdown of the measurements you will need as laid out in the patterns, they DO NOT include seam allowance:
A: Tunica length. Measure from the nape of your neck to where you want the tunic to end.
B: 1/4th Chest measurement + ease. Typically what I do is take a chest measurement, divide it by 2, add 2 inches, and divide again by 2. That is your number.
C: Upper arm length has everything to do with the width of your fabric and not your arm. If you can fit the length of your upper arm (shoulder to elbow) here, that’s awesome, but it’s not necessary, you will want at least to the half-way point between your joints, otherwise your underarm will not fit.
D: ½ Bicep measurement. Remember your fabric is on the fold at the top for your sleeves here, so you don’t want this to be very wide against your body. Tunicae were fitted as dalmaticae were not, so you will want to adjust ease here as necessary.
E: Lower arm length is the difference from where your upper arm length ends to your wrist.
F: ½ Wrist circumference is actually ½ the measurement you get around a closed fist. You want to get your hand into your sleeve, after all.
G: Gore length is the measurement from the top of your hip to the desired hem of the tunic. Now, if you have a fine derriere, so to speak, feel free to elongate that gore to your waist, but the original tunic’s gore comes off the hip.

There’s a variety of formulas out there to make a neckline. I have a small neck at 13”, so my go-to cut is 4” from the center point on each side, with a 1” dip in the back and 3” dip in the front, but a 2” dip in the back and a 4” dip in the front should fit most people. A boatneck, or basically just a slit, is also a common style for this period. The tunica at the Met has a keyhole neckline with the opening on shoulder seam. I’ve done that before as well. I recommend finishing your neckline with bias tape or a narrow hem before moving on.
Before any piecing of the pattern takes place: GET YOUR EMBELLISHMENT DONE. There is no way to apply clavii to a tunica once those side seams are in place. Get any roundels or segmentae you want on as well. It’s just easier to handle at this point.

Follow the diagram on the piecing. If you are going with the smaller gores if you were able to cut it from the folded fabric, follow the illustration at top, if you cut gores from a separate piece, follow the bottom. Apply trim over the seams where the upper sleeve joins the lower sleeve. This is definitely something else you want to do before you sew up the side seams.
Now all that is left is to join the front to the back along the side seams, hem the sleeves and bottom, and finish trims, and you’re done!

Delmatikion (Dalmatica) instructions:
Recommended fabric: Linen, silk, damasks/brocades, light to medium weight wool
Recommended yardage: 5 yards of 60” wide
Think of the Dalmatica as an oversized tunica, but as the tunica can be worn by itself as one layer, the dalmatica is an overtunic only. This is a unisex garment, and sometimes for women you may see it referred to as a “gunna.” Either way, this is where you really get to jazz up your wardrobe. They can be floor length or short enough to show off your tunica embellishments.
Sleeves can be short, long, or extra-wide as was the style in the 11th and 12th centuries when my persona lived. The only real difference is that typically the dalmatica was cut from one piece of fabric, including the skirt width, whereas the tunica had gores. However, gores are still a perfectly period option in the event of a smaller bolt width. Follow the instructions as laid out above for the tunica, and you should be in good shape. As far as embellishments go, the best way to go about this is to follow some period examples. Clavii didn’t seem as popular on dalmaticae as the centuries progressed, and richness was displayed not so much with embroidered bands of trim but rather in the heavy silk damasks and brocades that were in fashion. My drawings including clavii to better illustrate how to embellish.

Note that I included a curve at the edge of the skirt portion in order to better facilitate trim application on the dalmatica’s hem. This is optional, especially if separate gores are chosen, but note that wide trims will require careful piecing and pleating to better conform to the hem.
Just like in the Tunica instructions, remember you NEED to add any embellishment such as clavii and other appliques BEFORE you close the side seams.

Once your garments are completely sewn, then it’s time to go in and add all the really rich goodies to your pieces, such as hundreds of pearls and other gemstones. 🙂

Just wanted to say I’m using your instructions to make Byzantine garb for a larp I NPC for. The garments are turning out beautifully (and so simple!) Thank you for taking the time to put this together.
Was wondering if you have any tips for attaching the clavii in straight lines? I’m using 1″ trim and having an awful awful time getting them to go on straight.
Oh, also it might be worth mentioning somewhere that the fabric is folded both length- AND width-wise for the instructions. I had a couple of brain-bending moments until I figured it out. It’s a really clever way to do this to reduce the number of seams, but I wasn’t expecting that.
LikeLike
Make sure you are attaching the clavii before the side seams are sewn. You need a flat garment.
After that, you need to mark where you want it to be and pin the ever loving snot out of the trim. What I do is measure a certain distance from the center of the garment for the inside edge of the trim, as if you are using a flared style rather than the cut gores, you will have issues measuring from the outside edge. Your mileage will vary depending on the size of the tunic and the placement on the neckline and such, but my rule of thumb is to have the inside edge of the trim about 1/2 inch away from the edge of the neckline. If you start there and work your way out, that helps also.
I also highly recommend you lay the entire garment out when you pin the trim on. Take your time, and keep measuring as you go.
LikeLike
Thanks! I didn’t put clavii on the tunica (time constraints), so I’m just trimming up the dalmatica now (still haven’t sewn it, so it’s flat, yep). And yeah, I was having the same problem with measuring from the outside edge, as I opted for the flared style. I’ll try your tips. And maybe some chalk markings, too, because I found that there was a lot of shifting going on as I was sewing the first time I tried to sew them on.
LikeLike
And pin! PIN PIN PIN! 🙂
LikeLike