
So.
Once upon a time, Avelina II, Queen of the East, challenged her populace to a garb challenge for Birka. This challenge, was to take your favorite sports team, and basically turn it into garb. Me, having the huge words, “COMPETITIVE SUCKER” written across my forehead, went, “Oh, it’s on.”
You see, class, Anna is not a fan of anything Boston/New England. I grew up in Tampa, and therefore, have suffered through some really horrible seasons with really horrible teams. Fortunately, the Rays are no longer horrible, and the Lightning have never really BEEN terrible, but the Buccaneers? Oh man, I have stories. Your priest on Sunday should not include, “And please let the Bucs win!” during the closing invocation of a Catholic mass during the Vinny Testaverde days.
First, I needed to make a choice. I had three professional teams I could reasonable choose from, and then a huge span of time to play with as far as the garb would go. I gave myself 2 options: Keep it simple, or, MAKE THEIR EYES BLEED! Both the Rays and Buccaneers had been blessed with pretty garish color schemes during their inception, and have since toned down the colors. This also resulted in winning records. Since then, us TB fans have a superstition that changing uniforms makes a winning team. The Bucs broke that, but 2 for 3 ain’t bad. The original color schemes of the teams were creamsicle orange, red, and white for the Bucs; black, blue, and white for the Lightning, and hot green and purple for the Rays. I could feel my eyes bleeding as I tried to mentally design apron dresses around these teams. It was a Viking event after all. I decided to ditch the Lightning first, not that turning contrast stitching seams into lightning bolts couldn’t be awesome, but it seemed the most subdued. Then, I turned to the Rays and the Bucs. I’m not one for being subtle. (To quote my friend Konstantia Kaleothina, “Byzantines put the ‘b’ in subtle.”)
My mind reeled over the idea of designing an intricate “devil ray” in the Norse style for applique on a purple wool dress, baseball stitches on the seams, with a hot green tunic, but I was at a total loss with the idea of the Bucs. They were, well, pirates. Straight out of the cavalier period, even:

If I went that route, I needed to go uber-late period. I was at a loss. Both outfits were going to require a significant amount of time and resources, and late period requires scary undergarments.

So, instead of drawing stuff out, and weighing pros and cons, I simply called my family in Florida, who don’t really SCA, and asked their opinion.
“#$%! those Boston fans. Blind the bastards.”
Us Tampanians are so eloquent.
I was still a bit torn, the throwback Devil Ray Viking would be just as hardcore as throwback Buccaneers Elizabethan, but the ultimate deciding factor were members of the Barony of Stonemarche issuing their own challenge to wear orange at Birka.
Challenge: ACCEPTED. (I was so screwed.)
Alright, first, pick a period. It would have to be as late as I could go. Cavalier is technically out of period, you’re looking at the 1630s post-English Civil War, and I’d be damned if I was going to wear a cavalier hat like every other rennie, so I rolled back the clock 30 years, and got to this:

Oh. My. God. It was perfect. Not only did I find a shape I could work with, but this was instant documentation for the use of orange. There’s always a debate on orange in period, and there’s a great deal of evidence that not only did it exist, but it was also wildly popular. Especially in the Elizabethan/Jacobean period. I’ve always been a fan of late period fashions, mostly Italian over English, but I don’t really have the “draw” to the history like I do the Roman and Byzantine Empires, which is why I don’t particularly dabble in the 16th/17th Century.
So period: Check.
Cut: Check.
Colors:
 Easy enough.
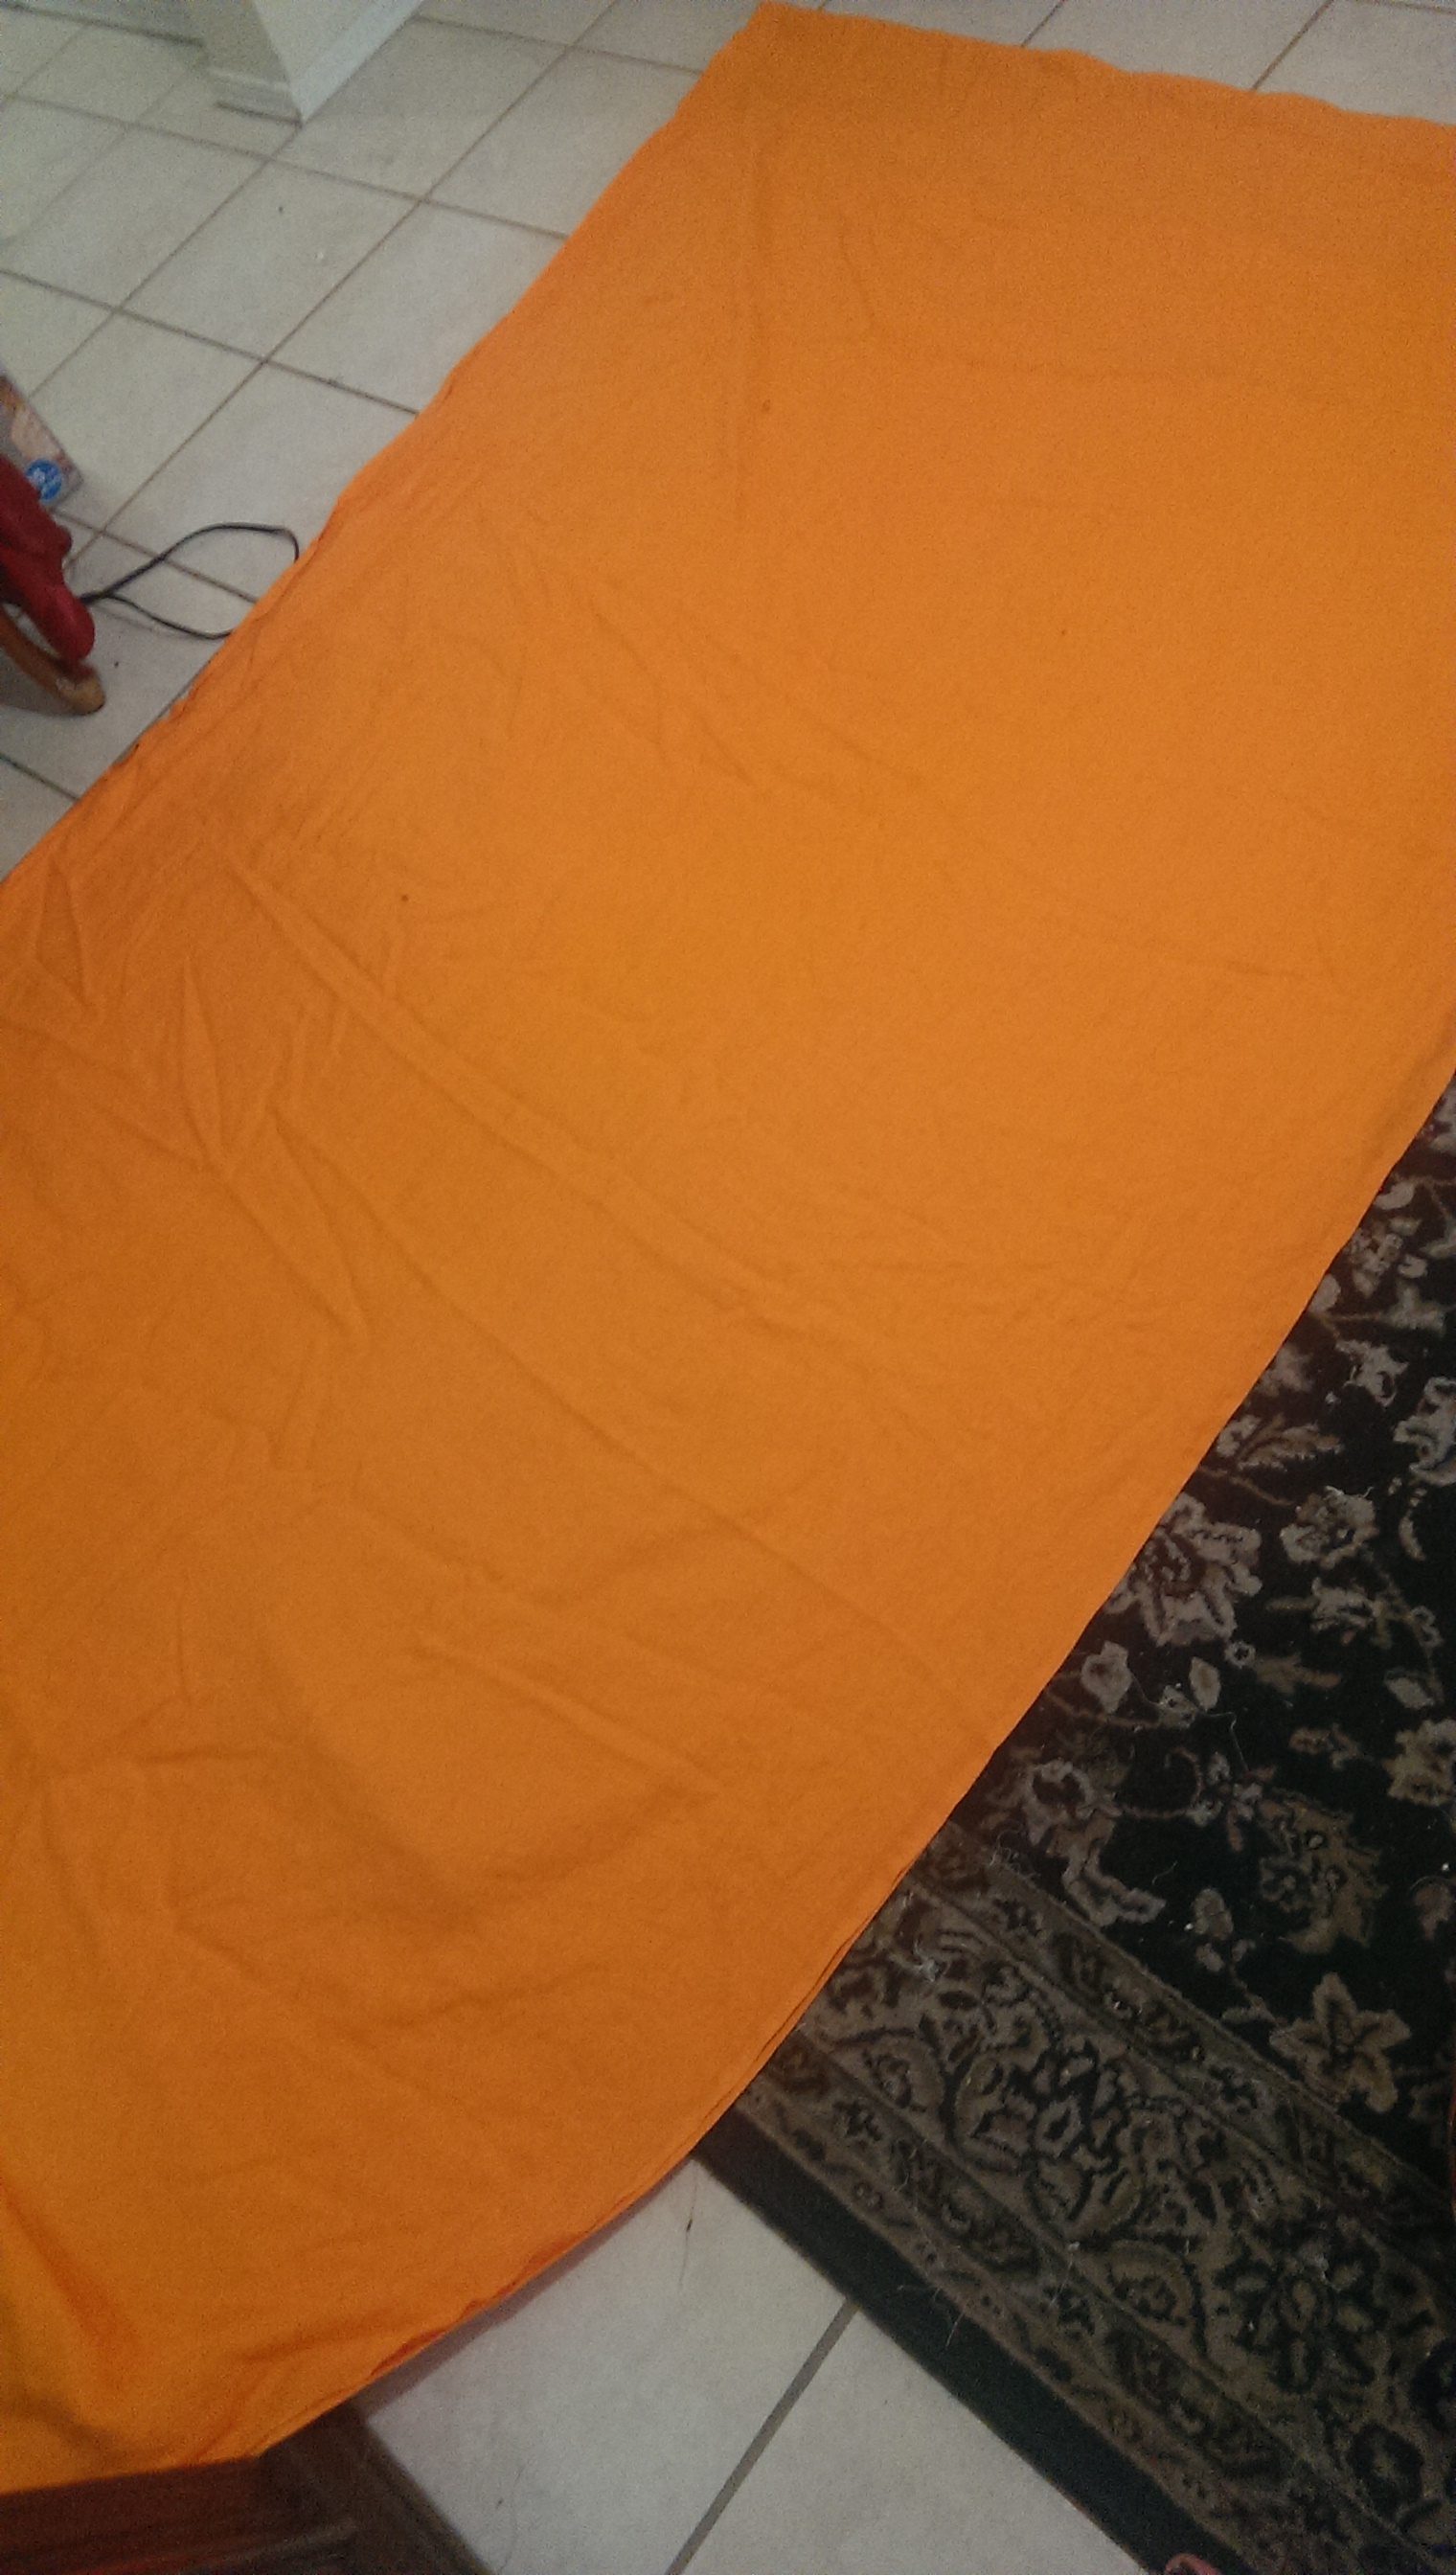
I bought the orange linen from Fabrics-store.com as soon as I saw it. “Flame orange” is the name, and it was on sale. Done. Mine.
Now to approach the details. I entertained a great deal of ideas of how I was going to do trim and lace. Venetian lace I found easy enough, but the stripes…I wasn’t sure. I figured I could use different color bias tape, and make it easy on myself, and that’s what I was pretty much going to go with, until my boyfriend got me a sewing machine for Christmas that embroiders. Oh LAWD, he created a monster!
I had one more issue: I’m dieting. In fact, I’ve lost 4″ from my waist since the challenge was announced, and I needed a corset. I HATE MAKING CORSETS. I figured I could spend the money, have someone do it for me, and then just re-sell it, but I caved, saved myself about $50, and bought the materials myself. The game was afoot.
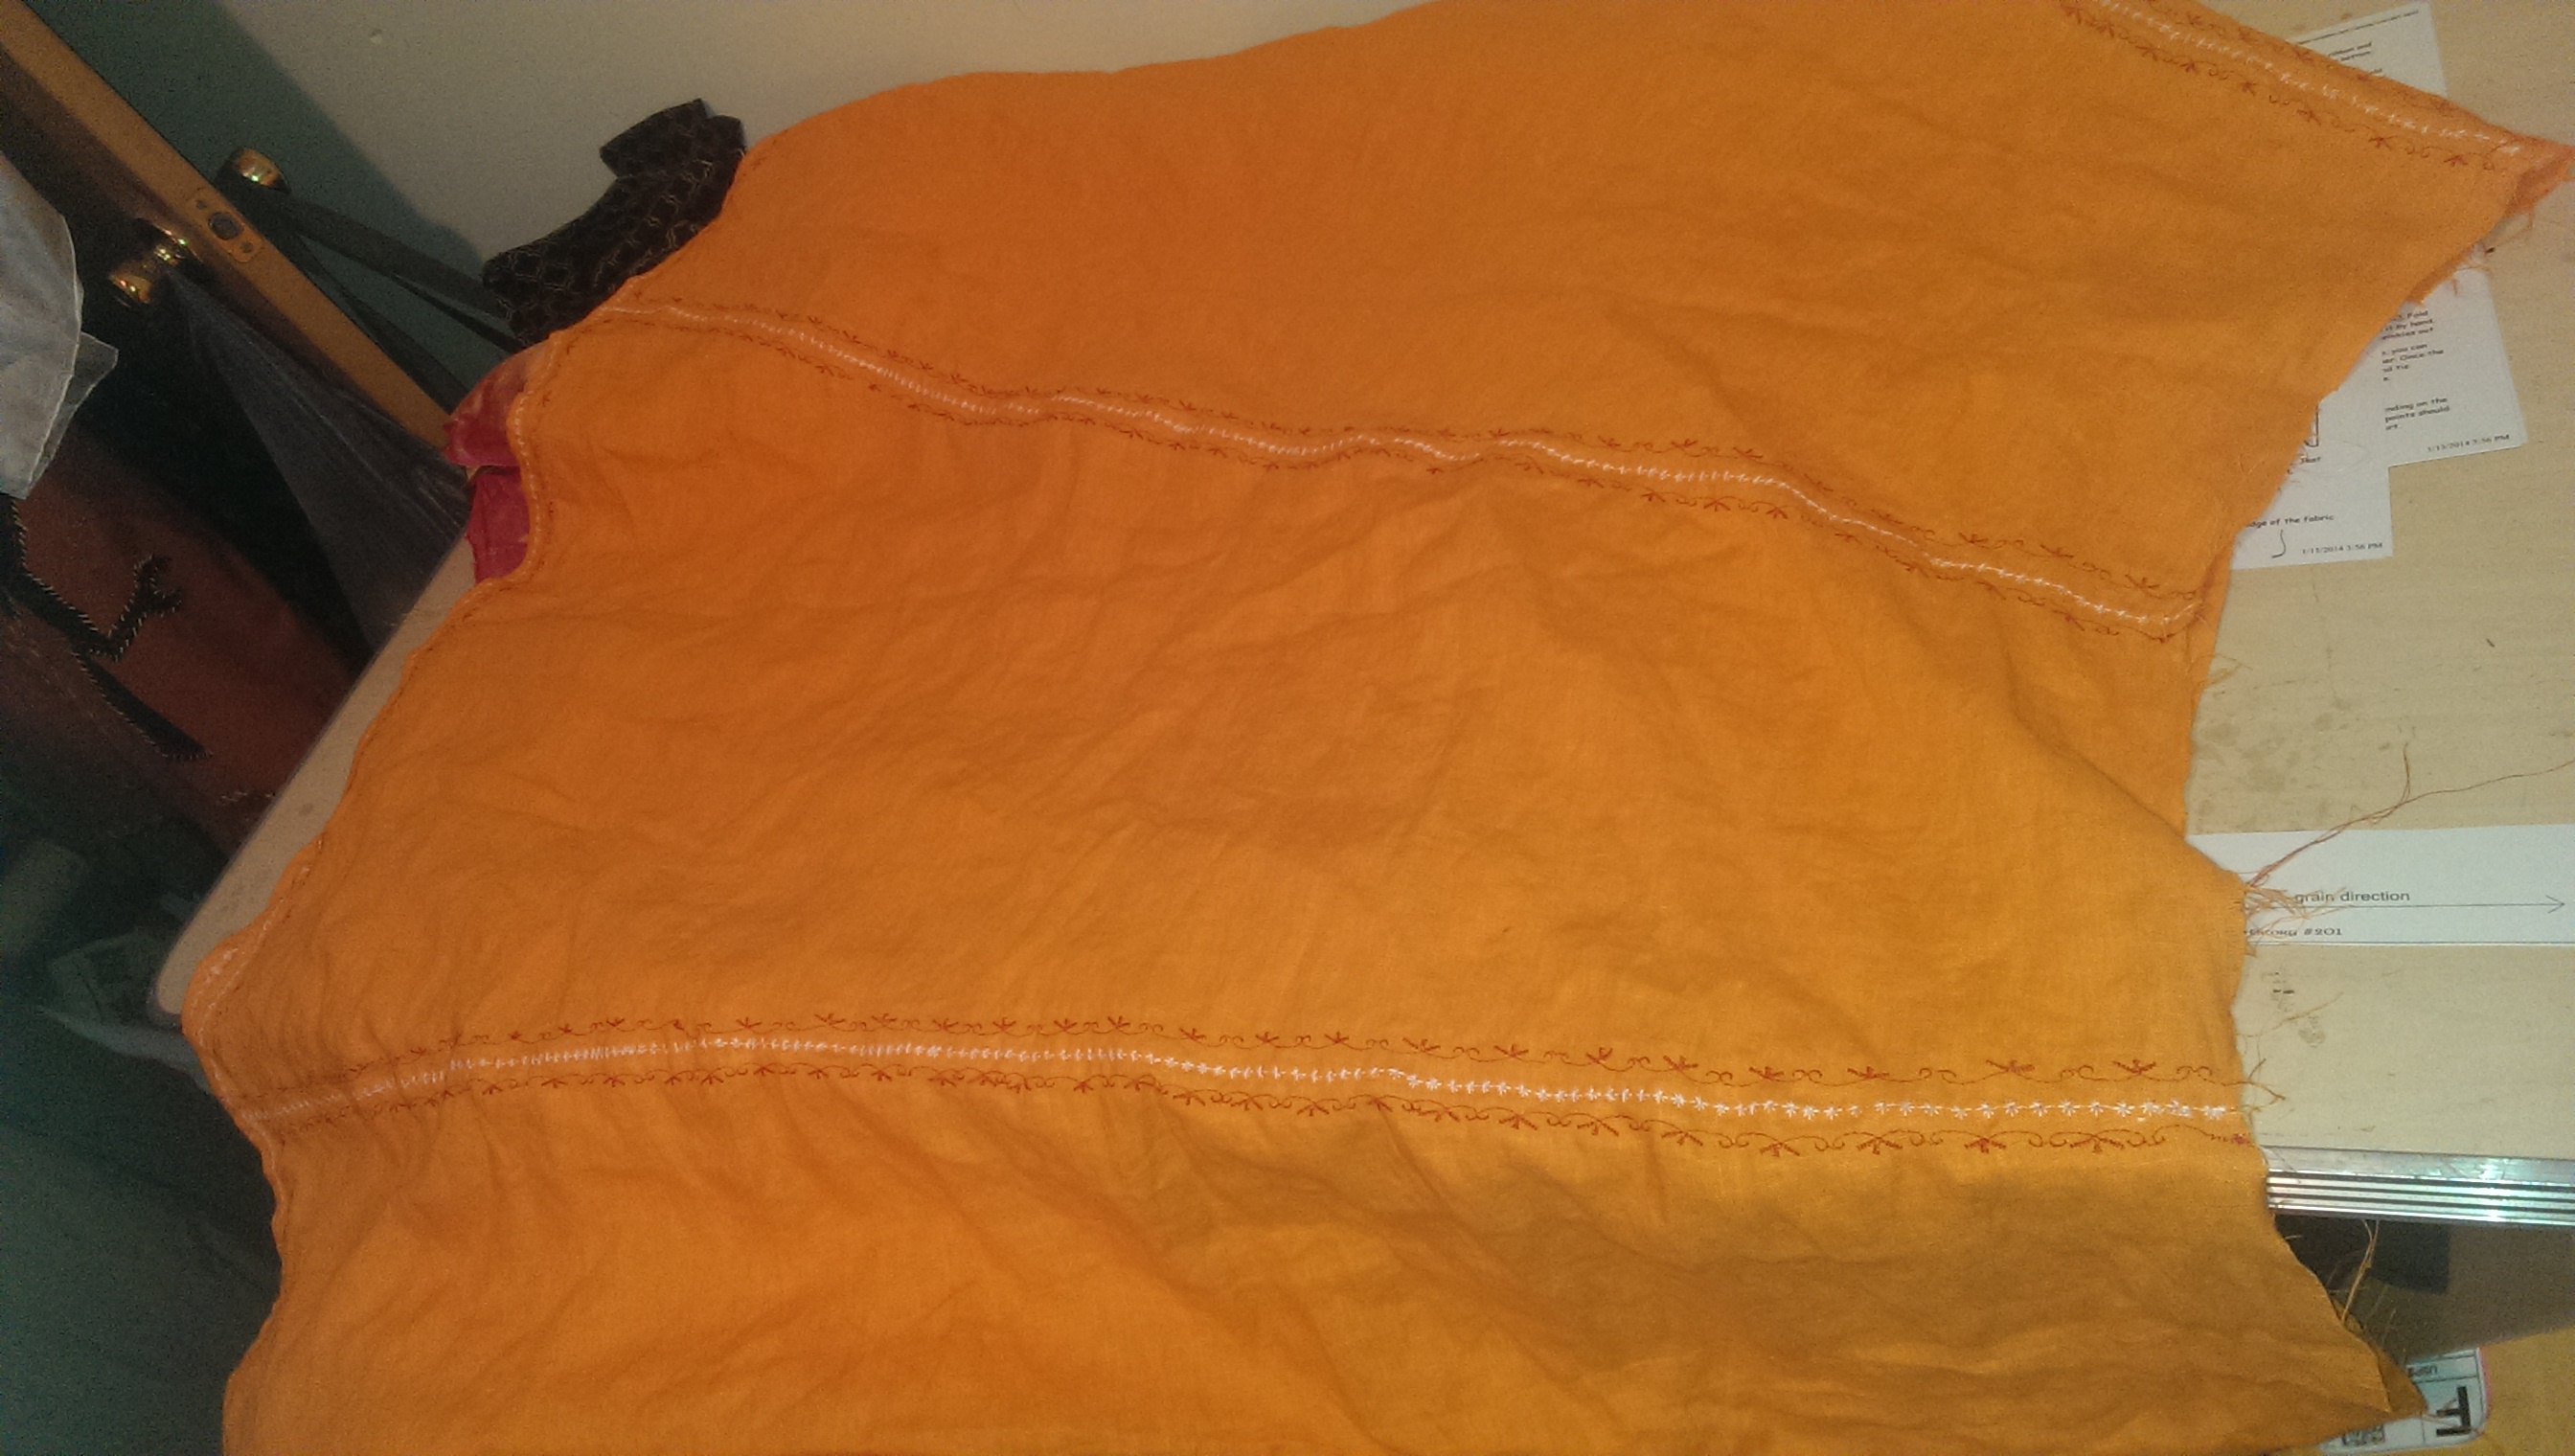
First I made the skirt. It’s a simple 6-gore skirt with a drawstring waist. Not accurate, it should be gathered into a band and hooked closed, but…it was a 10ft rule competition, and I’m not Elizabethan. I was going to take shortcuts. I sewed the skirt together, threw it over the hoop, and laughed, really hard, over how orange it was. I sent a picture to the boyfriend, and he was mortified. I created a simple embroidery pattern using the stock stitches on my machine, and chose them for the following reasons:
The white reminds me of sunbursts or lightning bolts. So it pays a bit of homage to the other two pro teams in Tampa Bay, and the red were palm trees. This was my little salute to home. The red-white-red pattern is the same as on the orange uniform components.


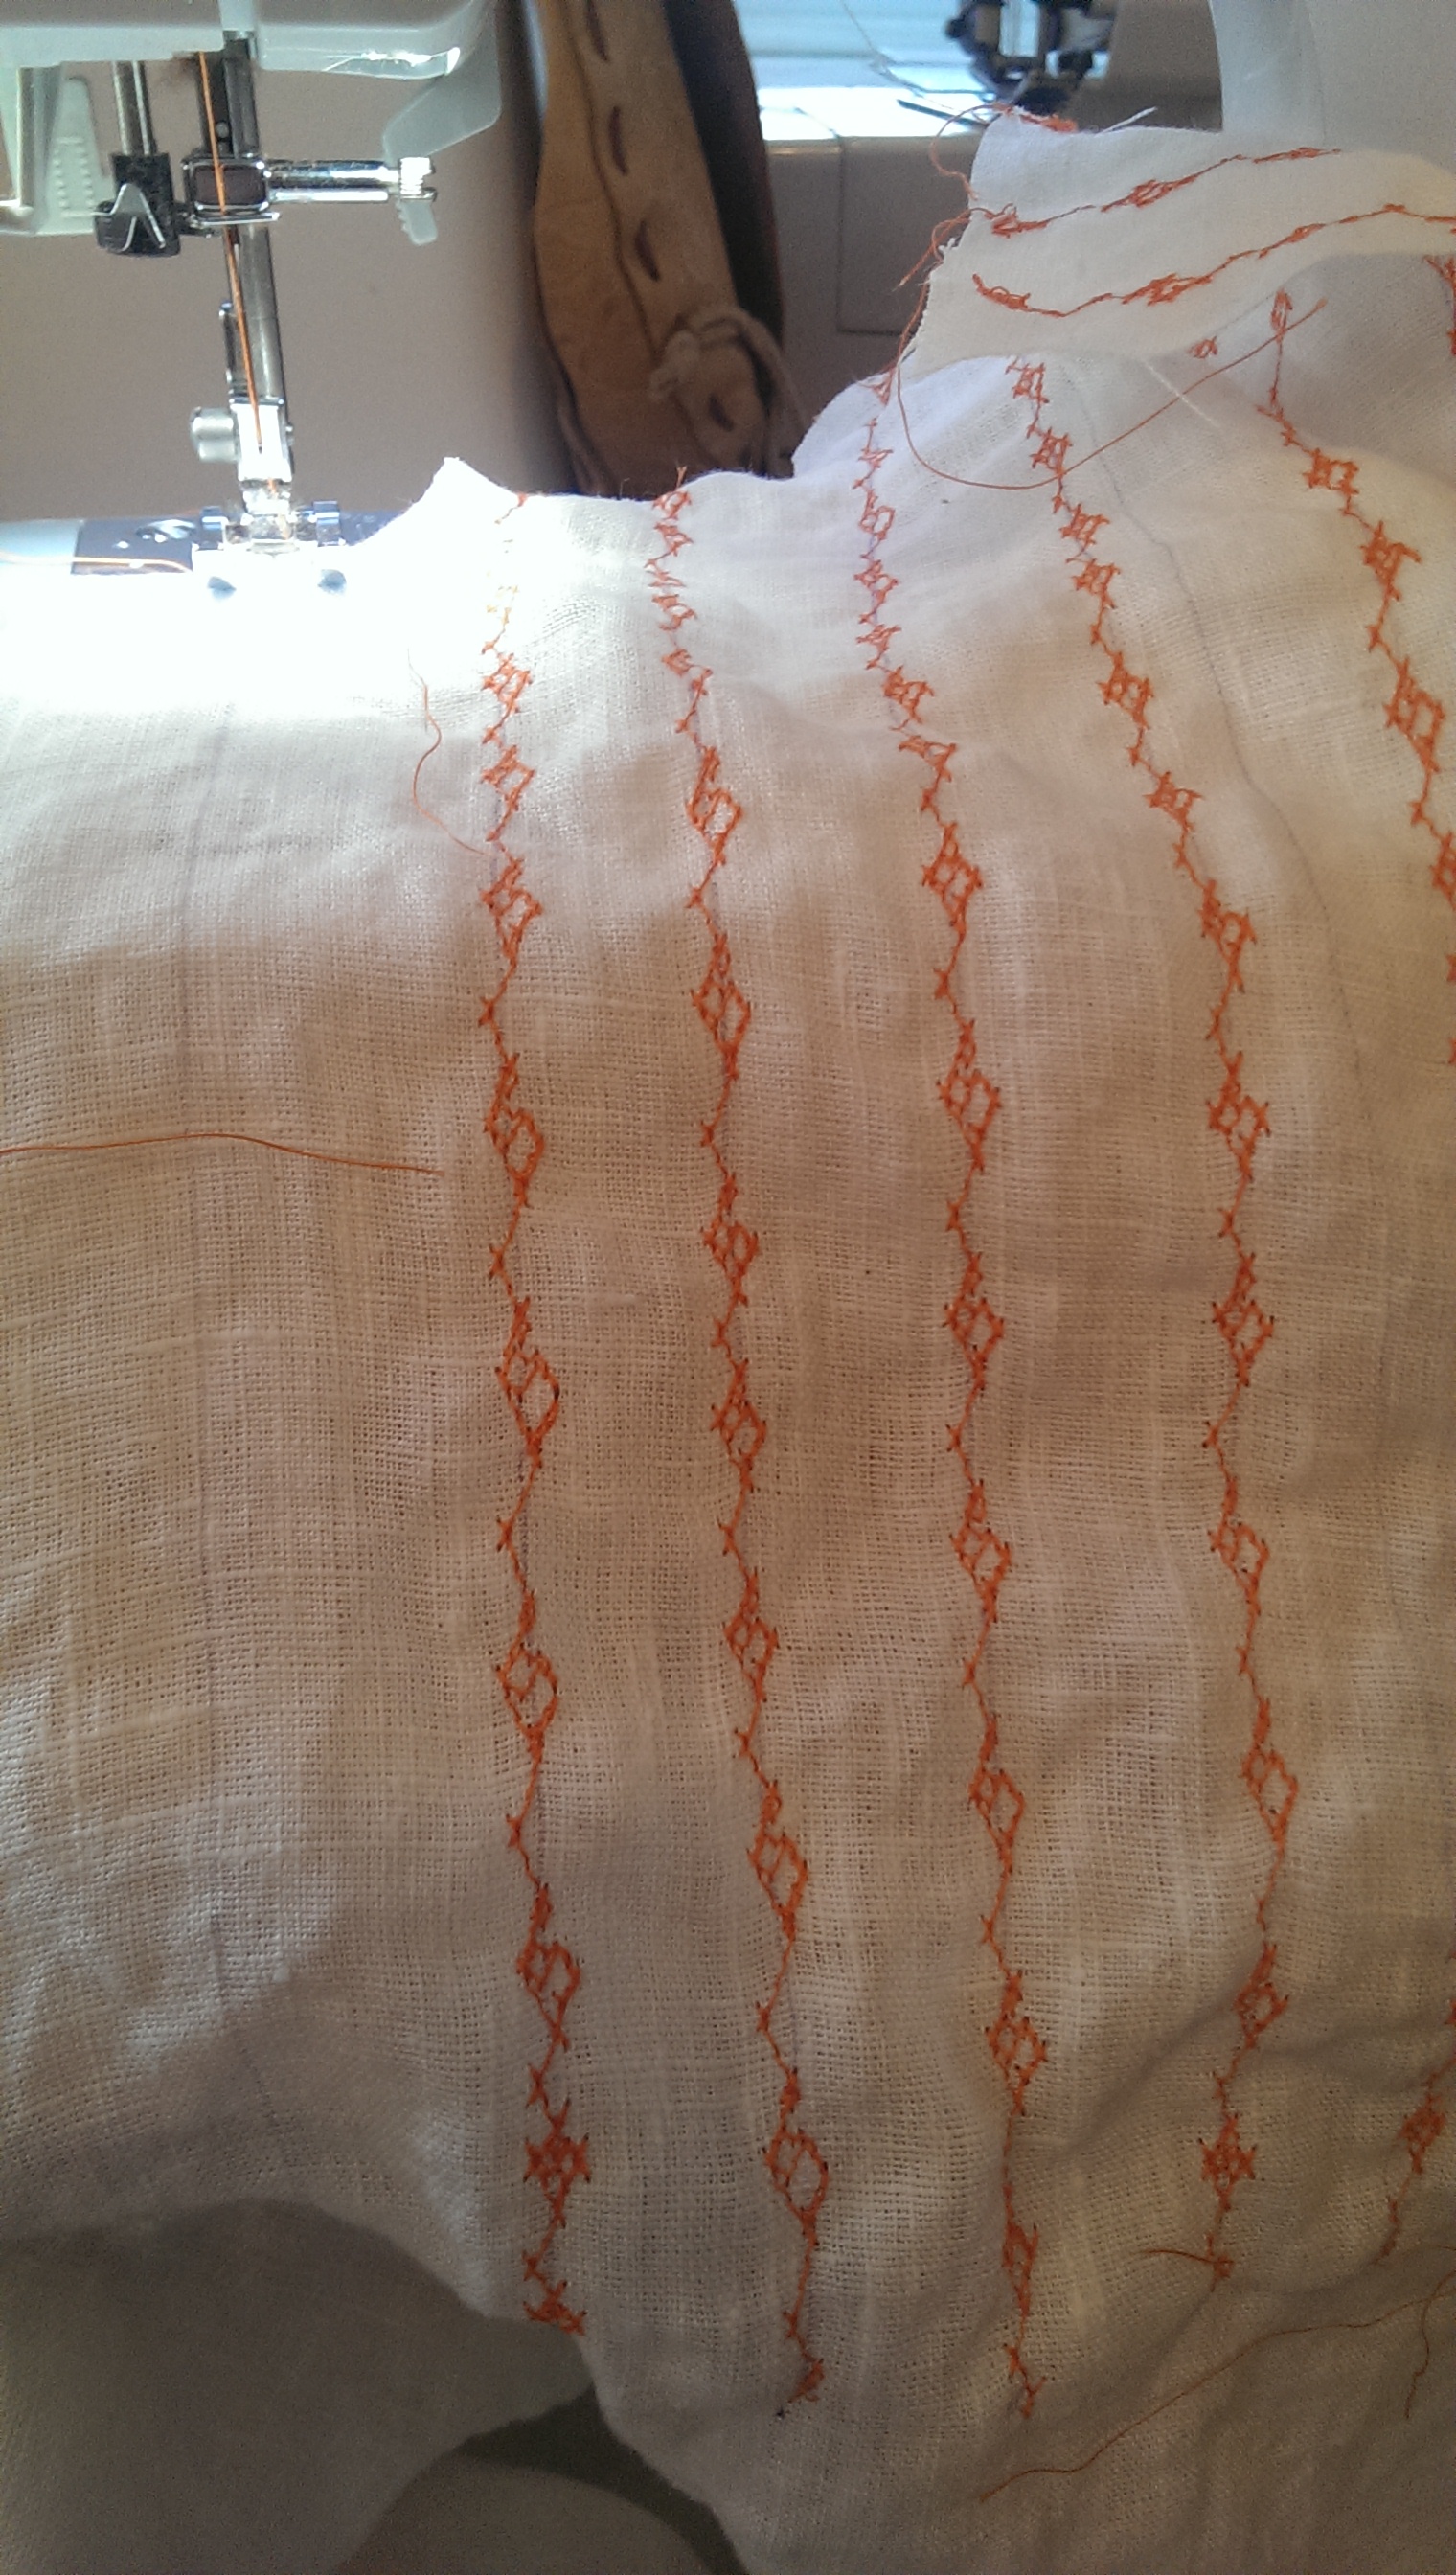
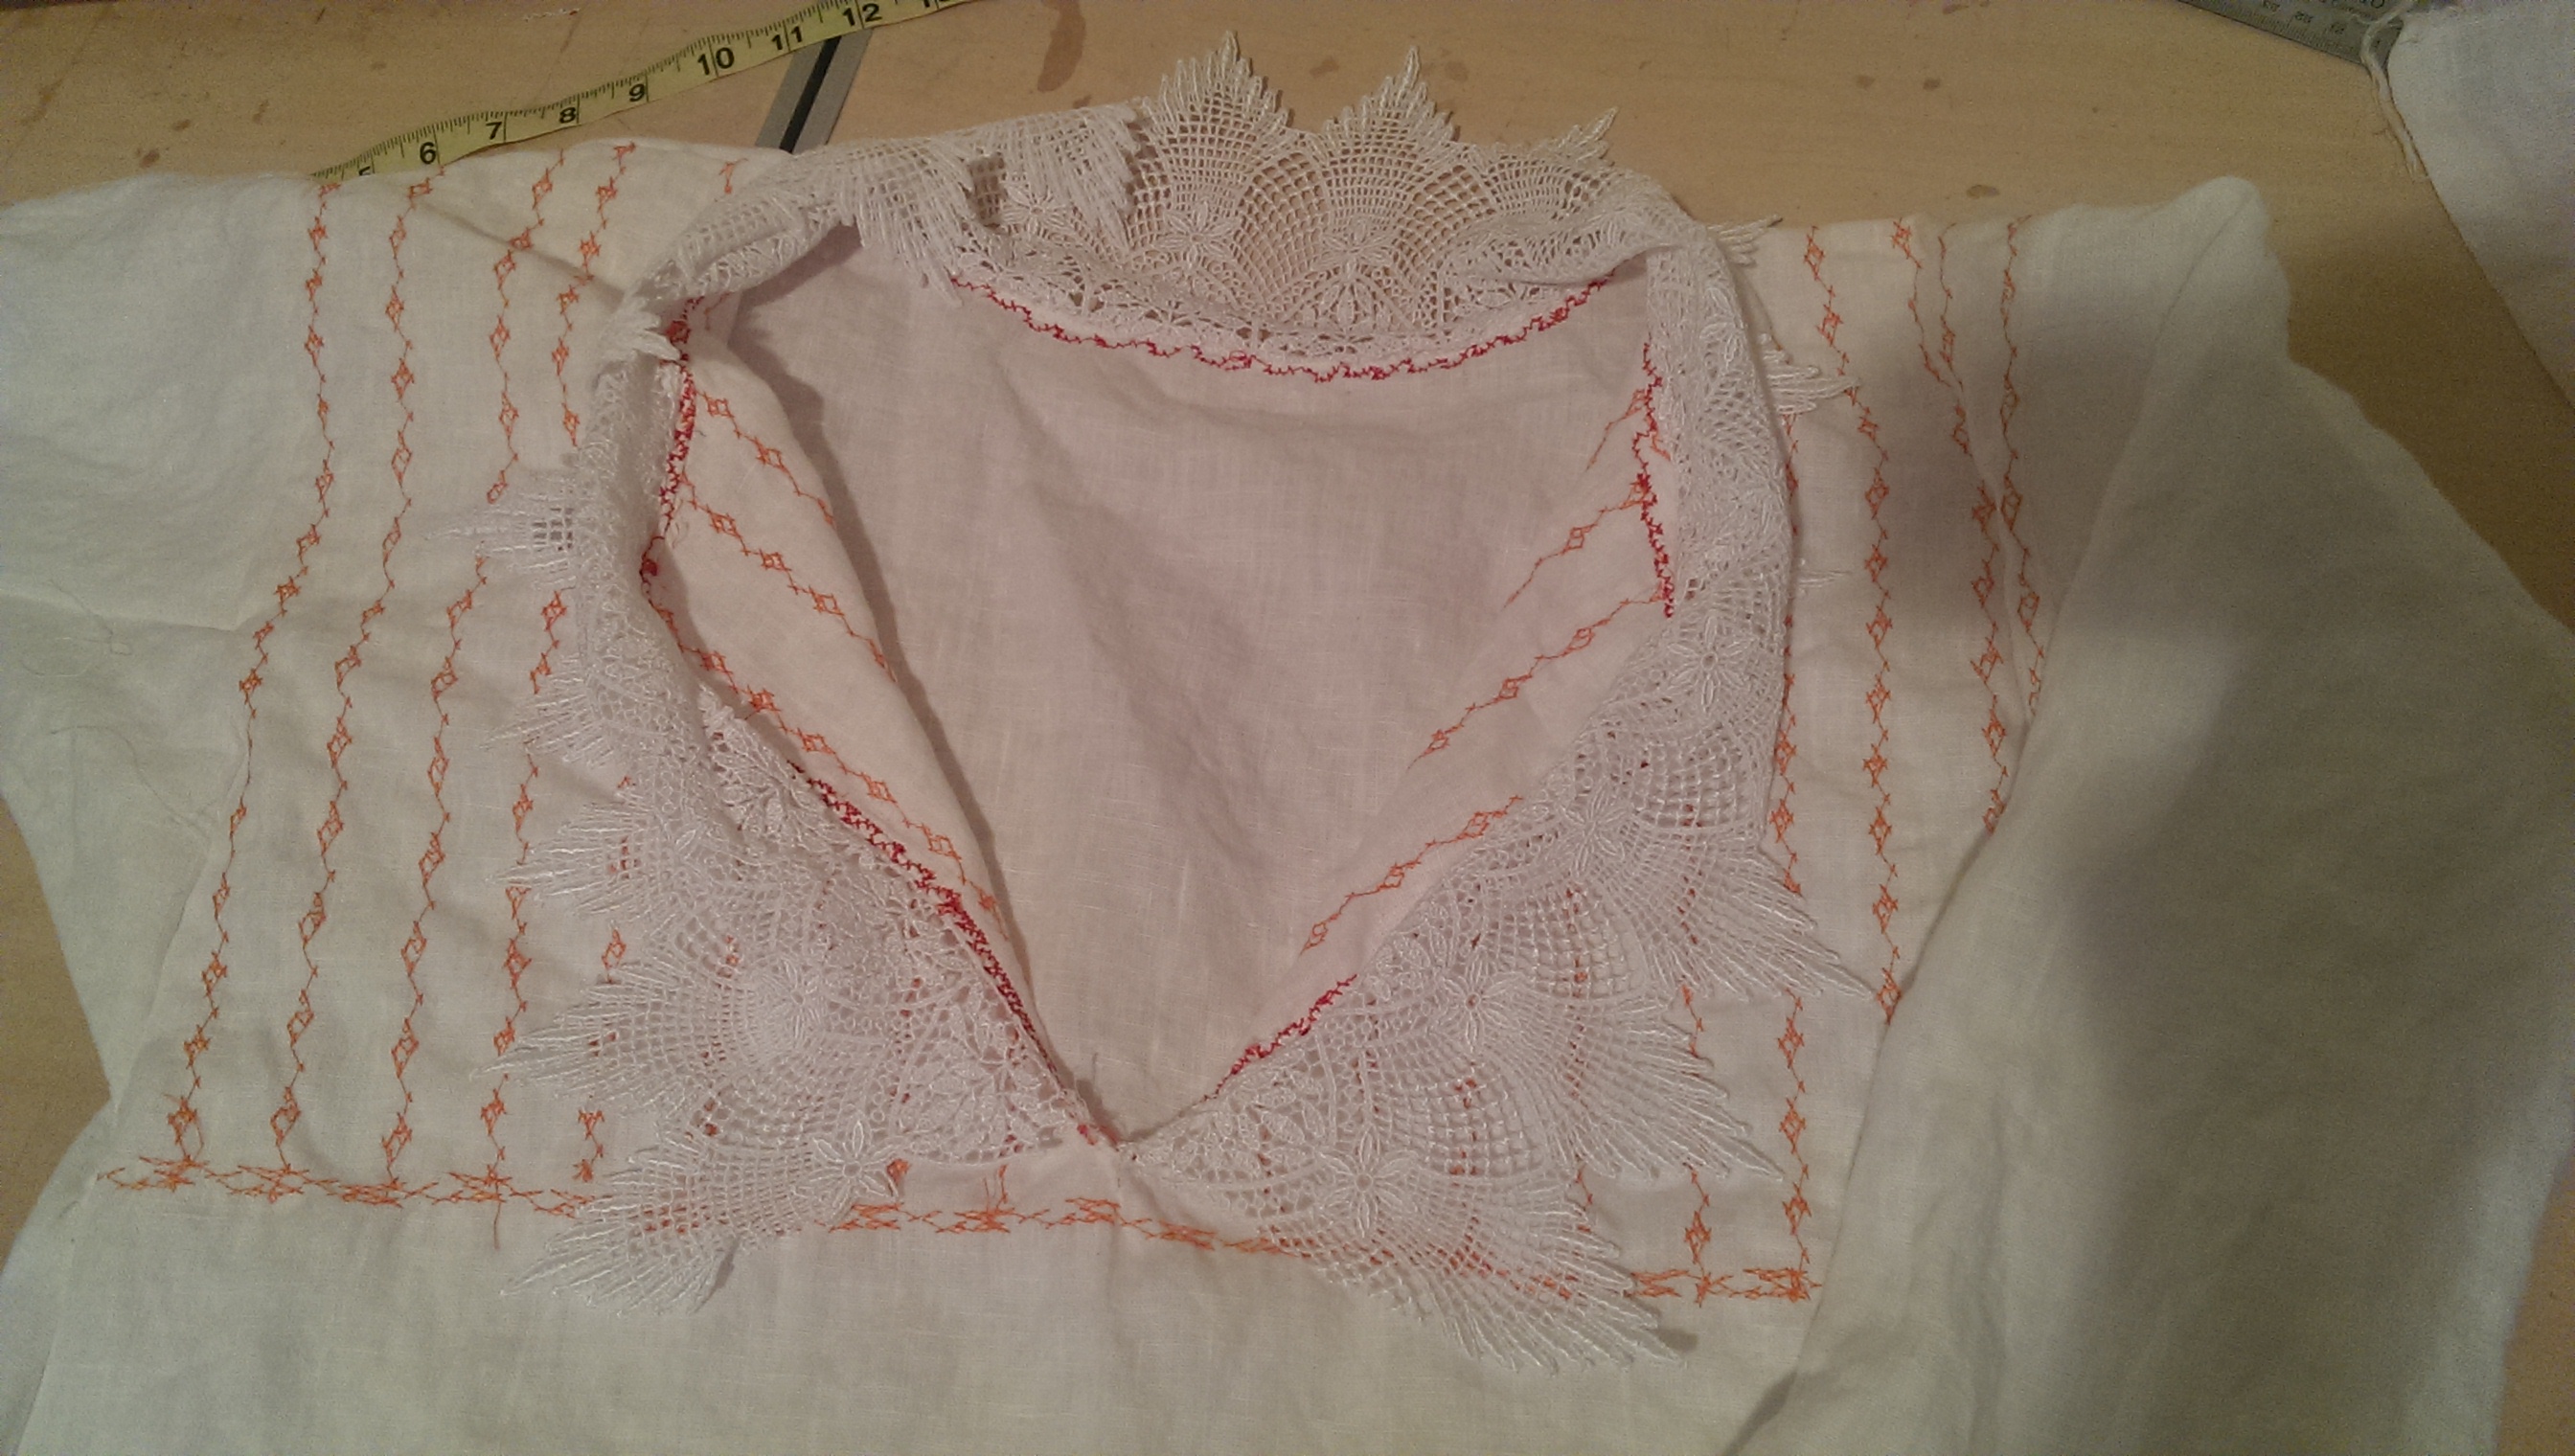
 The smock was another fast garment, all things considering. The pattern is basically the same as a t-tunic with some minor variations, in this case, I created a mock partlet (another shortcut, don’t kill me, Elizabethan personae reading this!) and embroidered the snot out of it with my machine to resemble blackwork in orange. I applied the wider Venetian lace around the color to mimic Lucy Russell’s look, and did the orange-red-orange stripes on the cuffs as seen on the white jersey pieces of the uniform. It’s 100% white linen.

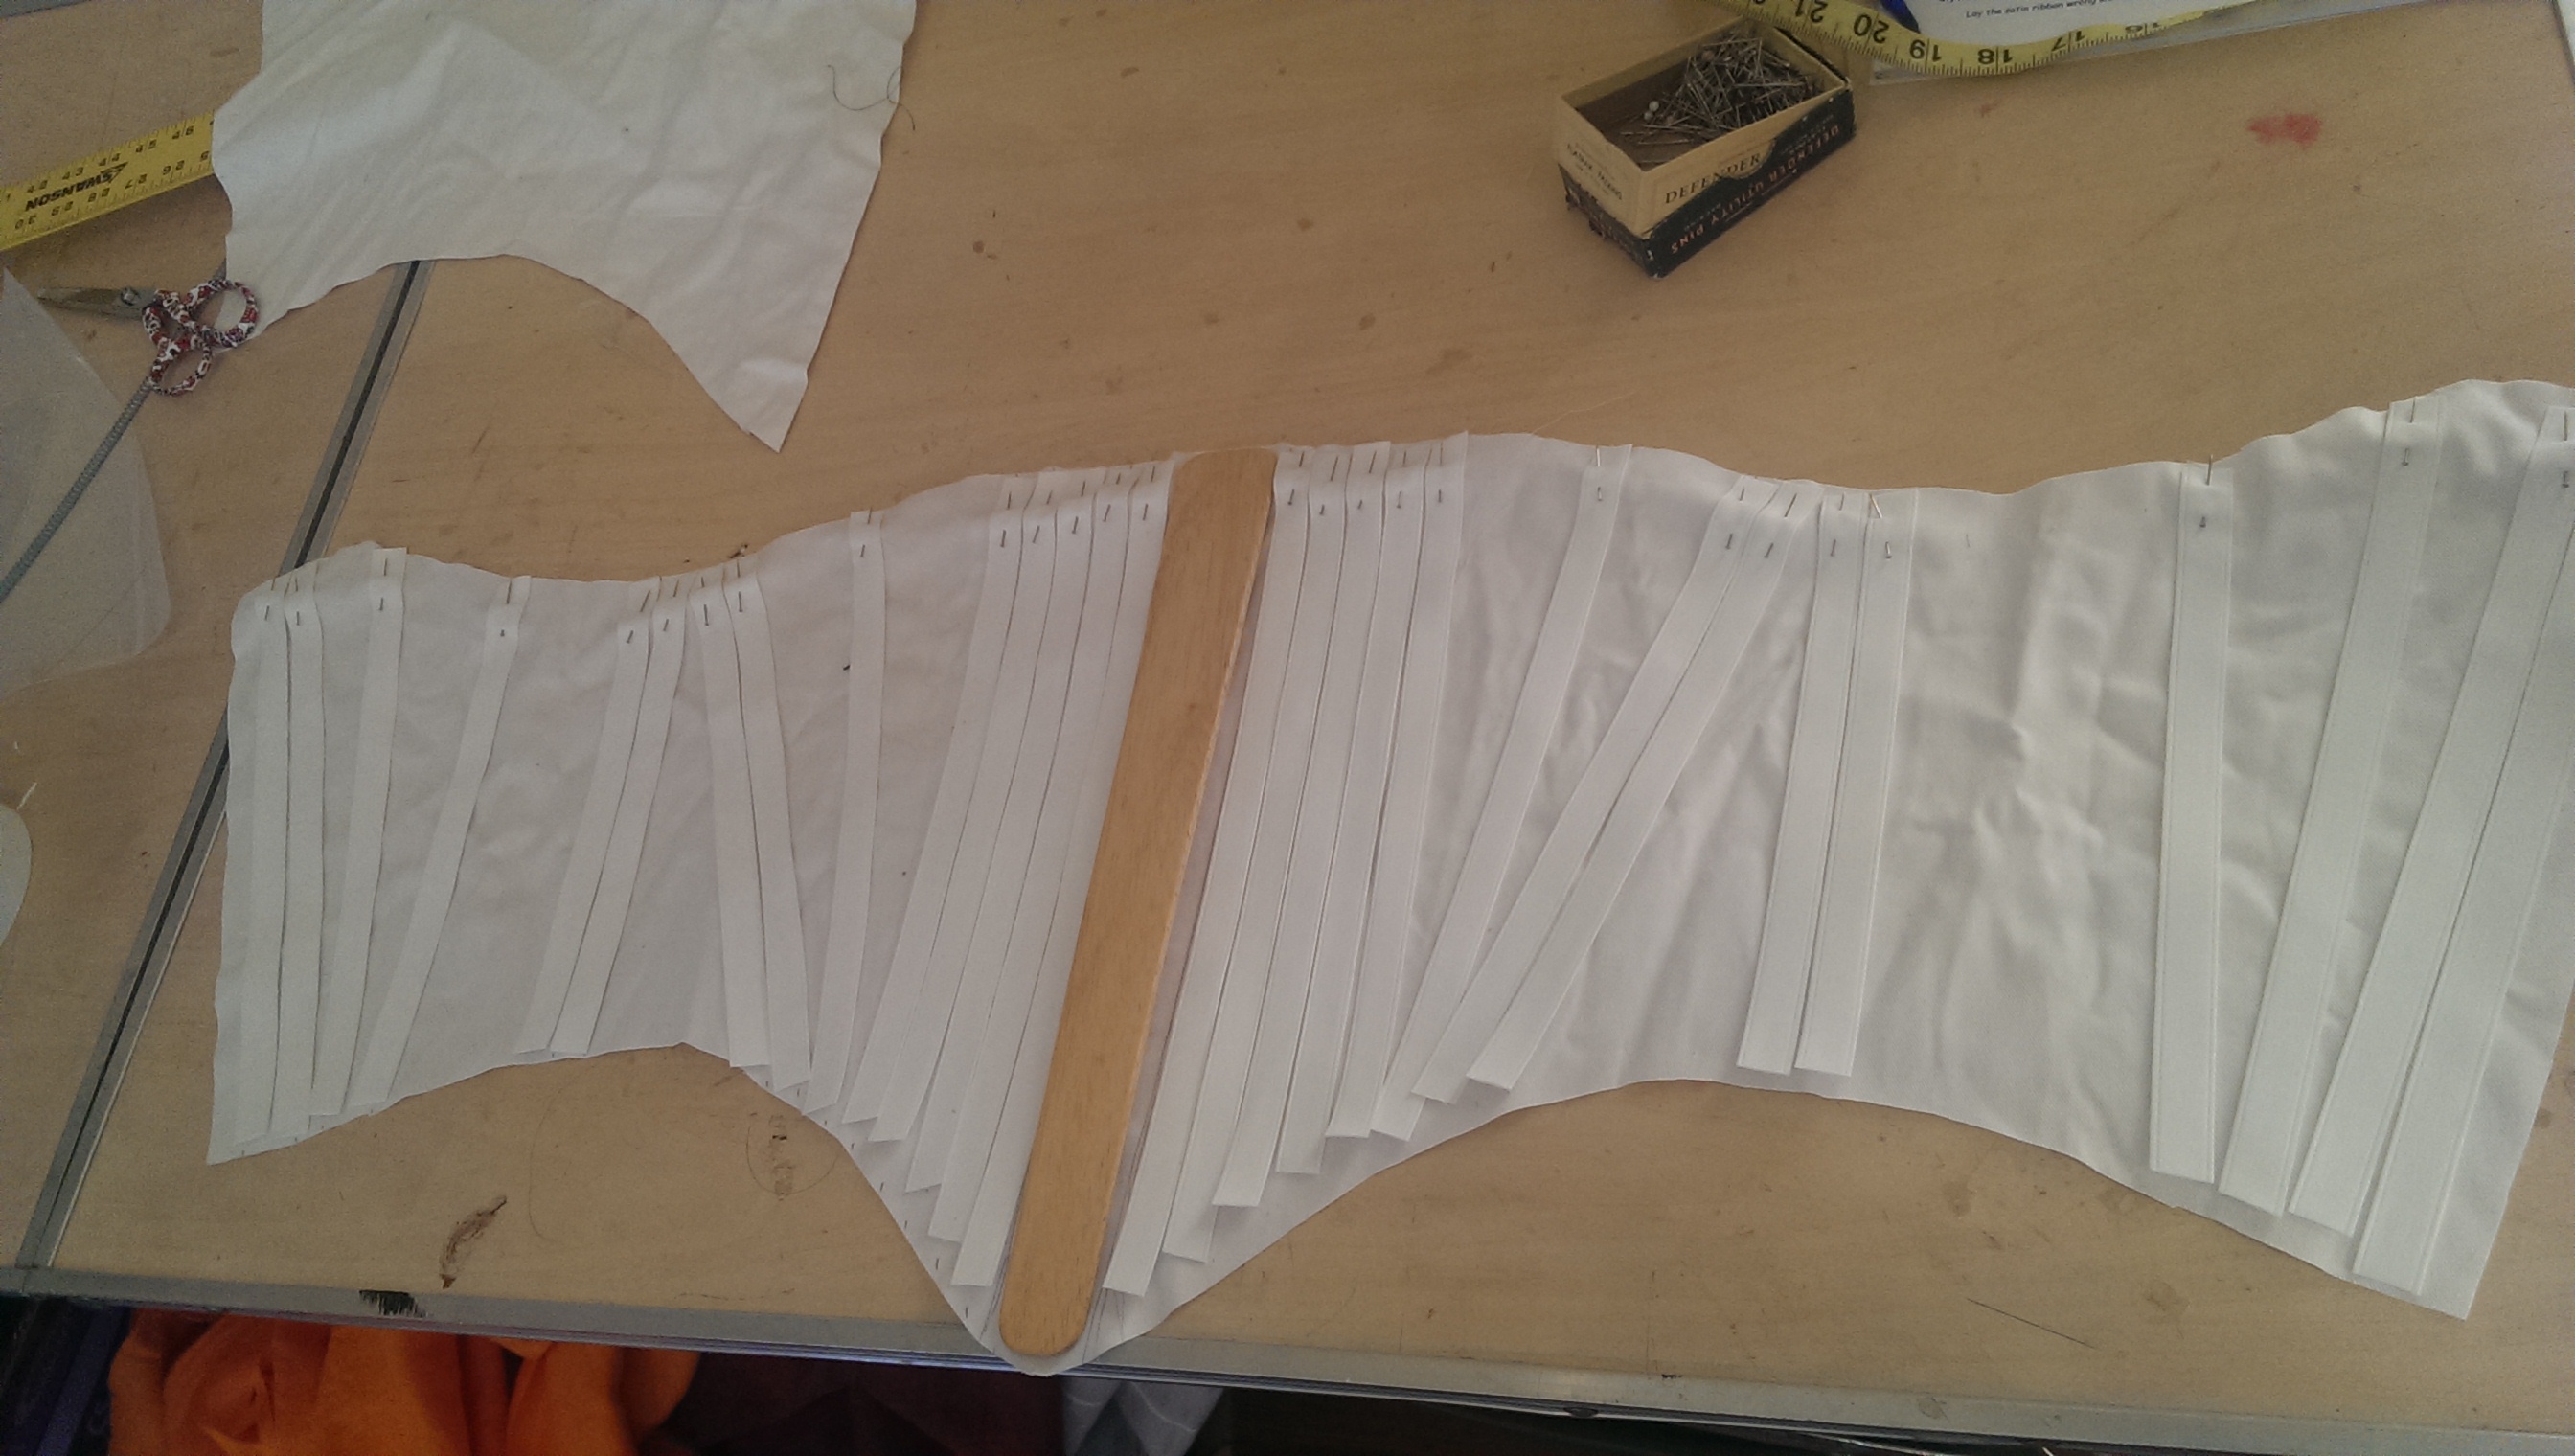
 The two unfitted pieces of clothing were done. Now came hell: I needed to make the corset before I could fit the jacket. I had no choice but to wait until last minute to ensure a proper fit to whatever measurements I was at. (Being that I started the diet at a 37″ waist and am now 33″…I’ll take it.) This happened on January 19th, I wore this thing on January 25th. I used the Elizabethan Corset Generator and just followed it step by step. I used boning casing to help me measure out the lengths that I needed. This created an extra step, but I think it helped the rigidity of the corset, which was good. I had to call for backup to my friend Faelan MacLochlainn, a man of many tools, to help me snip the boning because I couldn’t do it with the tin snips he had loaned me. It took him a total of 10 minutes. I capped the bones myself, and sewed the sucker up without a hitch. The real issue came when I had to pop the eyelets open. I broke two seam rippers and the corset flew across the room. After that outburst, I resigned to a pair of sharp little scissors, and laced myself up. It fit. Hot damn, I made a corset in about 12 hours that didn’t hurt me, or pinch, and I could jump around in it easily without the girls popping out. It wasn’t the finest piece of tailoring I’ve ever done, but it WORKED. Plus, the wooden busk is fun to knock on and impresses your friends. The corset is made out of 100% cotton twill I had laying around.

…Then I got sick. I decided it was a wonderful idea to catch a cold Sunday night, so all day Monday, I felt terrible. I got enough strength to go into the sewing room and put the sleeves together for the jacket, but that was it. I lost a whole day. Tuesday, I forced myself off my ass and in there, embroidered the sleeves, and started on the sloper for the jacket. I did use Reconstructing History‘s pattern for the gored English jacket, which helped, but I’ve worked with her patterns enough to know that they aren’t full proof, you NEED to make them fit. I had a friend who was supposed to come over and help, and then it snowed 6″ to spite me. Because Providence is not known for their expert snow removal, I was on my own.

 The first fitting was fine, and I even had wiggle room. So I went in, put the whole thing together, kept one side of the sleeves open to make it, you know, “swashbuckle-y,” I spent hours getting those inset gores in place only for them to all look horrid and have to be redone, and when I finally went to put it on…it didn’t fit. I was living a nightmare. I was ready to give up. Crying, I consulted a couple of friends on Facebook on my options. Inserting fabric was always a good choice. They had stomachers, and it’s always period to add little gores and gussets where you need them. So, I measured out the difference, made gores, sewed them on, had a LARGE glass of wine, and went to bed. Tomorrow was another day, but it was also cutting it close.
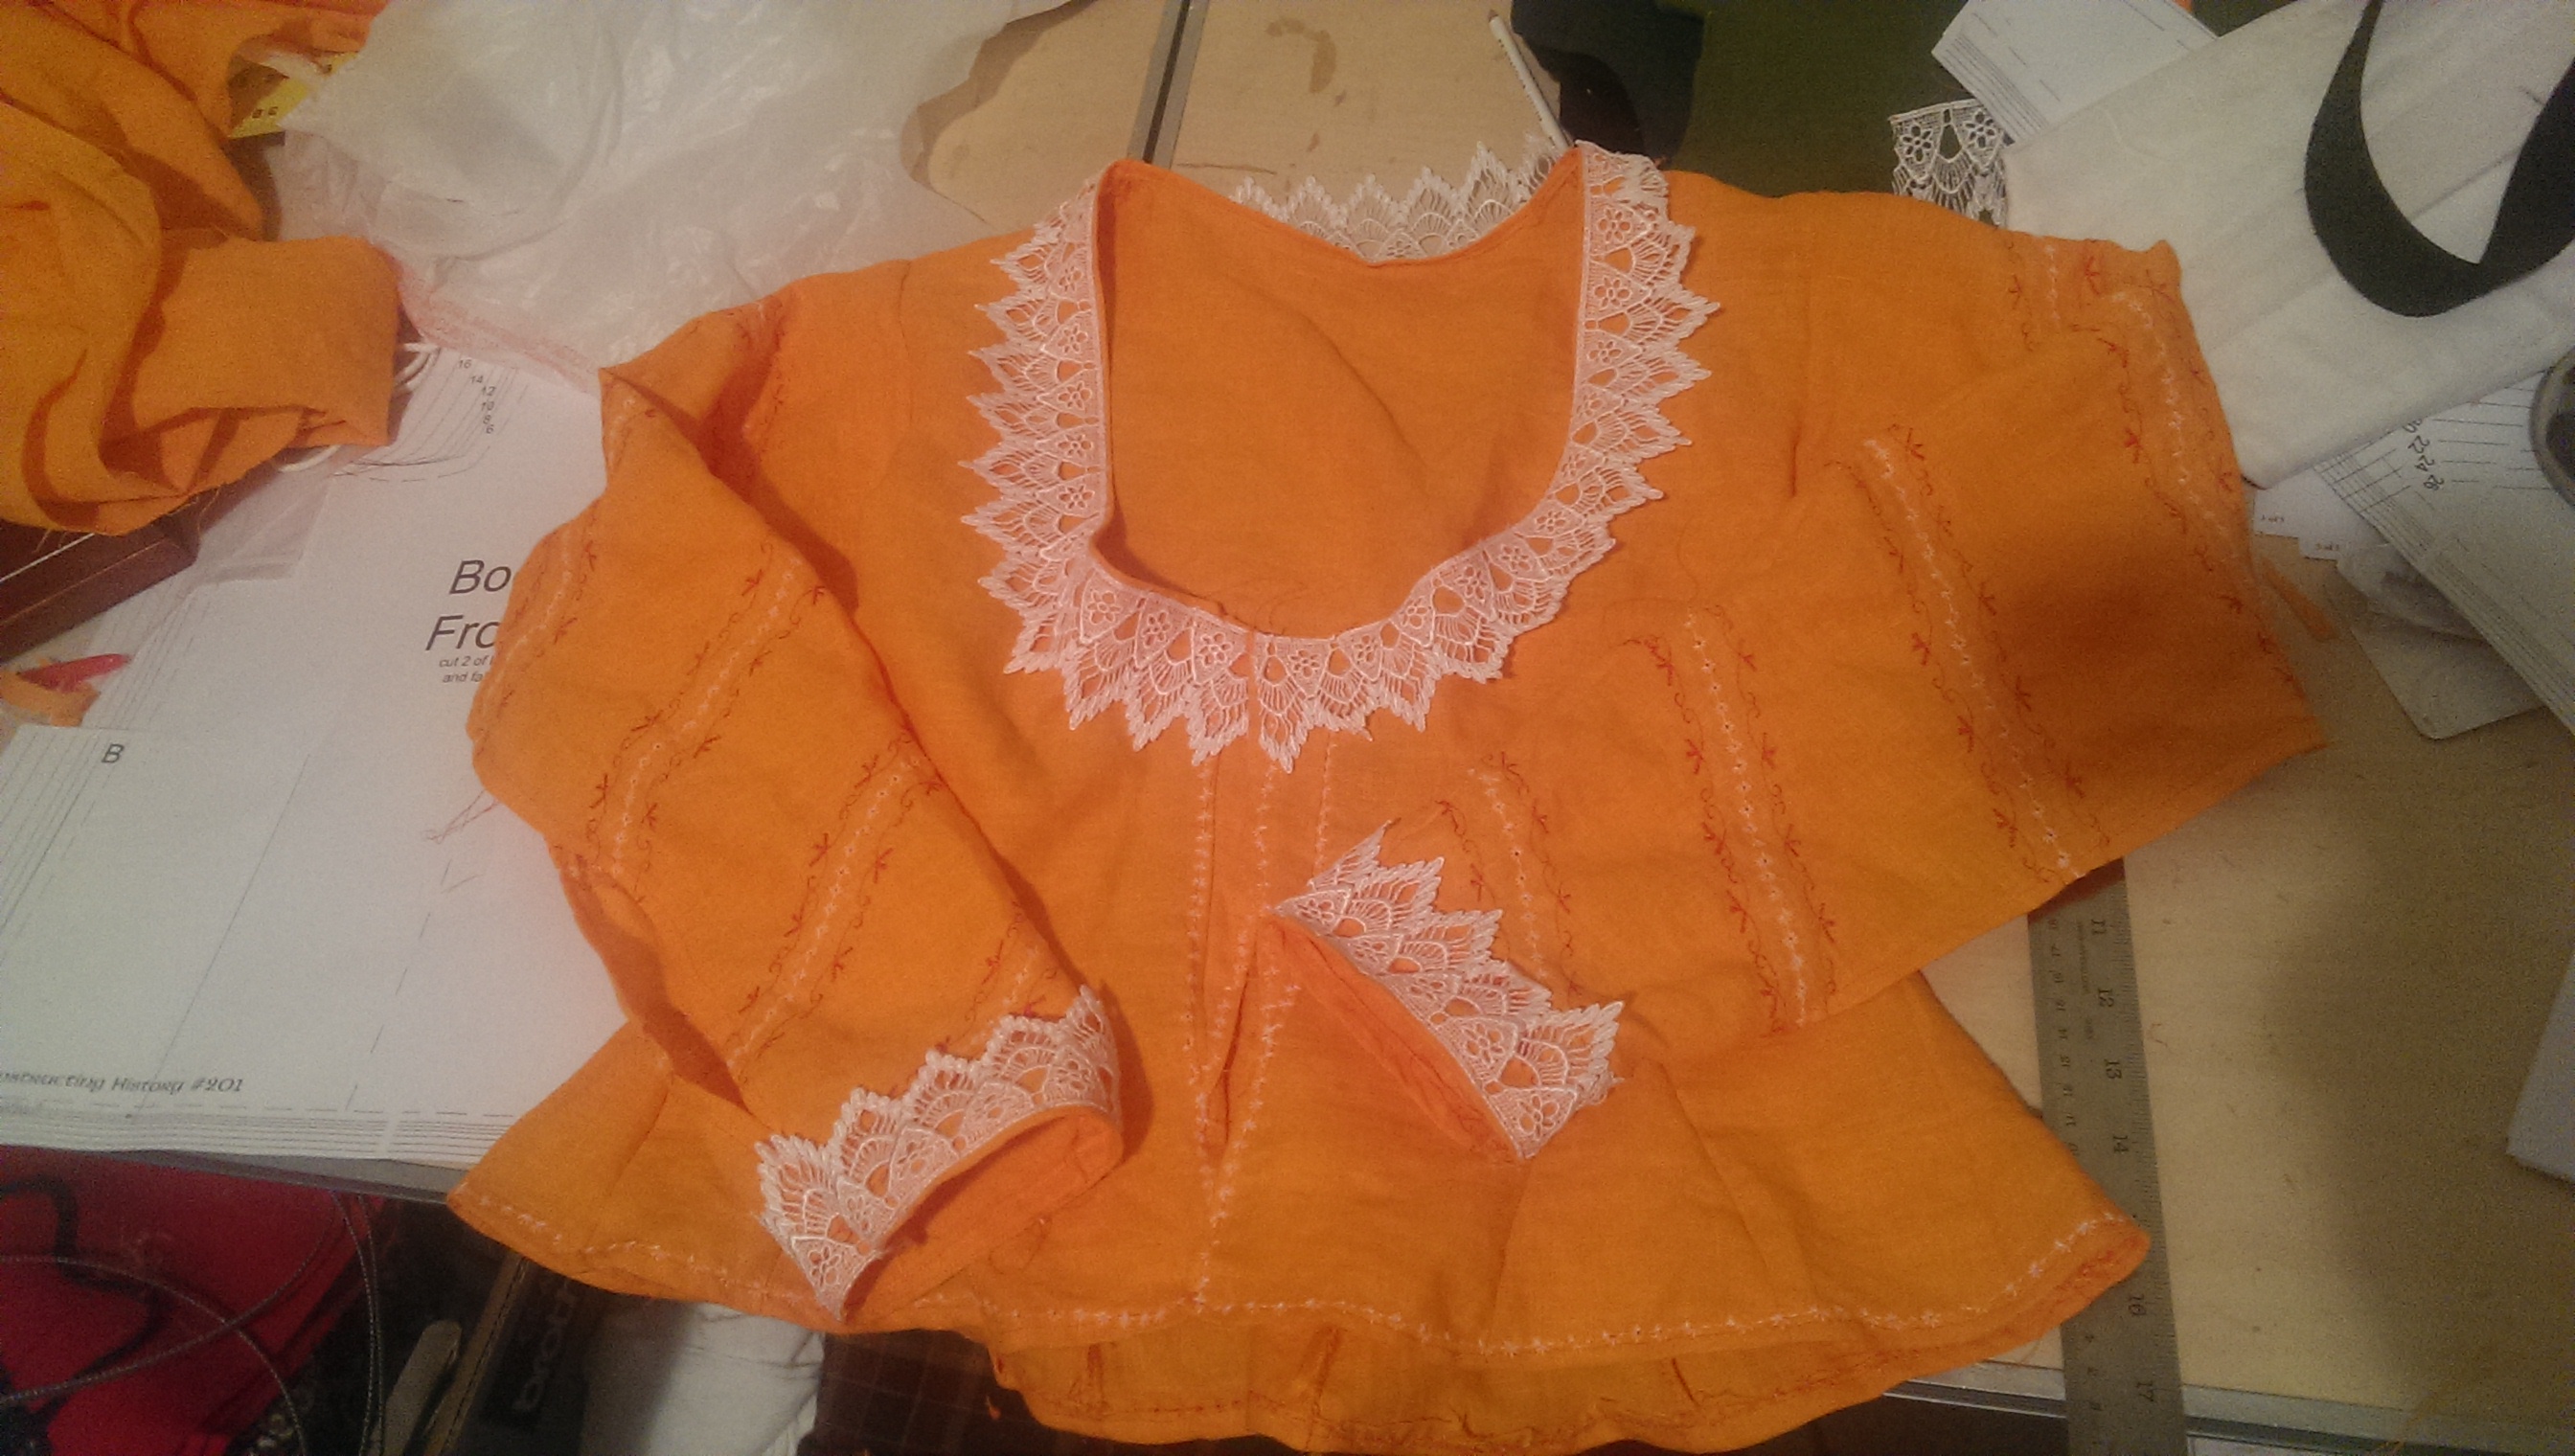 I ran out of hooks and eyes, and had to wait until my boyfriend came home Thursday night for an emergency run to Joann’s in order to get it all together. It took me a couple hours to sew on the 22 little pieces, but I wasn’t sleeping until it was done. Friday morning came, and it was time to pack, but wait, there’s more! Because of how low-cut the jacket is, I decided to create a stomacher for my corset with the same stripe pattern as the smock, I added MORE embroidery to the jacket so the gores were accented as seen in period pieces, and then I went and made the cap with the same false blackwork to look like the Bucs helmet stripes. So help me God, I was done. I didn’t want to sew another stitch!


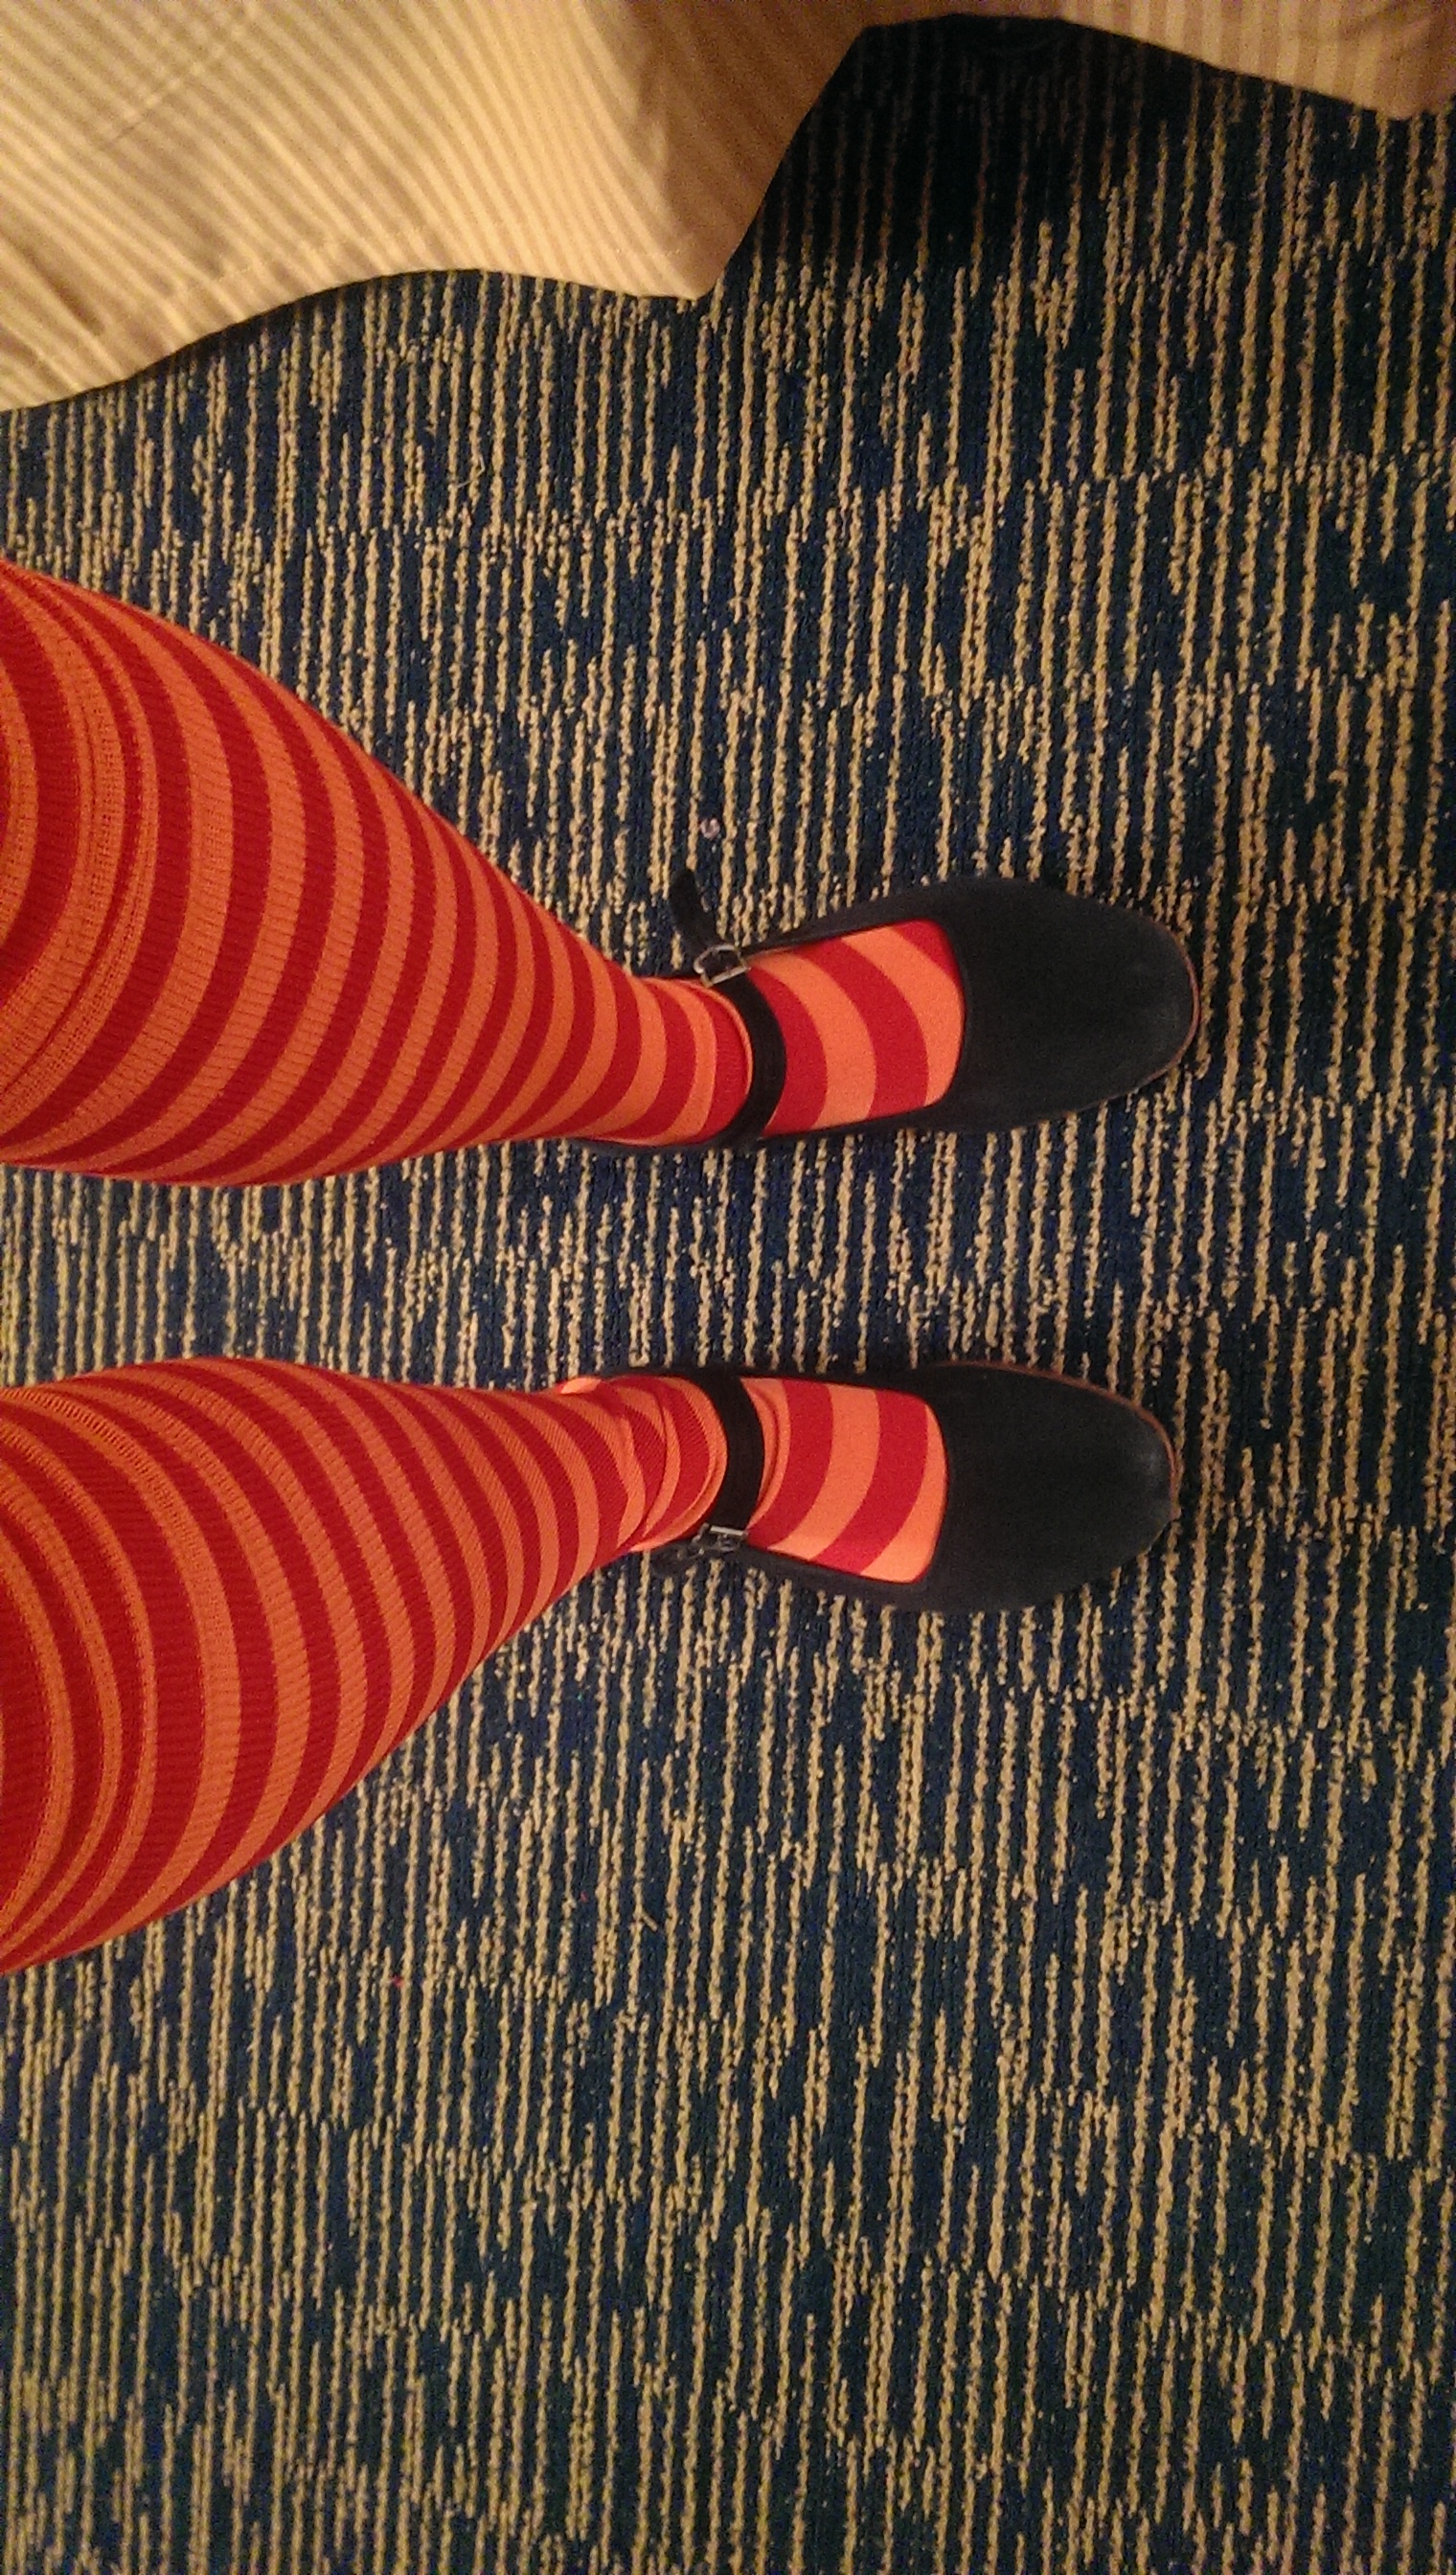
My hat I purchased from Stitches in Time (I’ve never made a decent hat and figured this was a bad time to try), I got obnoxious socks from Sock Dreams, and the hoop was just a cheap commercial one from eBay. The pearl strand I had was a vintage piece that my mother found at a white elephant sale for $5. They are actually low-grade saltwater pearls from the 1920s that have lost their lustre, but whatever. REAL PEARLS! I threw some glass drops from another necklace I had on silver hoops, and called it a day. We were off to Birka!
It was very hard not to explode and tell everyone what I was doing the whole time. A few people knew, especially Isabeau Du Valle and crew (The 14th century Sporting Portugal soccer team, for those who were there) who had also shared their idea with me. We were all insane, that much was for sure. I wanted to just shout, ‘HEY EVERYONE, GUESS WHAT I MADE?!” But I refrained, albeit almost bursting at the seams. And Saturday morning, I doned basic Byzantine to get breakfast and get some strolling through the event done before I turned into a walking traffic cone. At 11:30am, I saw someone wearing a Bruins apron dress, and that was it. I needed to change.
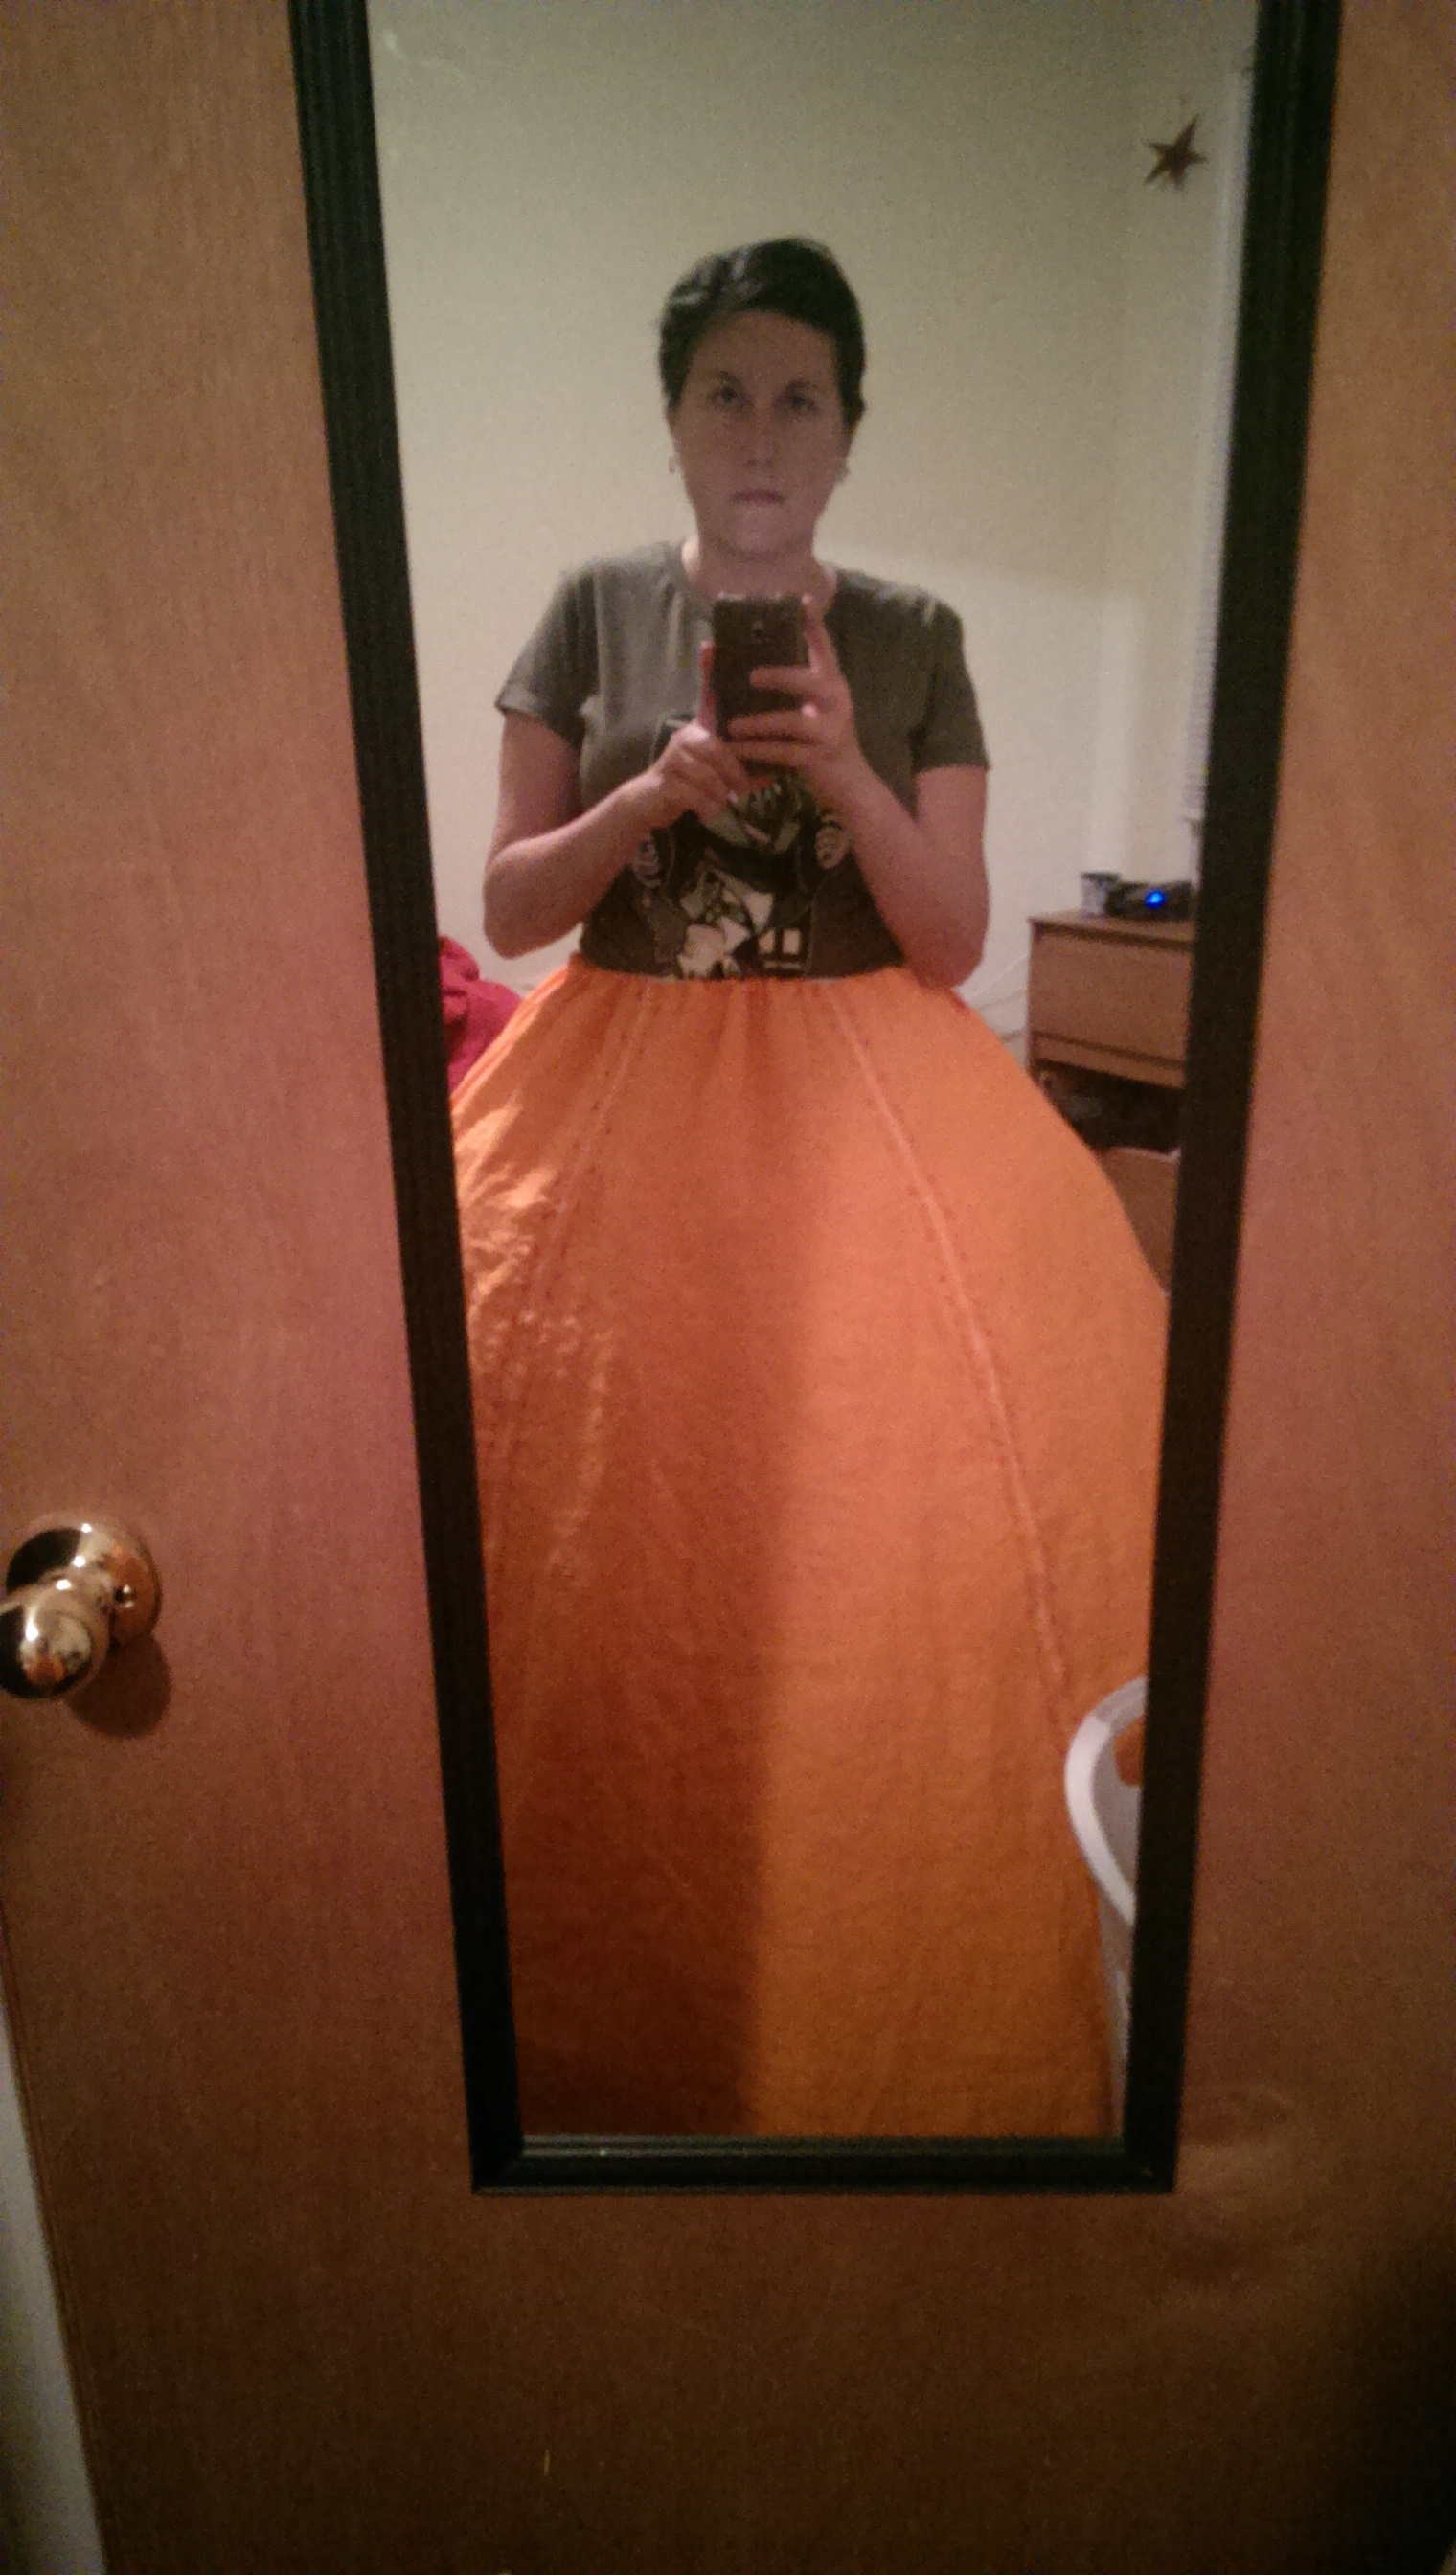
I was nervous. I had tried it all on at home, and I knew it fit, but I wasn’t sure how I was going to pull it off. Orange is a hard color to wear. Even though I felt I looked okay, and so did the recipients of my test shots/selfies, I remained a bit unconvinced.
Then I took this selfie, and I realized that I never felt so posh in my life.
 The way that the lace fell around the neckline was exactly as I had imagined it, and my thankfully [lightly made up] olive complexion just glowed.Unlike my poor Lord Geoffrey, who reflected it he came too close. I had begun emanating my own force field of Tampa Bay Buccaneers creamcicle orange.

So after the typical fuss and muss and pin and fixing a falling off hook, I came off the elevator into the lobby into a sea of stares. People were closing their eyes and blinking, or even looking away. I had effectively managed to blind a small percentage of the event before I even hit the main drag. I’m pretty sure I broke a few Laurels. 😉
Mission: accomplished.
Most reactions were “WOW.”(or maybe it was “ow?”) Others were just wided eyed in wonder/horror at this lacey orange monstrosity that had appeared before them. So I paraded around the merchants, receiving compliments and, “WHY?” from several folks. I tried to find the perfect knife to hold in my teeth, but Geoffrey insisted it was a bad idea. Most people asked if I was representing Syracuse University, being that my persona is from Syracuse, Sicily, but no. Once I mentioned it was old school Bucs, I got a lot of rolled eyes and, “Of COURSE you would do something Tampa!” Sneers. Hah. Mission doubly accomplished.
The fashion show was…AMAZING. There was nobody there that didn’t astound me, and Baron Xavier and Baroness Maria’s Patriots landsknecht totally deserved the win. They were unbelievably detailed up close, and I really wish I would have brought my camera down to get pictures of everyone. Once a public gallery goes live, I’ll post it here to share.


WHAT HAVE I LEARNED:
– Do not be afraid of trying new things. Ever.
– A properly fit Elizabethan corset will not hurt you, nor are they that hard to make. You can even put it on, lace it up, and take it off yourself if you spiral lace it.
– Lucy Russell was a pretty amazing woman for her period.
– I look good in dayglow/signal corps orange. I cannot wear Lord Geoffrey as an accessory, though.
Will I wear this again?:
I’d be foolish not to wear it again after all the work I put into it, but it will just have to wait until the right time and place. Probably Pennsic for Midnight Madness. I may bring it down to the Bay Area Renaissance Festival in March when I go to visit my family, but that site is very dusty and usually turns the hem of whatever I’m wearing kinda black.
LE FIN.


You must be logged in to post a comment.