Baronessa Maria Pagani and Baron Juan Xavier’s tribute to the Patriots was a team effort. Pani Astrida Borowska made Maria’s dress. Lady Syele von Heidelberg made Juan’s Wams and coif. Juan made the pants. Elvira Violante de Ballesteros made the red/white/blue cording. The coif slashes represent the team logo and the large “X” motif on the back of the Wams is both a play on my name, Xavier, and also makes him #10 on the team. Maria’s gown has elements drawn from a Patriots cheerleader uniform.
Her Majesty Avelina issued a garb challenge to the Kingdom for Birka to pick their favorite sports team and interpret their uniform as a medieval garment or outfit.
“So many of us are rabid sports fans and when we are playing medieval on the weekends, sometimes we can be found wearing our teams’ colors under our garb for warmth,” Queen Avelina wrote. “I was…
**********Warning the following article may contain spoilers. You have been Warned!*******************
Summary:
A slave turned gladiator finds himself in a race against time to save his true love, who has been betrothed to a corrupt Roman Senator. As Mount Vesuvius erupts, he must fight to save his beloved as Pompeii crumbles around him.
Her profile is LOADED with sources on Byzantine dress from ceremonial garments of military to bridal costume to even eunuchs! I nearly fell off my couch! They’re RECENT also, and free! FREE. I had to share! The only way Byzantine personae in the SCA will grow is by the continued research and study of the subject. Bamf. You’re welcome. Now if you excuse me, I need to go download all the things to my Kindle Fire. ❤
So.
Once upon a time, Avelina II, Queen of the East, challenged her populace to a garb challenge for Birka. This challenge, was to take your favorite sports team, and basically turn it into garb. Me, having the huge words, “COMPETITIVE SUCKER” written across my forehead, went, “Oh, it’s on.”
You see, class, Anna is not a fan of anything Boston/New England. I grew up in Tampa, and therefore, have suffered through some really horrible seasons with really horrible teams. Fortunately, the Rays are no longer horrible, and the Lightning have never really BEEN terrible, but the Buccaneers? Oh man, I have stories. Your priest on Sunday should not include, “And please let the Bucs win!” during the closing invocation of a Catholic mass during the Vinny Testaverde days.
First, I needed to make a choice. I had three professional teams I could reasonable choose from, and then a huge span of time to play with as far as the garb would go. I gave myself 2 options: Keep it simple, or, MAKE THEIR EYES BLEED! Both the Rays and Buccaneers had been blessed with pretty garish color schemes during their inception, and have since toned down the colors. This also resulted in winning records. Since then, us TB fans have a superstition that changing uniforms makes a winning team. The Bucs broke that, but 2 for 3 ain’t bad. The original color schemes of the teams were creamsicle orange, red, and white for the Bucs; black, blue, and white for the Lightning, and hot green and purple for the Rays. I could feel my eyes bleeding as I tried to mentally design apron dresses around these teams. It was a Viking event after all. I decided to ditch the Lightning first, not that turning contrast stitching seams into lightning bolts couldn’t be awesome, but it seemed the most subdued. Then, I turned to the Rays and the Bucs. I’m not one for being subtle. (To quote my friend Konstantia Kaleothina, “Byzantines put the ‘b’ in subtle.”)
My mind reeled over the idea of designing an intricate “devil ray” in the Norse style for applique on a purple wool dress, baseball stitches on the seams, with a hot green tunic, but I was at a total loss with the idea of the Bucs. They were, well, pirates. Straight out of the cavalier period, even:
Bucco Bruce!
If I went that route, I needed to go uber-late period. I was at a loss. Both outfits were going to require a significant amount of time and resources, and late period requires scary undergarments.
My prior experience with the period.
So, instead of drawing stuff out, and weighing pros and cons, I simply called my family in Florida, who don’t really SCA, and asked their opinion.
“#$%! those Boston fans. Blind the bastards.”
Us Tampanians are so eloquent.
I was still a bit torn, the throwback Devil Ray Viking would be just as hardcore as throwback Buccaneers Elizabethan, but the ultimate deciding factor were members of the Barony of Stonemarche issuing their own challenge to wear orange at Birka.
Challenge: ACCEPTED. (I was so screwed.)
Alright, first, pick a period. It would have to be as late as I could go. Cavalier is technically out of period, you’re looking at the 1630s post-English Civil War, and I’d be damned if I was going to wear a cavalier hat like every other rennie, so I rolled back the clock 30 years, and got to this:
This is Lucy Russell, Countess of Bedford, from a Masque she put on in 1606. She was a huge patron of the arts in the courts of Elizabeth I and James I. She was my muse.
Oh. My. God. It was perfect. Not only did I find a shape I could work with, but this was instant documentation for the use of orange. There’s always a debate on orange in period, and there’s a great deal of evidence that not only did it exist, but it was also wildly popular. Especially in the Elizabethan/Jacobean period. I’ve always been a fan of late period fashions, mostly Italian over English, but I don’t really have the “draw” to the history like I do the Roman and Byzantine Empires, which is why I don’t particularly dabble in the 16th/17th Century.
So period: Check.
Cut: Check.
Colors: Easy enough.
I bought the orange linen from Fabrics-store.com as soon as I saw it. “Flame orange” is the name, and it was on sale. Done. Mine.
ZING! Sunny Delight, anyone?
Now to approach the details. I entertained a great deal of ideas of how I was going to do trim and lace. Venetian lace I found easy enough, but the stripes…I wasn’t sure. I figured I could use different color bias tape, and make it easy on myself, and that’s what I was pretty much going to go with, until my boyfriend got me a sewing machine for Christmas that embroiders. Oh LAWD, he created a monster!
I had one more issue: I’m dieting. In fact, I’ve lost 4″ from my waist since the challenge was announced, and I needed a corset. I HATE MAKING CORSETS. I figured I could spend the money, have someone do it for me, and then just re-sell it, but I caved, saved myself about $50, and bought the materials myself. The game was afoot.
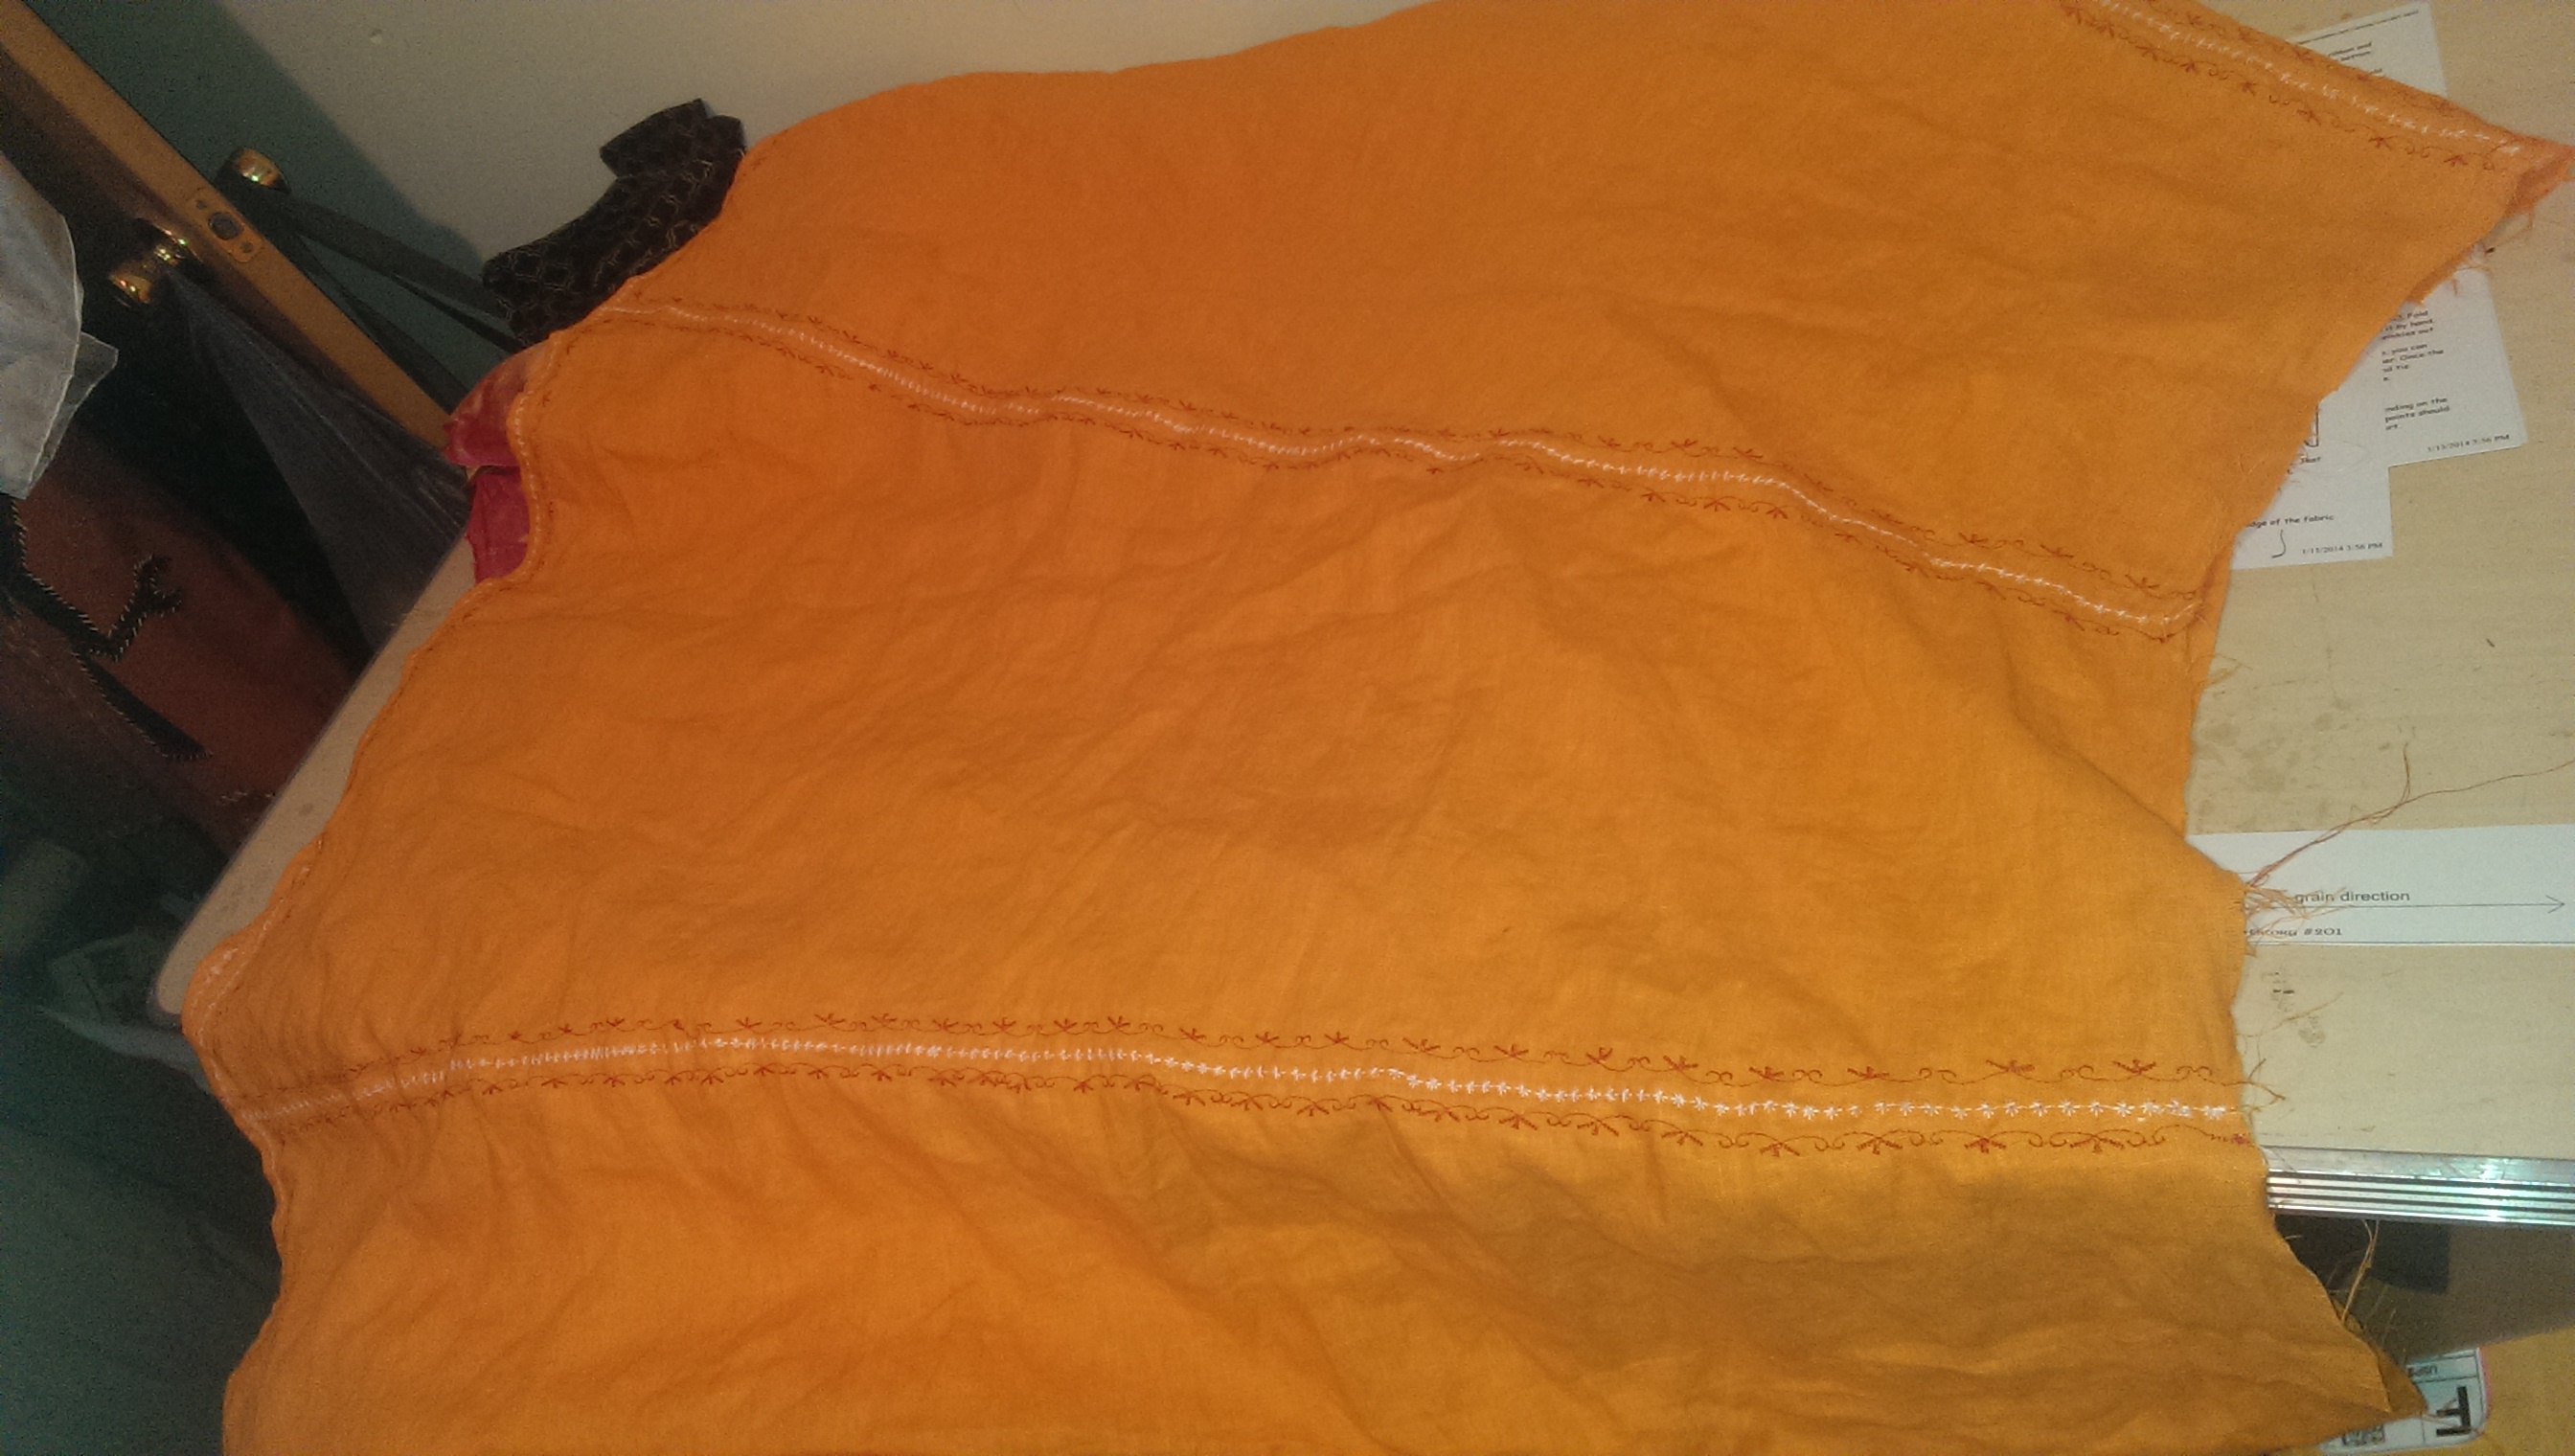
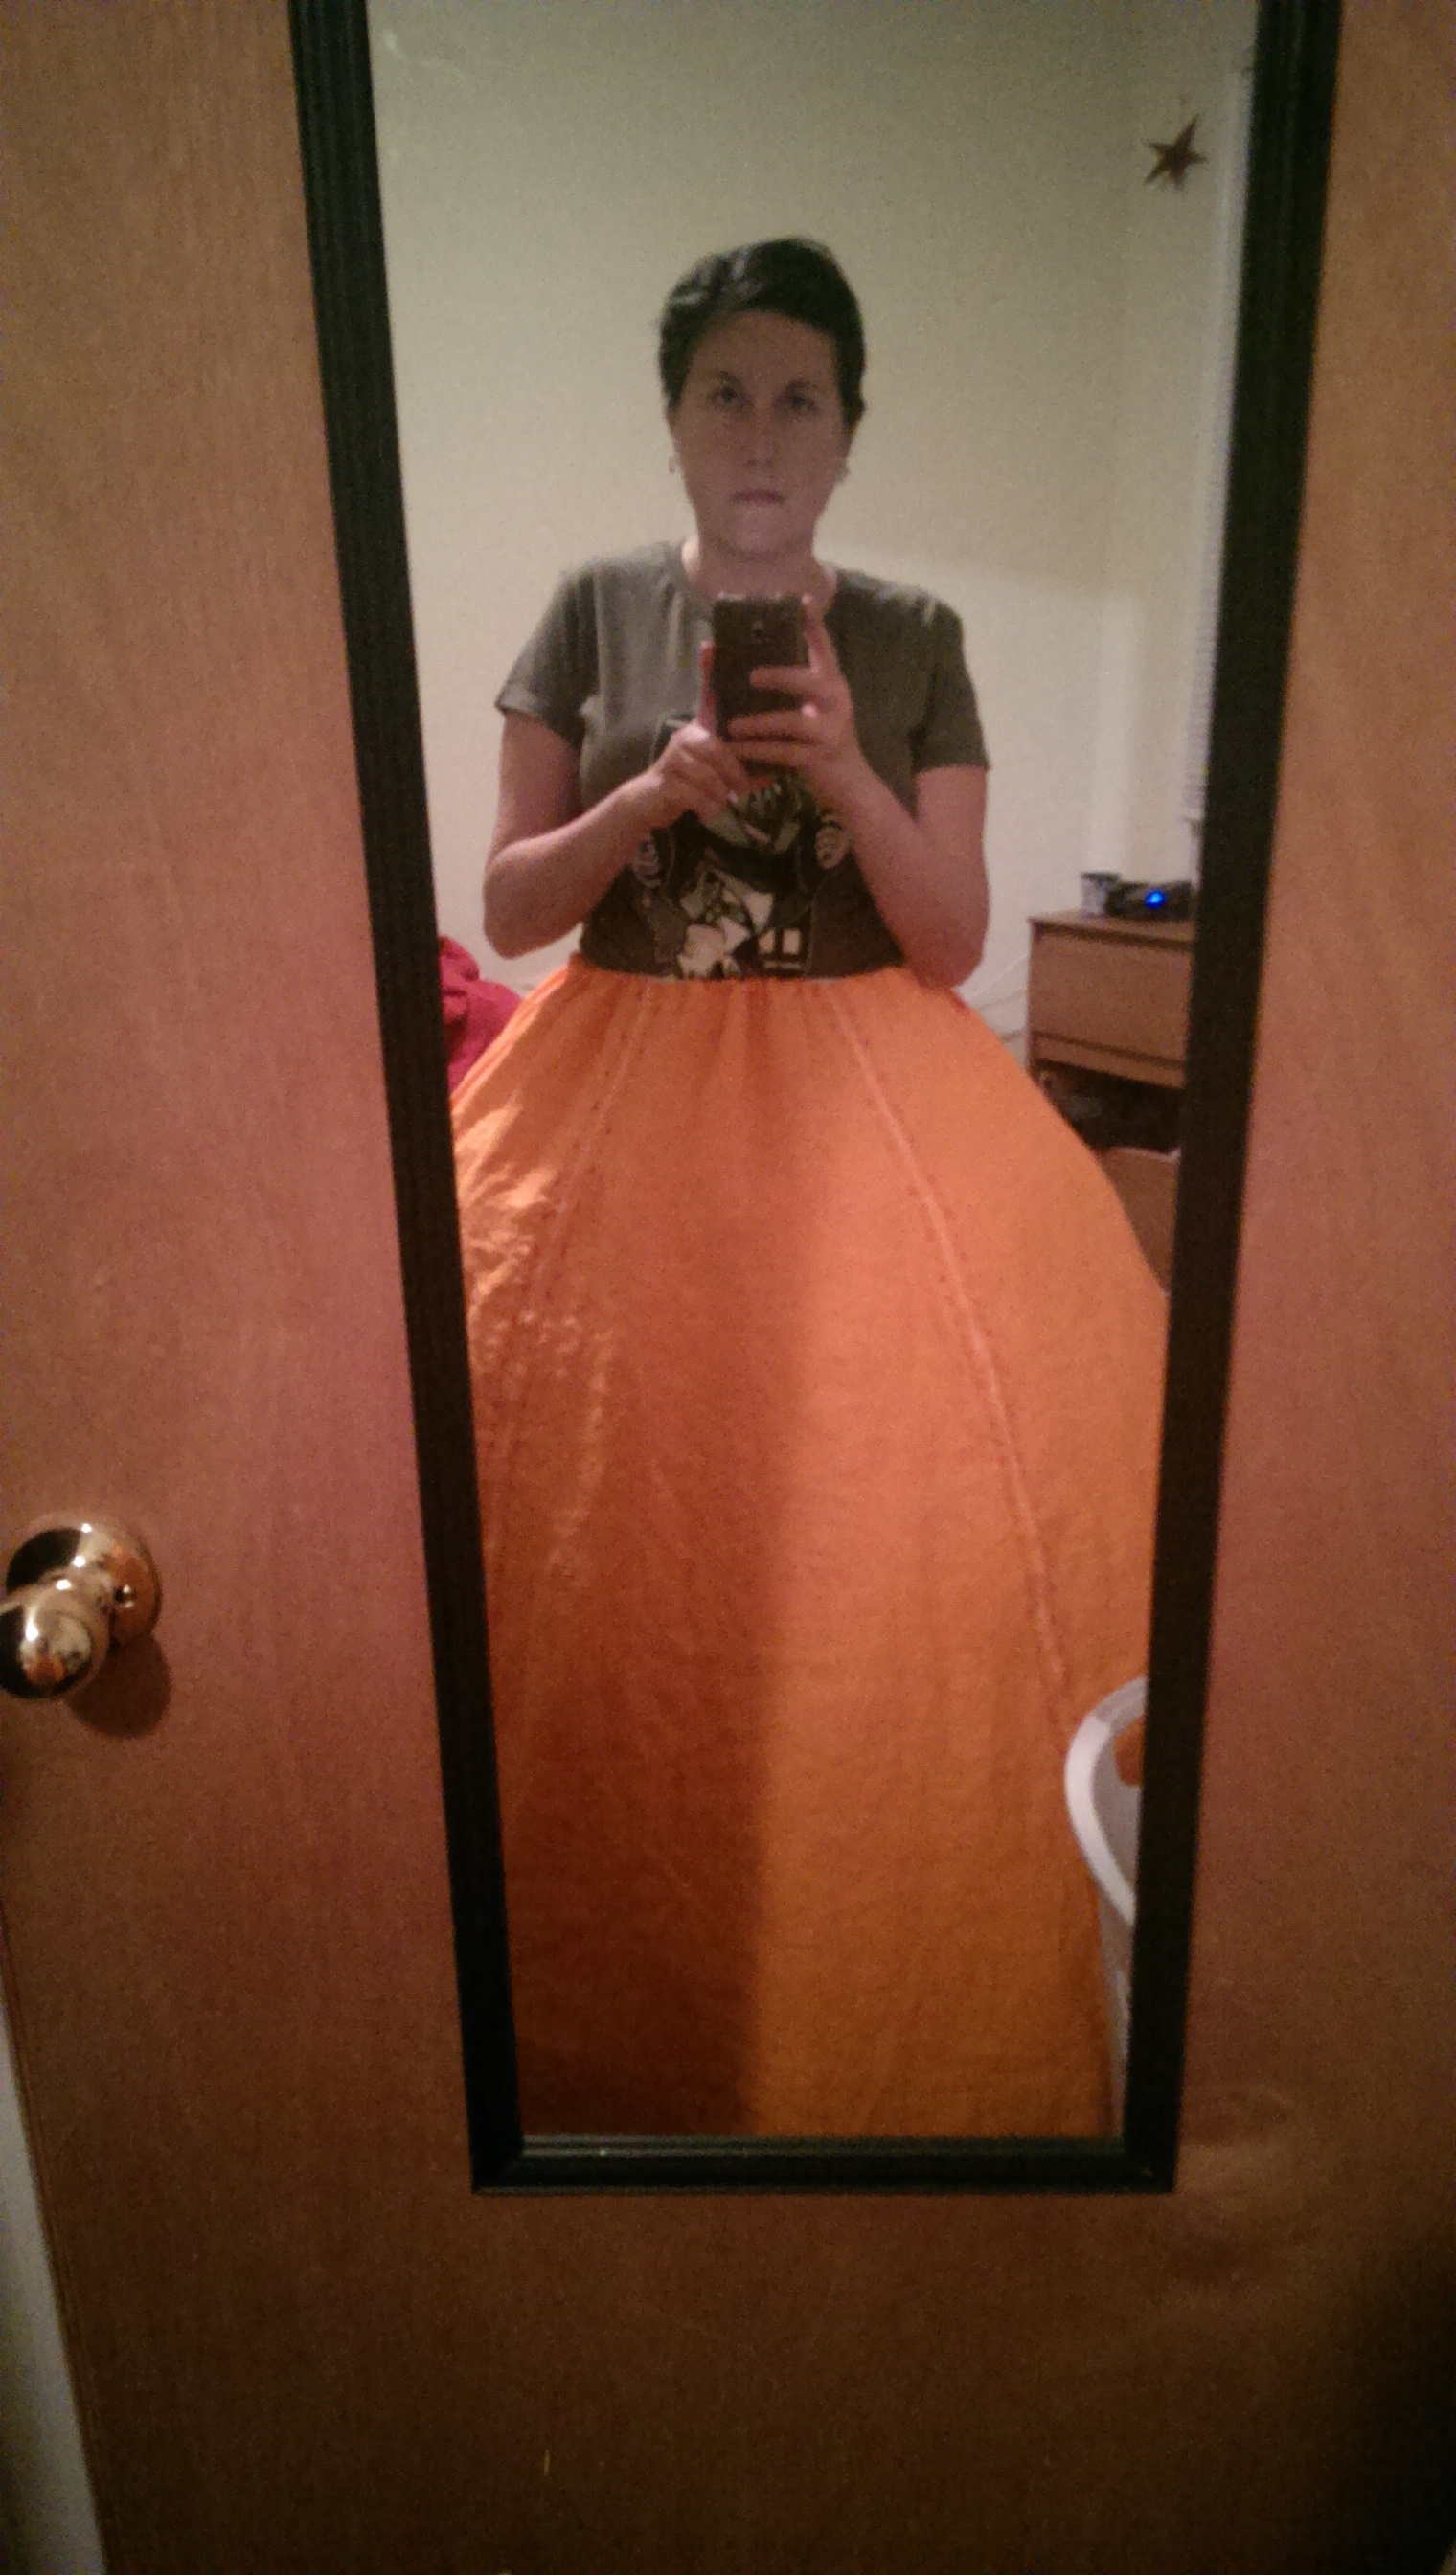
First I made the skirt. It’s a simple 6-gore skirt with a drawstring waist. Not accurate, it should be gathered into a band and hooked closed, but…it was a 10ft rule competition, and I’m not Elizabethan. I was going to take shortcuts. I sewed the skirt together, threw it over the hoop, and laughed, really hard, over how orange it was. I sent a picture to the boyfriend, and he was mortified. I created a simple embroidery pattern using the stock stitches on my machine, and chose them for the following reasons:
The white reminds me of sunbursts or lightning bolts. So it pays a bit of homage to the other two pro teams in Tampa Bay, and the red were palm trees. This was my little salute to home. The red-white-red pattern is the same as on the orange uniform components.
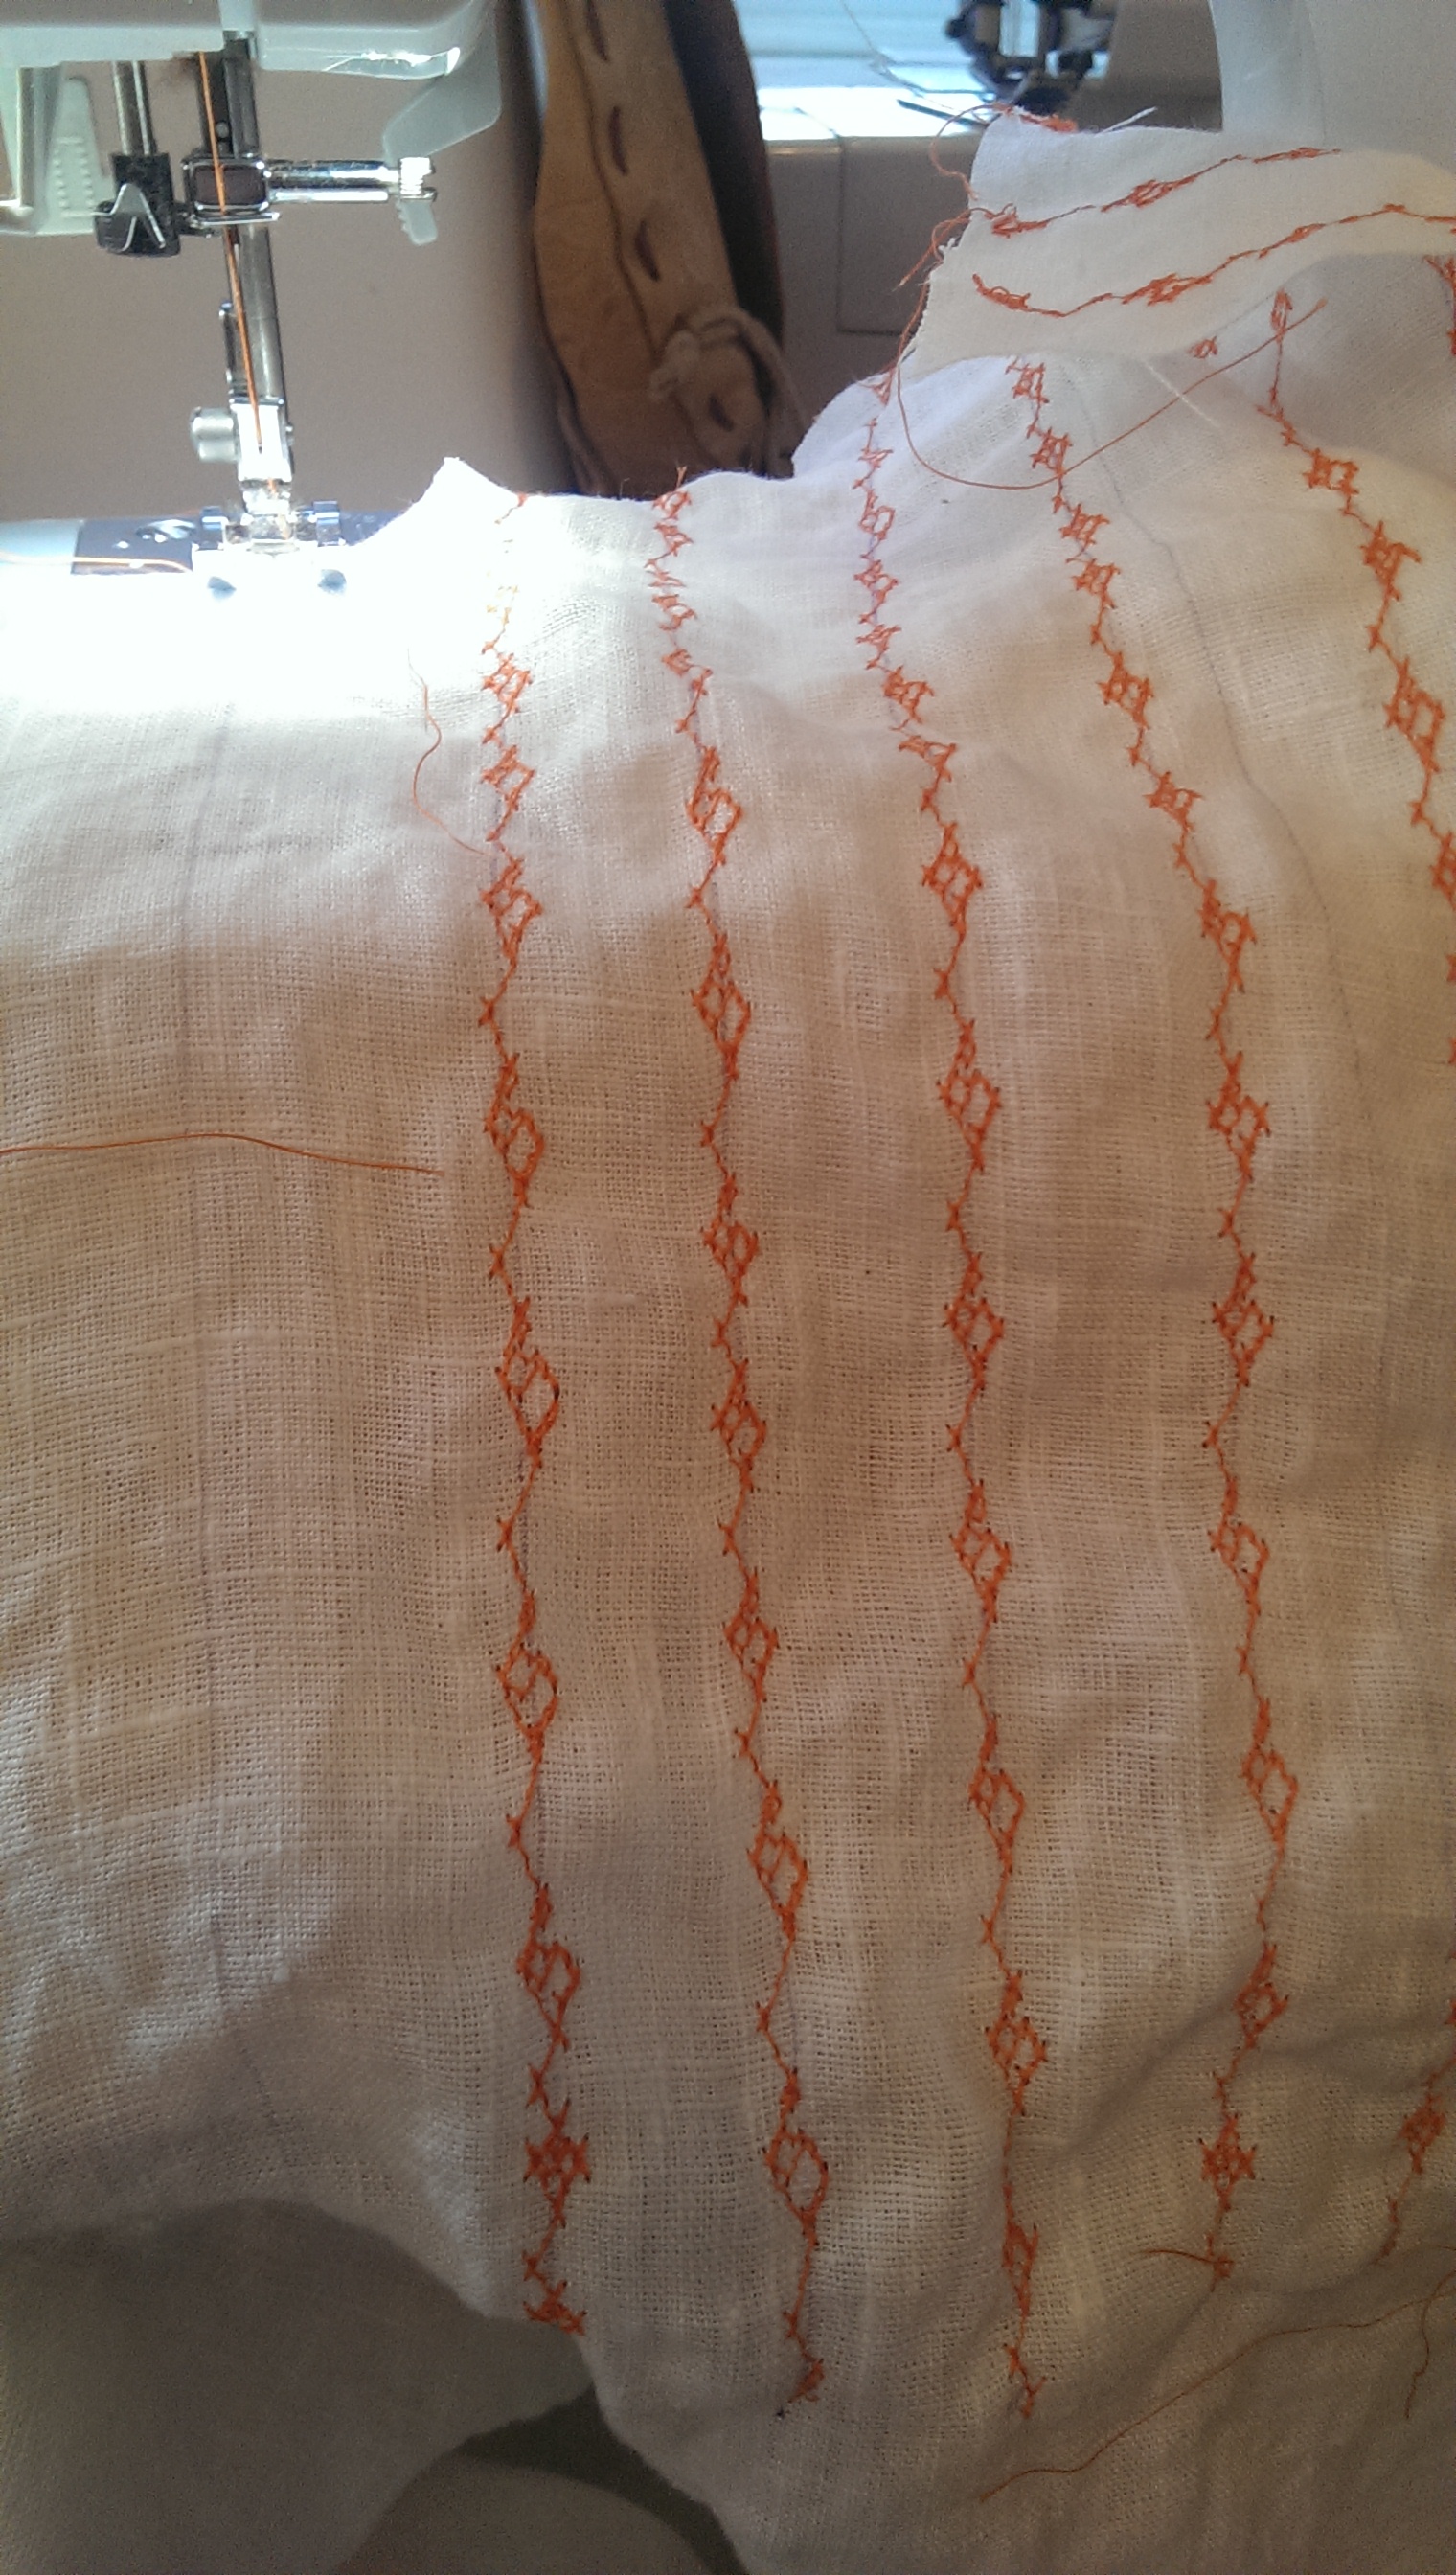
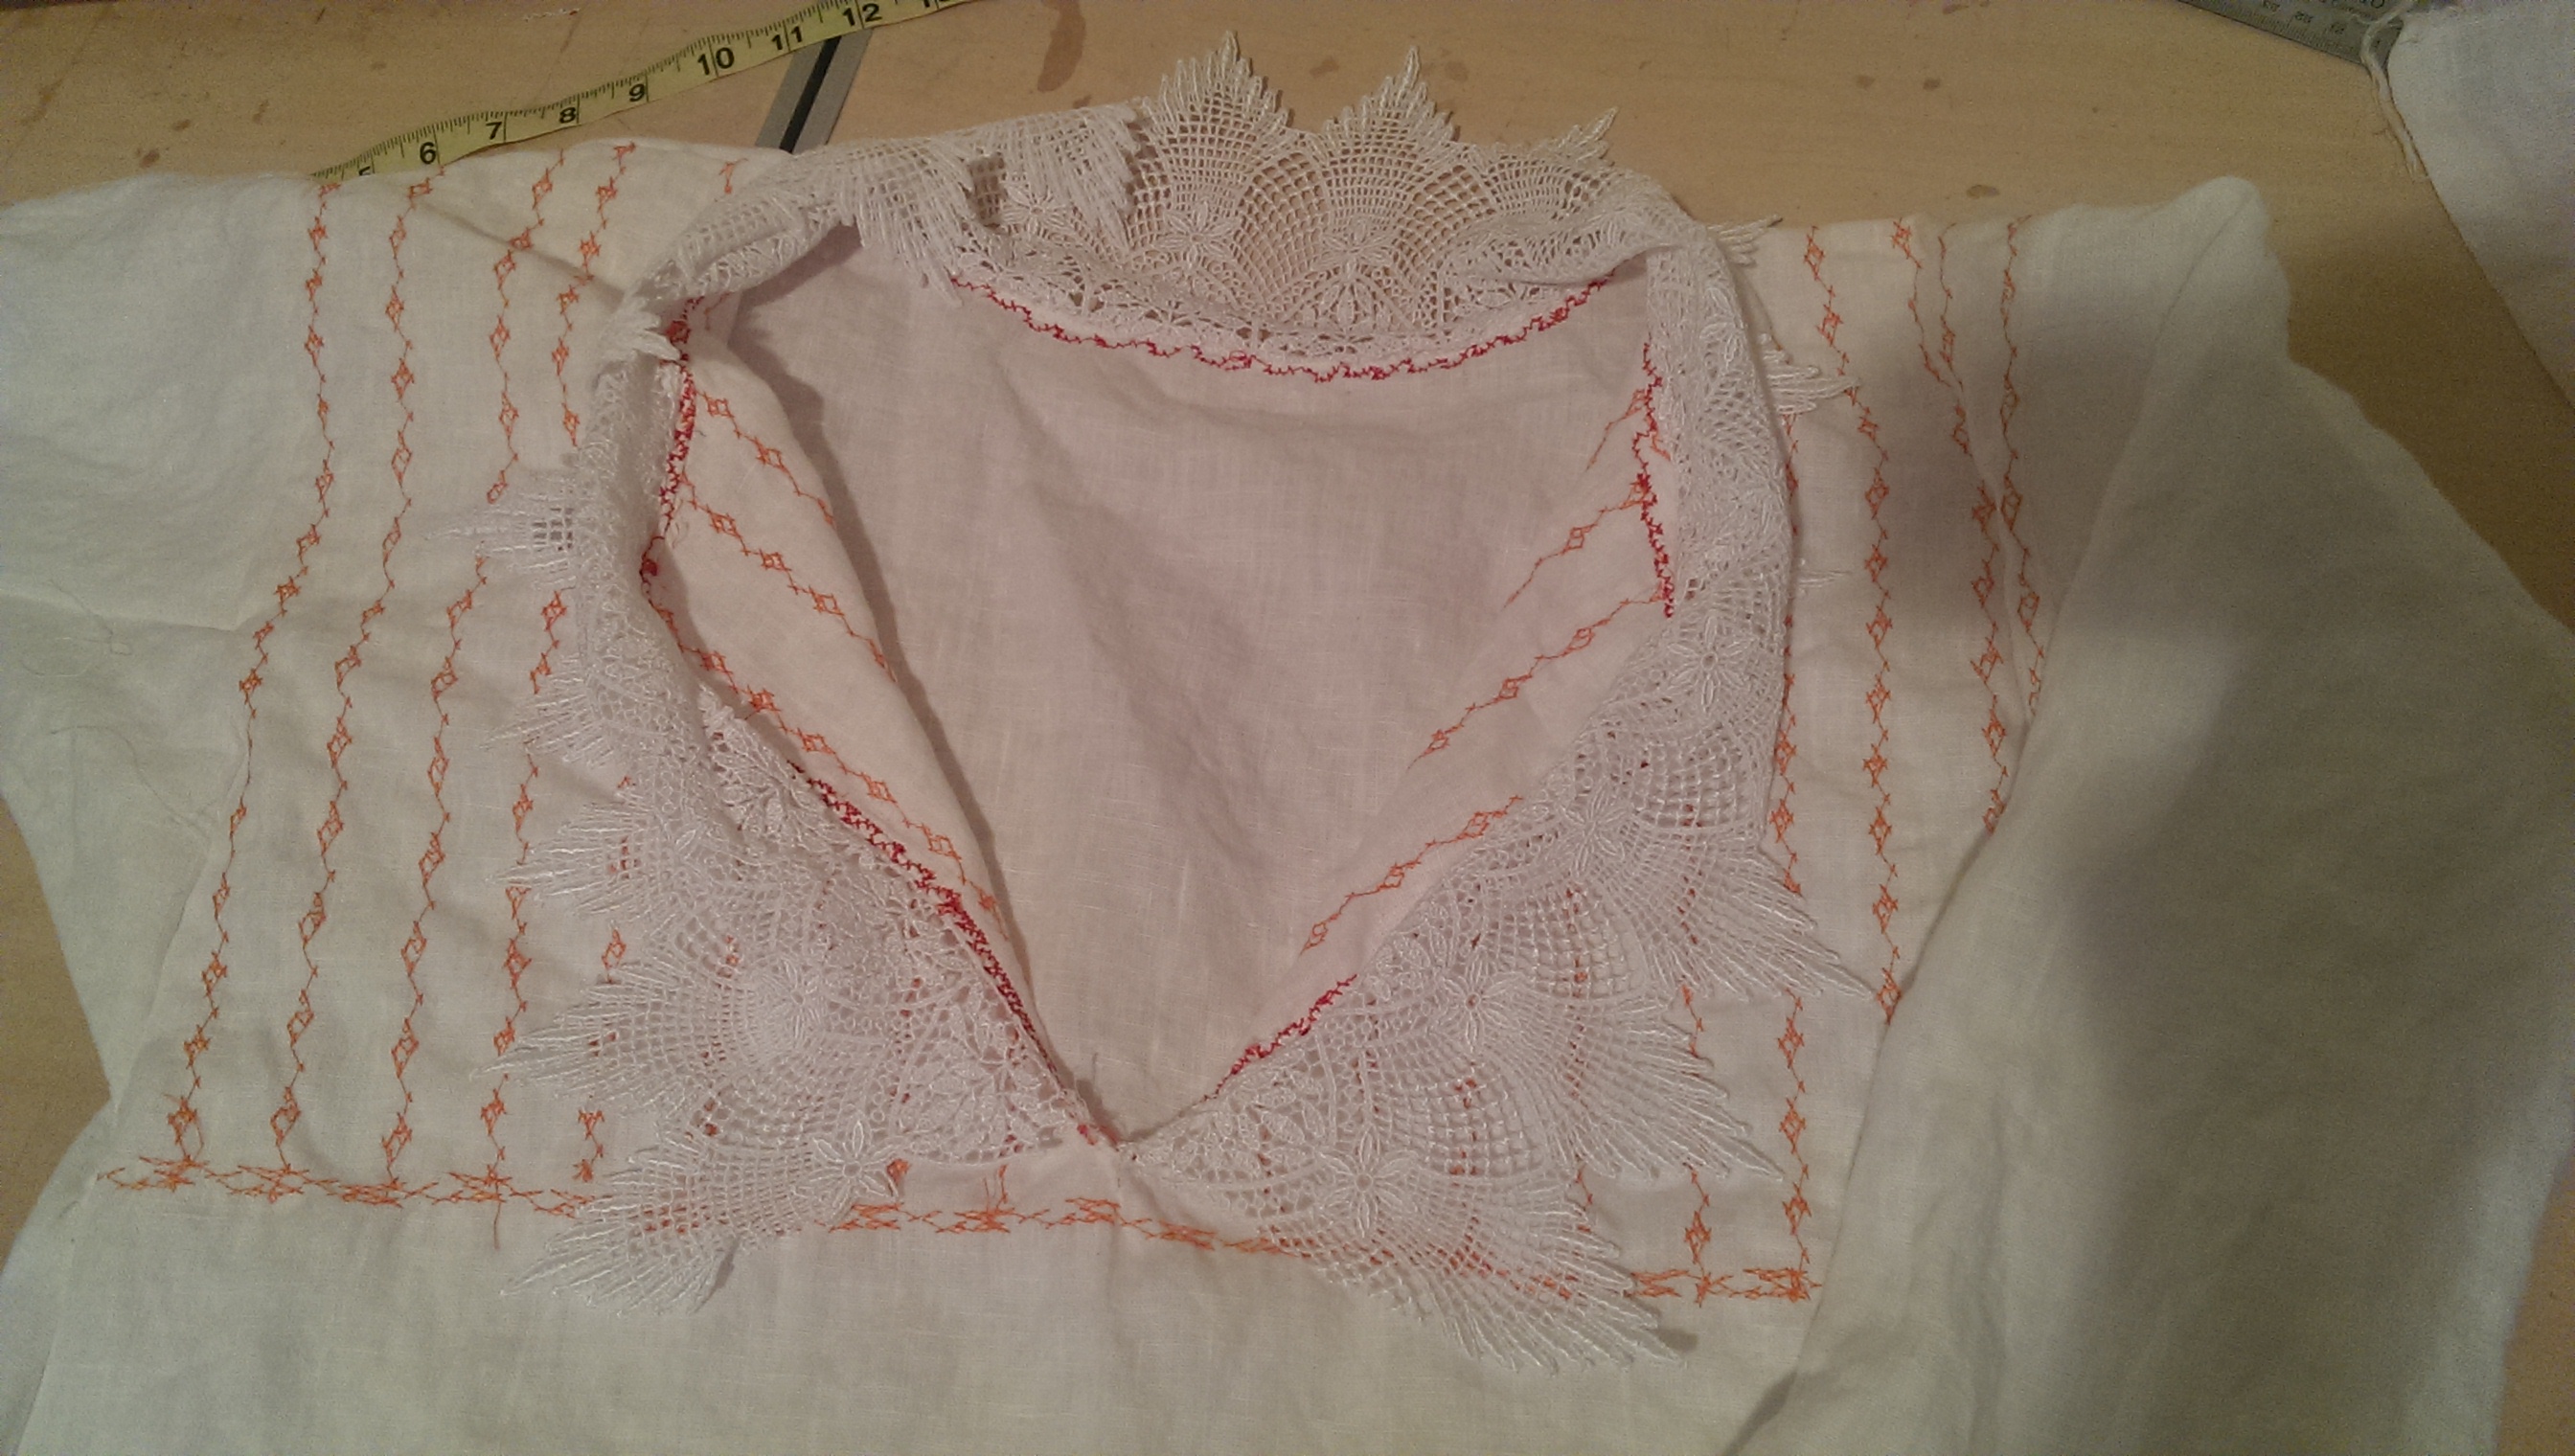
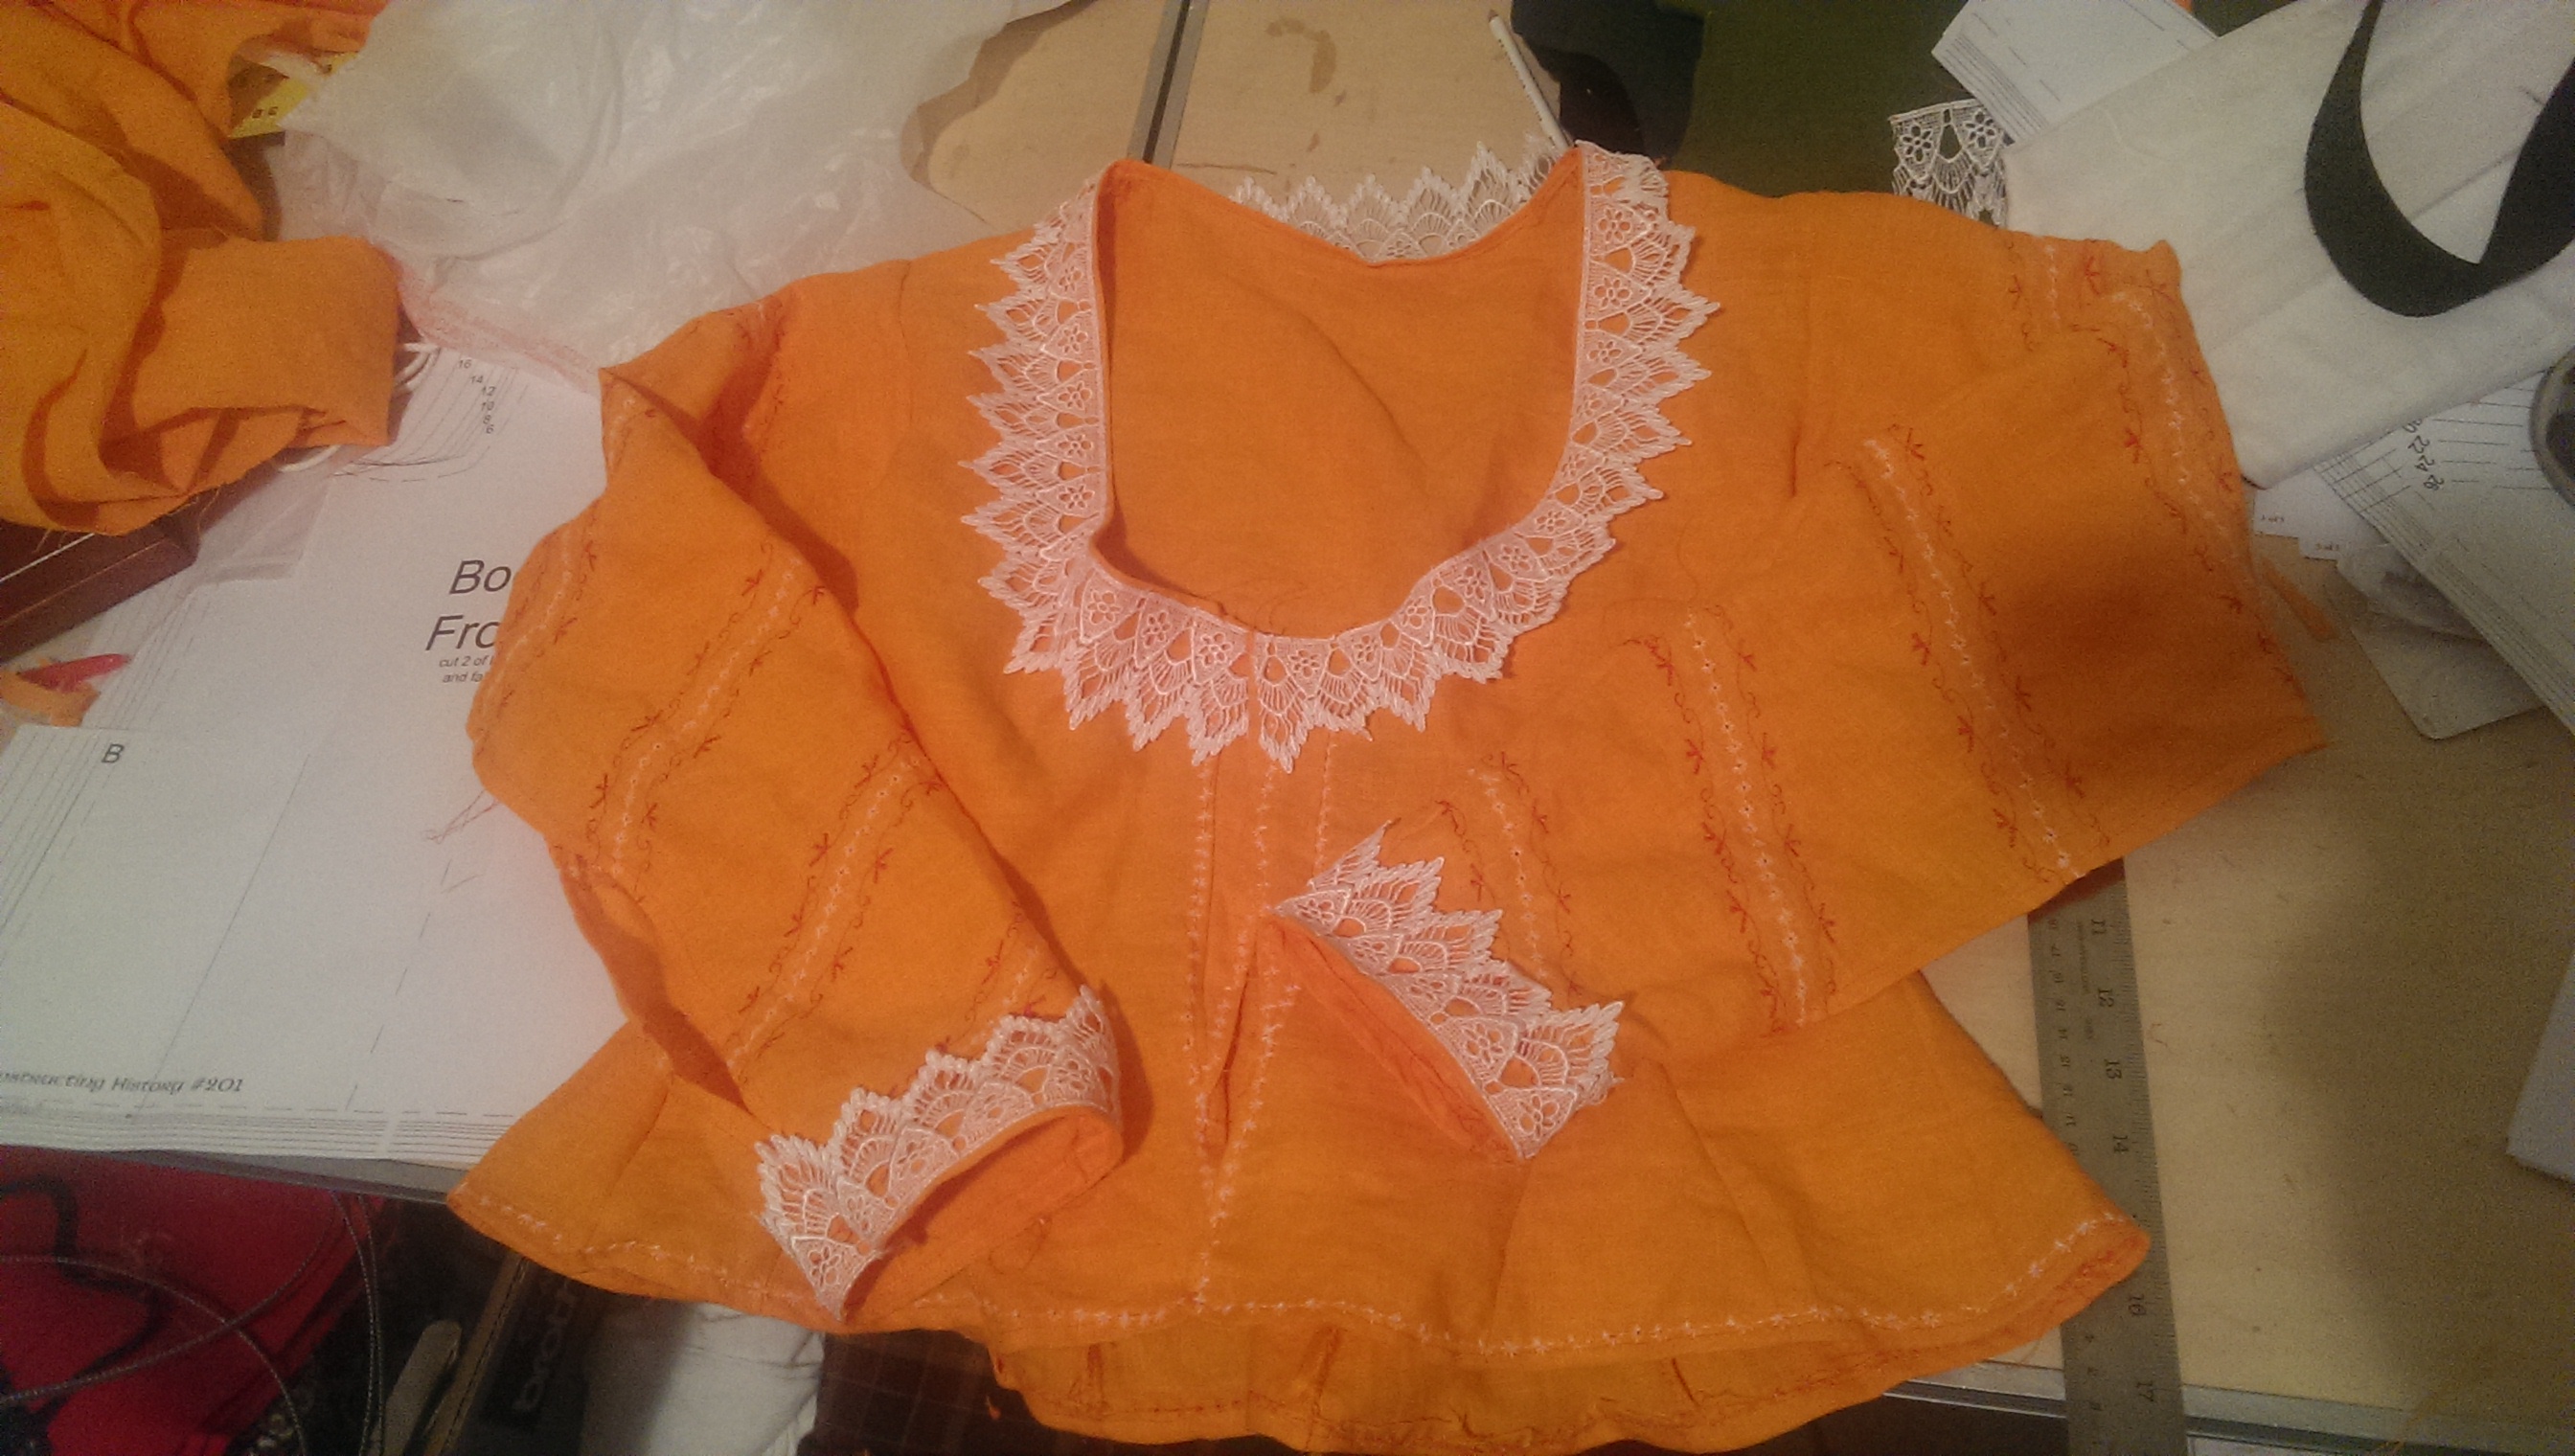
The smock was another fast garment, all things considering. The pattern is basically the same as a t-tunic with some minor variations, in this case, I created a mock partlet (another shortcut, don’t kill me, Elizabethan personae reading this!) and embroidered the snot out of it with my machine to resemble blackwork in orange. I applied the wider Venetian lace around the color to mimic Lucy Russell’s look, and did the orange-red-orange stripes on the cuffs as seen on the white jersey pieces of the uniform. It’s 100% white linen.
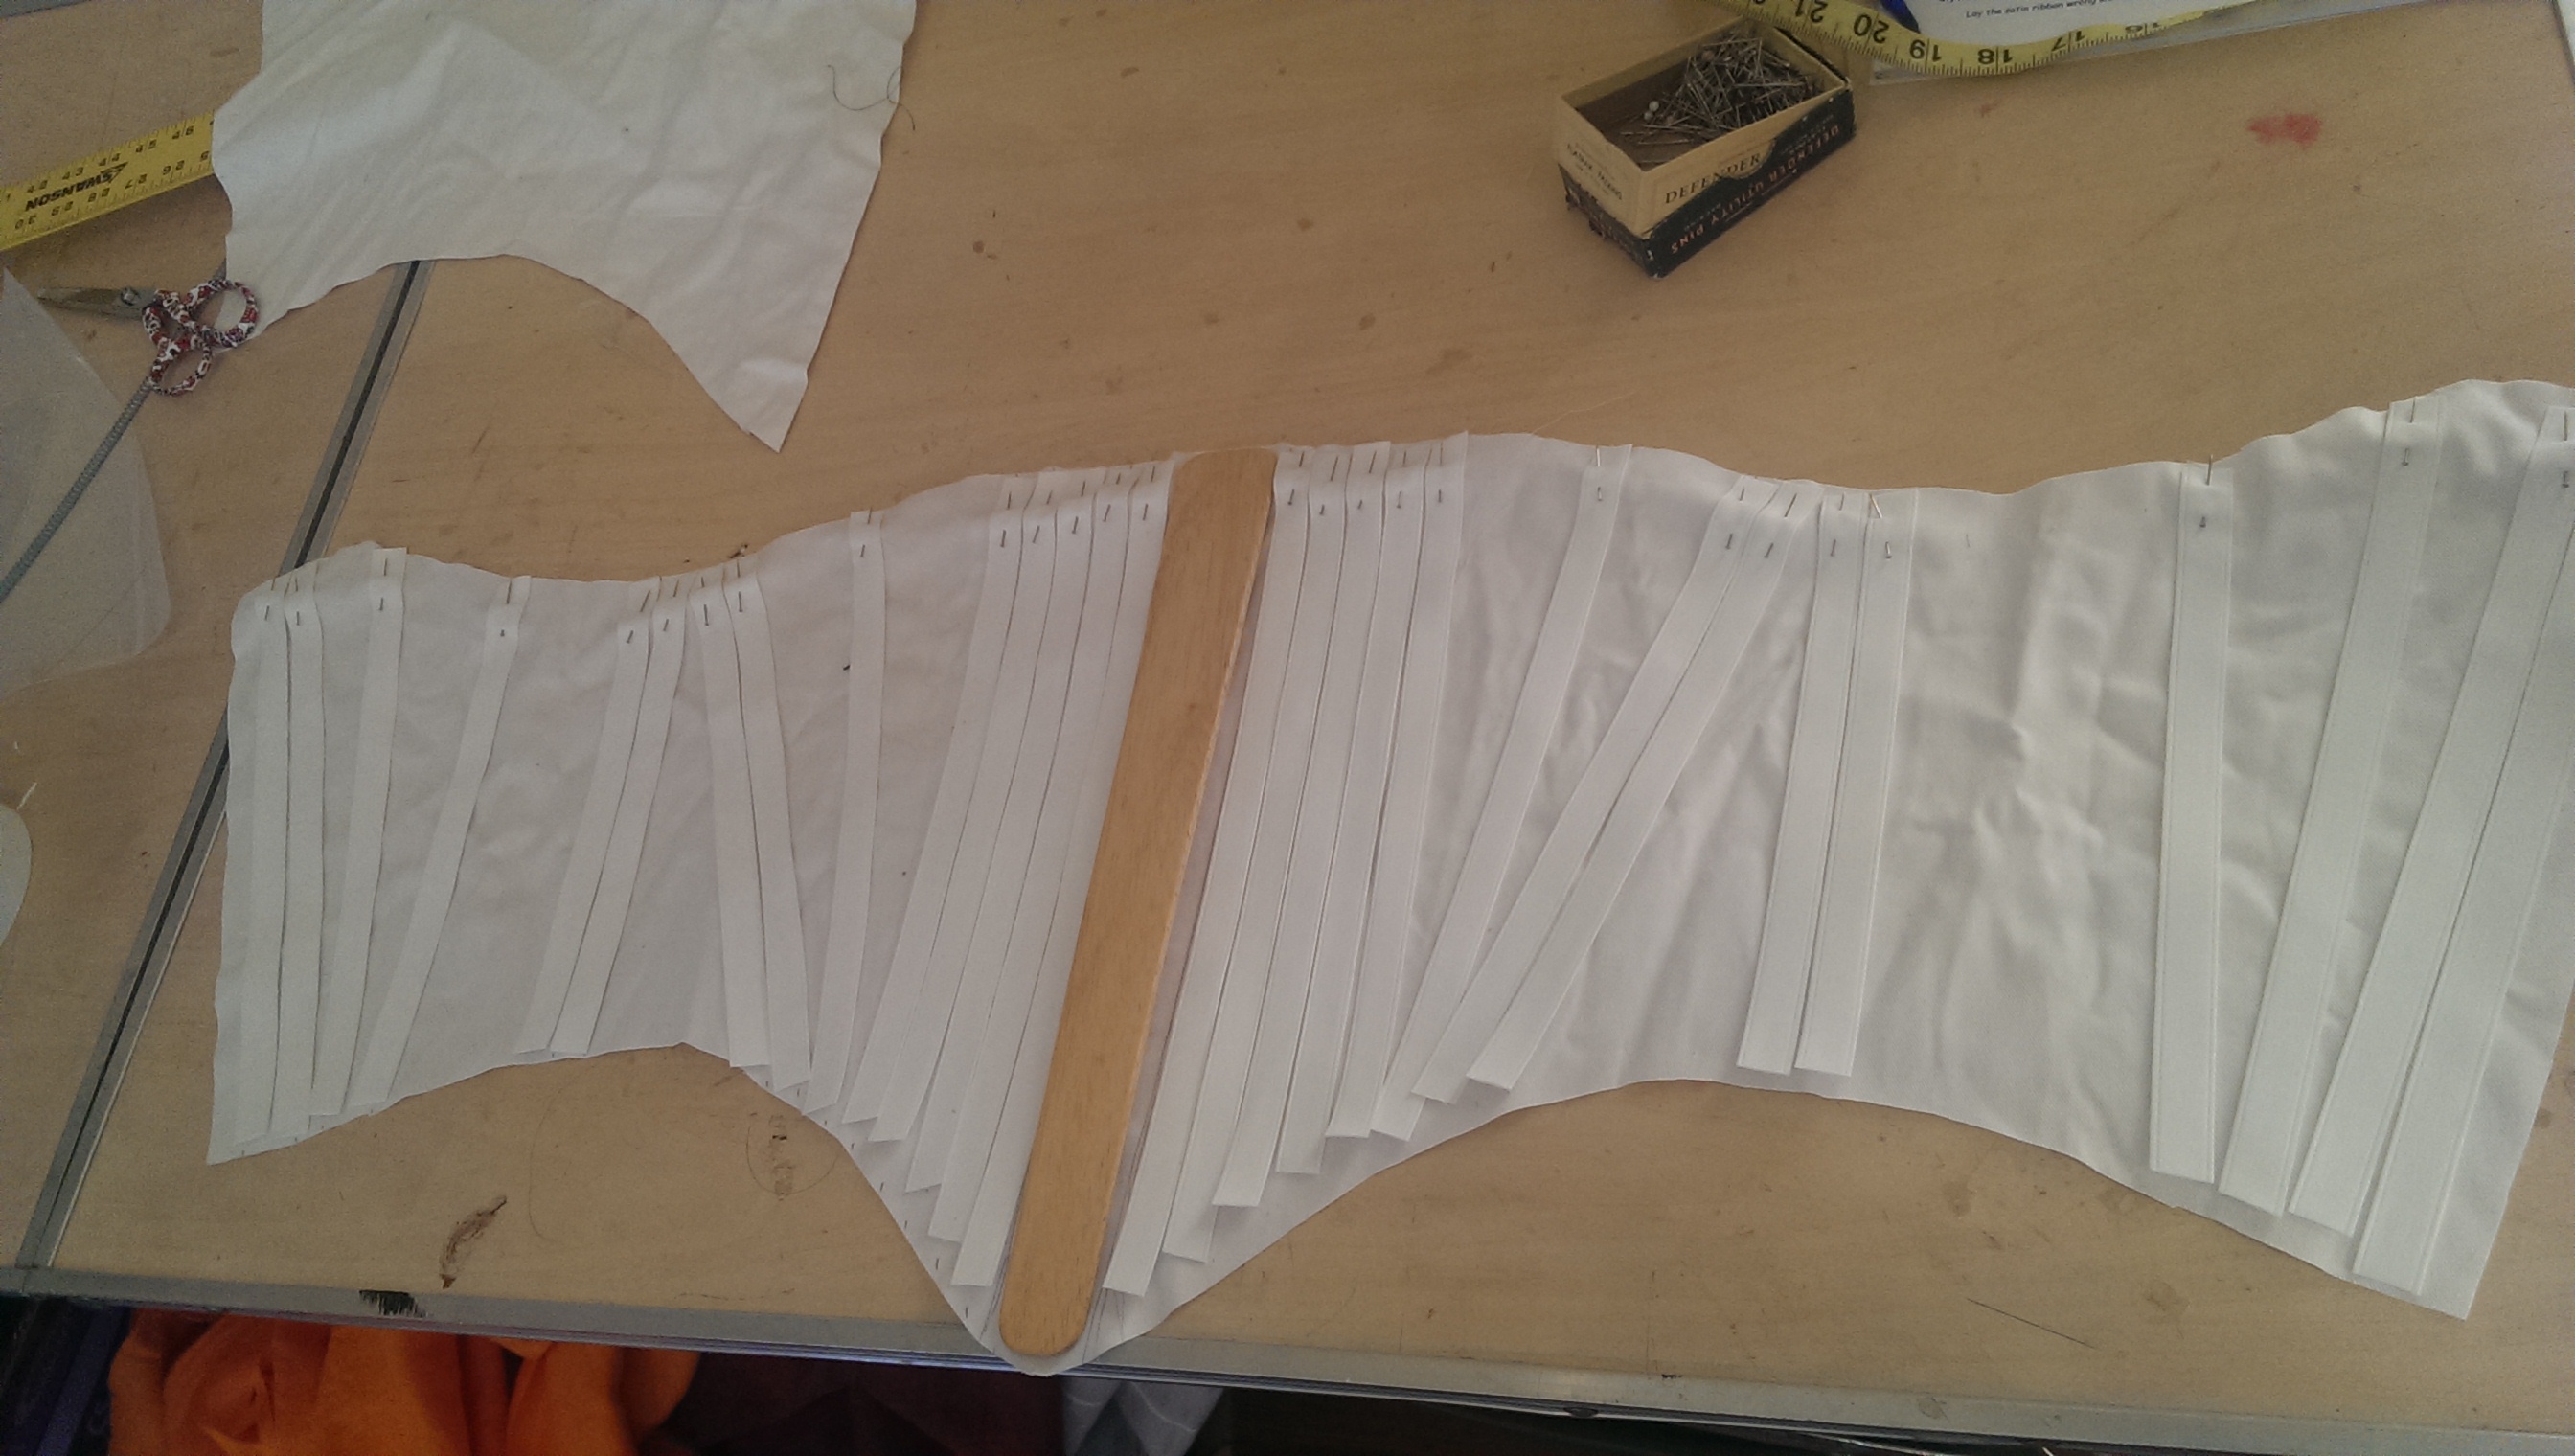
The two unfitted pieces of clothing were done. Now came hell: I needed to make the corset before I could fit the jacket. I had no choice but to wait until last minute to ensure a proper fit to whatever measurements I was at. (Being that I started the diet at a 37″ waist and am now 33″…I’ll take it.) This happened on January 19th, I wore this thing on January 25th. I used the Elizabethan Corset Generator and just followed it step by step. I used boning casing to help me measure out the lengths that I needed. This created an extra step, but I think it helped the rigidity of the corset, which was good. I had to call for backup to my friend Faelan MacLochlainn, a man of many tools, to help me snip the boning because I couldn’t do it with the tin snips he had loaned me. It took him a total of 10 minutes. I capped the bones myself, and sewed the sucker up without a hitch. The real issue came when I had to pop the eyelets open. I broke two seam rippers and the corset flew across the room. After that outburst, I resigned to a pair of sharp little scissors, and laced myself up. It fit. Hot damn, I made a corset in about 12 hours that didn’t hurt me, or pinch, and I could jump around in it easily without the girls popping out. It wasn’t the finest piece of tailoring I’ve ever done, but it WORKED. Plus, the wooden busk is fun to knock on and impresses your friends. The corset is made out of 100% cotton twill I had laying around.
!!@#@##$!!!!!!!!!!!!Elizabethan spankies. Totes adorbs.
…Then I got sick. I decided it was a wonderful idea to catch a cold Sunday night, so all day Monday, I felt terrible. I got enough strength to go into the sewing room and put the sleeves together for the jacket, but that was it. I lost a whole day. Tuesday, I forced myself off my ass and in there, embroidered the sleeves, and started on the sloper for the jacket. I did use Reconstructing History‘s pattern for the gored English jacket, which helped, but I’ve worked with her patterns enough to know that they aren’t full proof, you NEED to make them fit. I had a friend who was supposed to come over and help, and then it snowed 6″ to spite me. Because Providence is not known for their expert snow removal, I was on my own.
A late Elizabethan/early Jacobean gored jacket.
The first fitting was fine, and I even had wiggle room. So I went in, put the whole thing together, kept one side of the sleeves open to make it, you know, “swashbuckle-y,” I spent hours getting those inset gores in place only for them to all look horrid and have to be redone, and when I finally went to put it on…it didn’t fit. I was living a nightmare. I was ready to give up. Crying, I consulted a couple of friends on Facebook on my options. Inserting fabric was always a good choice. They had stomachers, and it’s always period to add little gores and gussets where you need them. So, I measured out the difference, made gores, sewed them on, had a LARGE glass of wine, and went to bed. Tomorrow was another day, but it was also cutting it close.I ran out of hooks and eyes, and had to wait until my boyfriend came home Thursday night for an emergency run to Joann’s in order to get it all together. It took me a couple hours to sew on the 22 little pieces, but I wasn’t sleeping until it was done. Friday morning came, and it was time to pack, but wait, there’s more! Because of how low-cut the jacket is, I decided to create a stomacher for my corset with the same stripe pattern as the smock, I added MORE embroidery to the jacket so the gores were accented as seen in period pieces, and then I went and made the cap with the same false blackwork to look like the Bucs helmet stripes. So help me God, I was done. I didn’t want to sew another stitch!
It’s very hard to take a picture of the back of your head.First full fitting before I added more embroidery to the jacket.
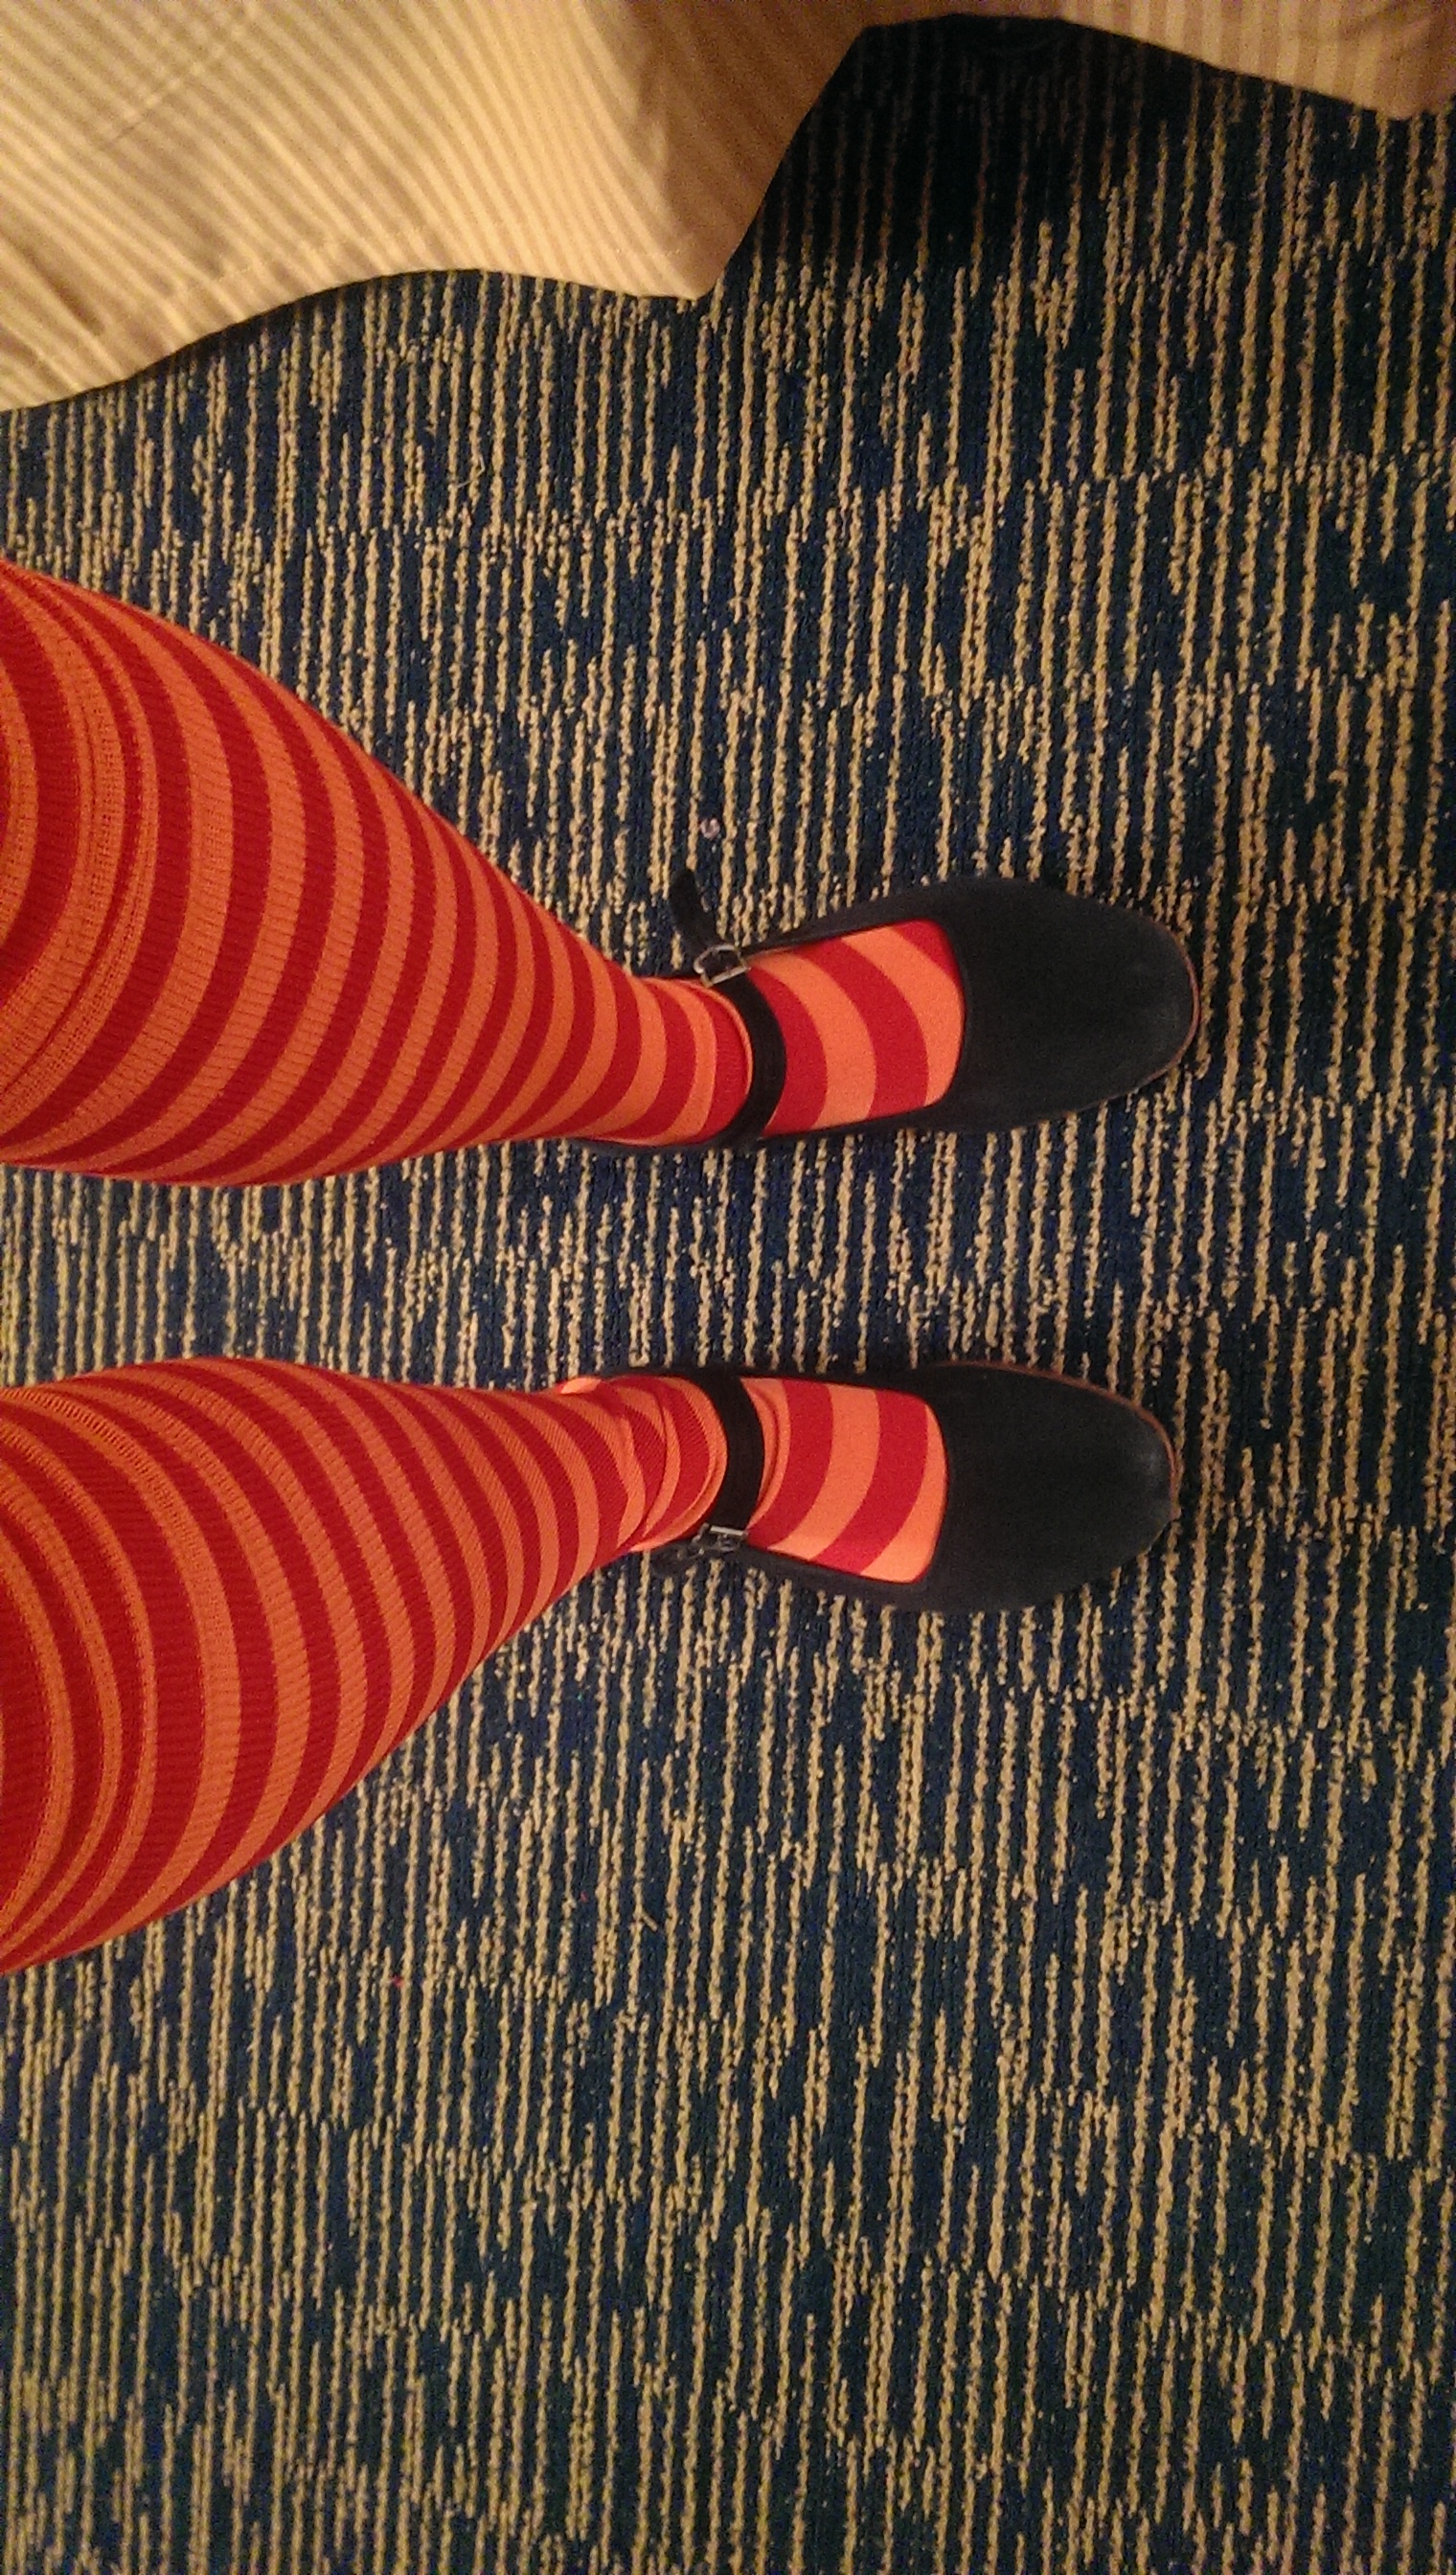
My hat I purchased from Stitches in Time (I’ve never made a decent hat and figured this was a bad time to try), I got obnoxious socks from Sock Dreams, and the hoop was just a cheap commercial one from eBay. The pearl strand I had was a vintage piece that my mother found at a white elephant sale for $5. They are actually low-grade saltwater pearls from the 1920s that have lost their lustre, but whatever. REAL PEARLS! I threw some glass drops from another necklace I had on silver hoops, and called it a day. We were off to Birka!
It was very hard not to explode and tell everyone what I was doing the whole time. A few people knew, especially Isabeau Du Valle and crew (The 14th century Sporting Portugal soccer team, for those who were there) who had also shared their idea with me. We were all insane, that much was for sure. I wanted to just shout, ‘HEY EVERYONE, GUESS WHAT I MADE?!” But I refrained, albeit almost bursting at the seams. And Saturday morning, I doned basic Byzantine to get breakfast and get some strolling through the event done before I turned into a walking traffic cone. At 11:30am, I saw someone wearing a Bruins apron dress, and that was it. I needed to change.
Somebody dropped the Big Sombrero on Ray Perkins.
I was nervous. I had tried it all on at home, and I knew it fit, but I wasn’t sure how I was going to pull it off. Orange is a hard color to wear. Even though I felt I looked okay, and so did the recipients of my test shots/selfies, I remained a bit unconvinced.
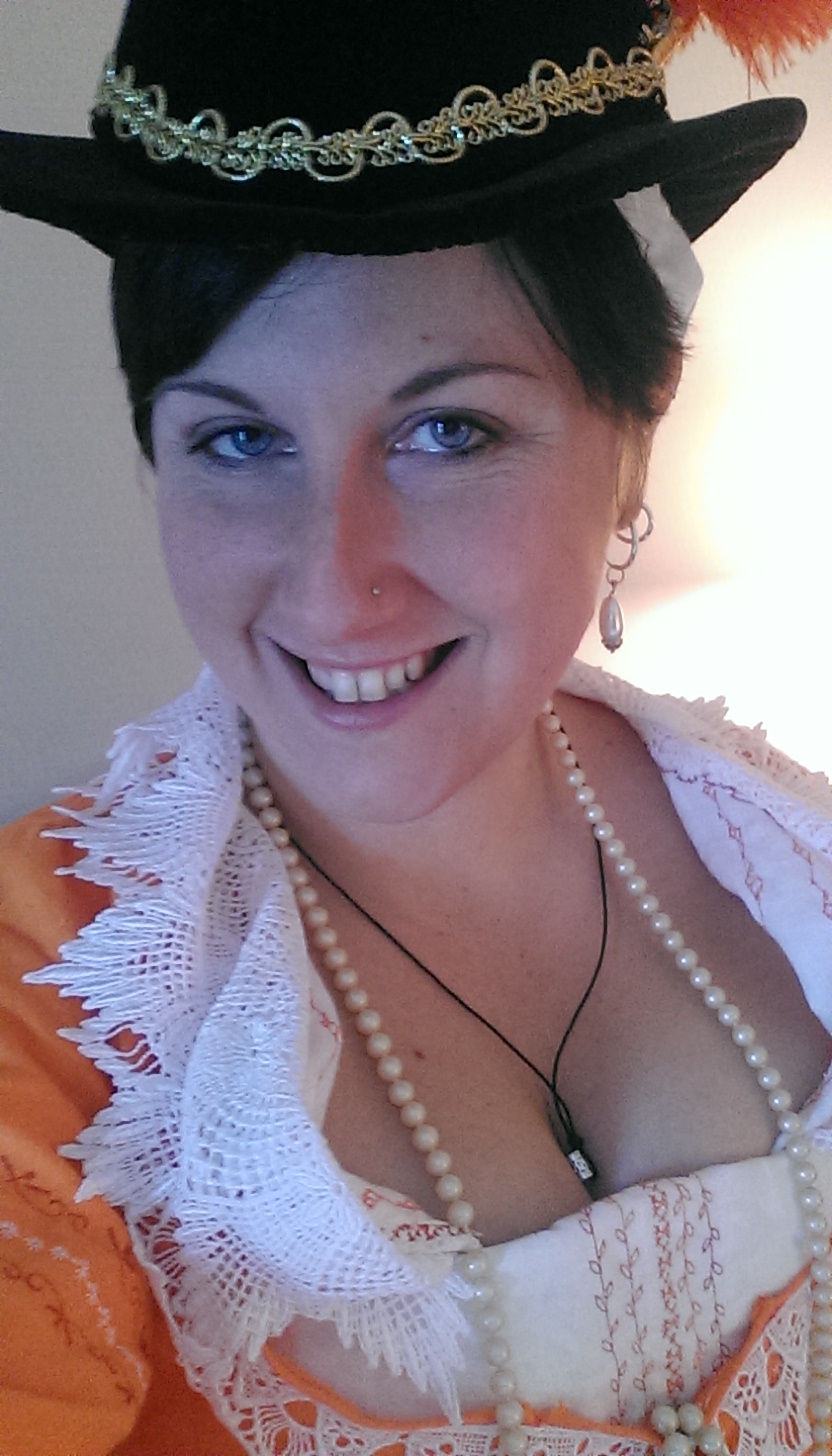
Then I took this selfie, and I realized that I never felt so posh in my life.
The way that the lace fell around the neckline was exactly as I had imagined it, and my thankfully [lightly made up] olive complexion just glowed.Unlike my poor Lord Geoffrey, who reflected it he came too close. I had begun emanating my own force field of Tampa Bay Buccaneers creamcicle orange.
I EVEN GLOW!
So after the typical fuss and muss and pin and fixing a falling off hook, I came off the elevator into the lobby into a sea of stares. People were closing their eyes and blinking, or even looking away. I had effectively managed to blind a small percentage of the event before I even hit the main drag. I’m pretty sure I broke a few Laurels. 😉
Mission: accomplished.
Most reactions were “WOW.”(or maybe it was “ow?”) Others were just wided eyed in wonder/horror at this lacey orange monstrosity that had appeared before them. So I paraded around the merchants, receiving compliments and, “WHY?” from several folks. I tried to find the perfect knife to hold in my teeth, but Geoffrey insisted it was a bad idea. Most people asked if I was representing Syracuse University, being that my persona is from Syracuse, Sicily, but no. Once I mentioned it was old school Bucs, I got a lot of rolled eyes and, “Of COURSE you would do something Tampa!” Sneers. Hah. Mission doubly accomplished.
The fashion show was…AMAZING. There was nobody there that didn’t astound me, and Baron Xavier and Baroness Maria’s Patriots landsknecht totally deserved the win. They were unbelievably detailed up close, and I really wish I would have brought my camera down to get pictures of everyone. Once a public gallery goes live, I’ll post it here to share.
WHAT HAVE I LEARNED:
– Do not be afraid of trying new things. Ever.
– A properly fit Elizabethan corset will not hurt you, nor are they that hard to make. You can even put it on, lace it up, and take it off yourself if you spiral lace it.
– Lucy Russell was a pretty amazing woman for her period.
– I look good in dayglow/signal corps orange. I cannot wear Lord Geoffrey as an accessory, though.
Will I wear this again?:
I’d be foolish not to wear it again after all the work I put into it, but it will just have to wait until the right time and place. Probably Pennsic for Midnight Madness. I may bring it down to the Bay Area Renaissance Festival in March when I go to visit my family, but that site is very dusty and usually turns the hem of whatever I’m wearing kinda black.
They aren’t scanned fabulously, but heck, you get how they work. These WILL be posted on my Eastern Roman Garb page as well, but I wanted to get these on a blog page and tagged for searchability as I plan a better layout for the current page, but this is a huge step in the content direction.
HERE GOES.
Also, let’s try to start using the Greek terms, Kamision and Delmatikion, for Tunica and Dalmatica respectively to help disseminate Greek over Latin.
These patterns are pretty self-explanatory for folks that are used to basic medieval clothing. Byzantine garb is basically all t-tunics, with only a few minor twists. The biggest issue is really the width of your fabric allowing for the nice curved underarm seam, that’s about it. These blocks are not the be-all-end-all ways to make these garments, but rather one interpretation to show you the pieces needed. Once you get a handle on the basic construction, all that’s left is embellishment and sleeve variations.
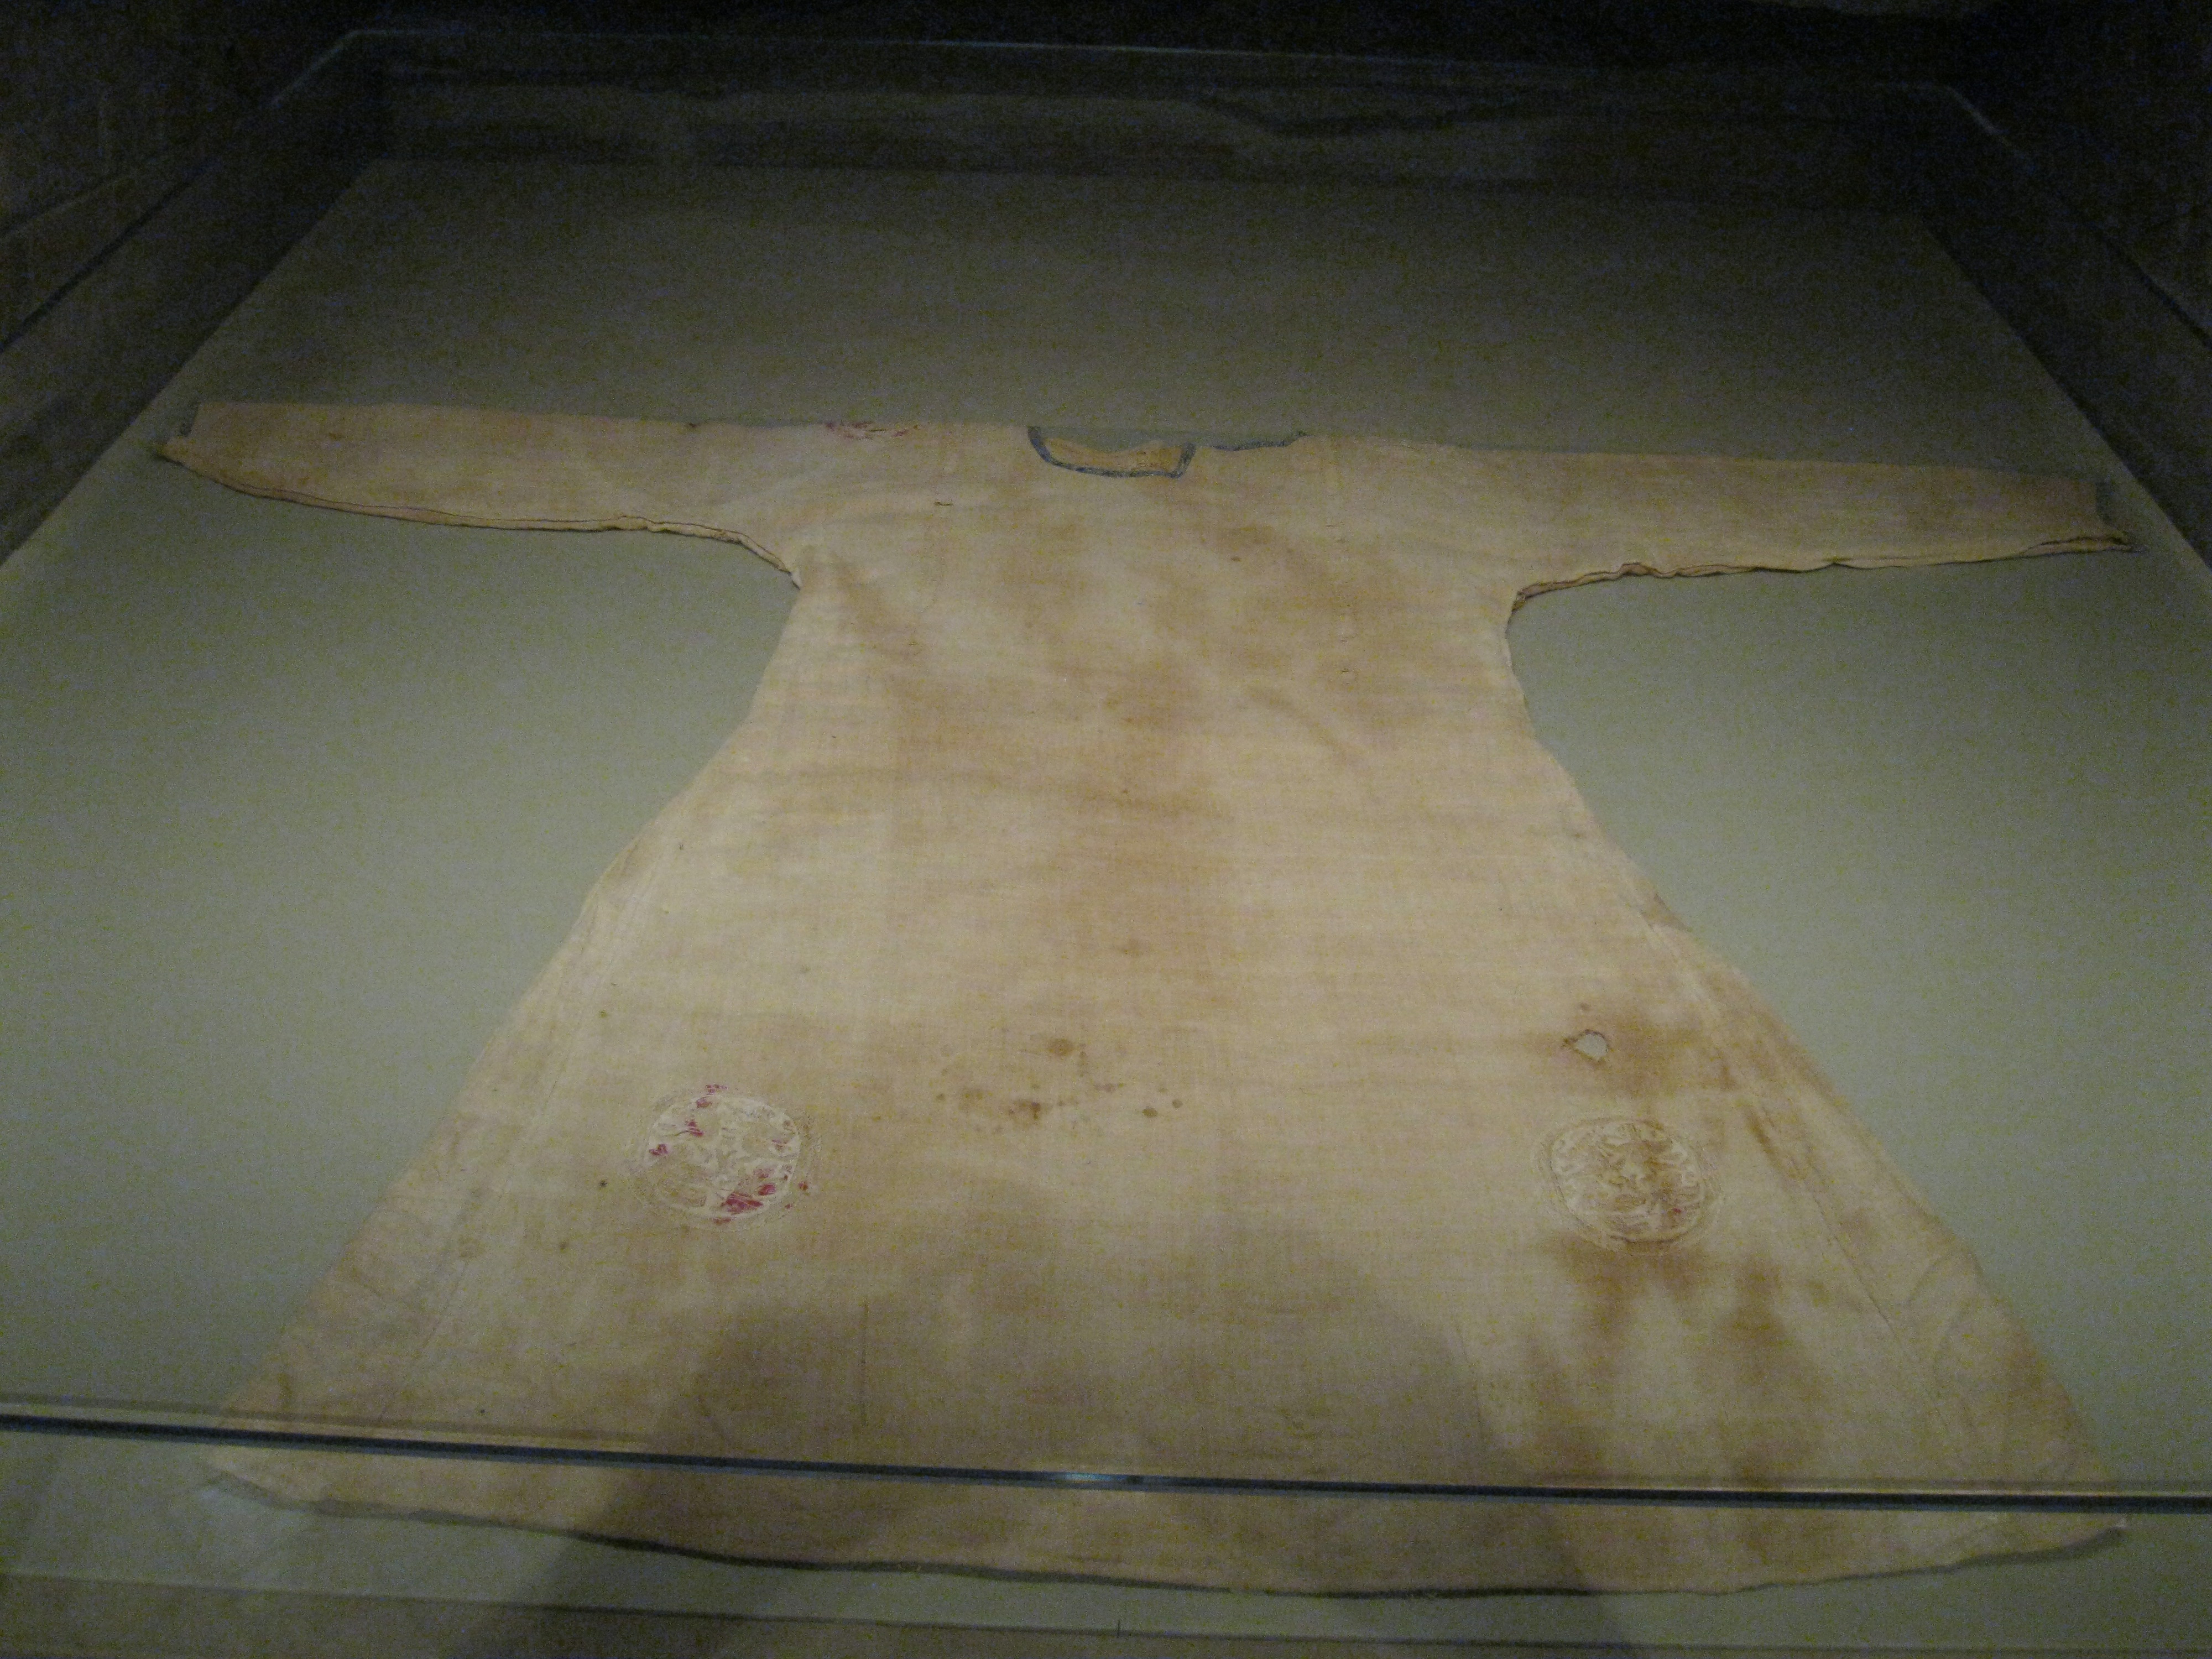
My pattern is based off of the 7th Century tunic in the permanent collection “Under the Stairs” at the Metropolitan Museum of Art in New York City.
Kamision (Tunica) instructions:
Recommended fabric: linen or very light wool
Recommended yardage: 4 yards of 60” wide
First, assess your fabric, and see if you can use this pattern layout, note the positions of the folds. This pattern is not to scale, and the average sized person may not have enough extra fabric on the sides to warrant the inclusion of the gores. This is okay, as they can be cut separately.
A breakdown of the measurements you will need as laid out in the patterns, they DO NOT include seam allowance:
A: Tunica length. Measure from the nape of your neck to where you want the tunic to end.
B: 1/4th Chest measurement + ease. Typically what I do is take a chest measurement, divide it by 2, add 2 inches, and divide again by 2. That is your number.
C: Upper arm length has everything to do with the width of your fabric and not your arm. If you can fit the length of your upper arm (shoulder to elbow) here, that’s awesome, but it’s not necessary, you will want at least to the half-way point between your joints, otherwise your underarm will not fit.
D: ½ Bicep measurement. Remember your fabric is on the fold at the top for your sleeves here, so you don’t want this to be very wide against your body. Tunicae were fitted as dalmaticae were not, so you will want to adjust ease here as necessary.
E: Lower arm length is the difference from where your upper arm length ends to your wrist.
F: ½ Wrist circumference is actually ½ the measurement you get around a closed fist. You want to get your hand into your sleeve, after all.
G: Gore length is the measurement from the top of your hip to the desired hem of the tunic. Now, if you have a fine derriere, so to speak, feel free to elongate that gore to your waist, but the original tunic’s gore comes off the hip.
There’s a variety of formulas out there to make a neckline. I have a small neck at 13”, so my go-to cut is 4” from the center point on each side, with a 1” dip in the back and 3” dip in the front, but a 2” dip in the back and a 4” dip in the front should fit most people. A boatneck, or basically just a slit, is also a common style for this period. The tunica at the Met has a keyhole neckline with the opening on shoulder seam. I’ve done that before as well. I recommend finishing your neckline with bias tape or a narrow hem before moving on.
Before any piecing of the pattern takes place: GET YOUR EMBELLISHMENT DONE. There is no way to apply clavii to a tunica once those side seams are in place. Get any roundels or segmentae you want on as well. It’s just easier to handle at this point.
Follow the diagram on the piecing. If you are going with the smaller gores if you were able to cut it from the folded fabric, follow the illustration at top, if you cut gores from a separate piece, follow the bottom. Apply trim over the seams where the upper sleeve joins the lower sleeve. This is definitely something else you want to do before you sew up the side seams.
Now all that is left is to join the front to the back along the side seams, hem the sleeves and bottom, and finish trims, and you’re done!
Delmatikion (Dalmatica) instructions:
Recommended fabric: Linen, silk, damasks/brocades, light to medium weight wool
Recommended yardage: 5 yards of 60” wide
Think of the Dalmatica as an oversized tunica, but as the tunica can be worn by itself as one layer, the dalmatica is an overtunic only. This is a unisex garment, and sometimes for women you may see it referred to as a “gunna.” Either way, this is where you really get to jazz up your wardrobe. They can be floor length or short enough to show off your tunica embellishments.
Sleeves can be short, long, or extra-wide as was the style in the 11th and 12th centuries when my persona lived. The only real difference is that typically the dalmatica was cut from one piece of fabric, including the skirt width, whereas the tunica had gores. However, gores are still a perfectly period option in the event of a smaller bolt width. Follow the instructions as laid out above for the tunica, and you should be in good shape. As far as embellishments go, the best way to go about this is to follow some period examples. Clavii didn’t seem as popular on dalmaticae as the centuries progressed, and richness was displayed not so much with embroidered bands of trim but rather in the heavy silk damasks and brocades that were in fashion. My drawings including clavii to better illustrate how to embellish.
Note that I included a curve at the edge of the skirt portion in order to better facilitate trim application on the dalmatica’s hem. This is optional, especially if separate gores are chosen, but note that wide trims will require careful piecing and pleating to better conform to the hem.
Just like in the Tunica instructions, remember you NEED to add any embellishment such as clavii and other appliques BEFORE you close the side seams.
Once your garments are completely sewn, then it’s time to go in and add all the really rich goodies to your pieces, such as hundreds of pearls and other gemstones. 🙂
I’m hanging out down in Trimaris for a while to beat the winter up north. All sorts of new wonderful Byzantine and Roman goodies coming soon after the new year!
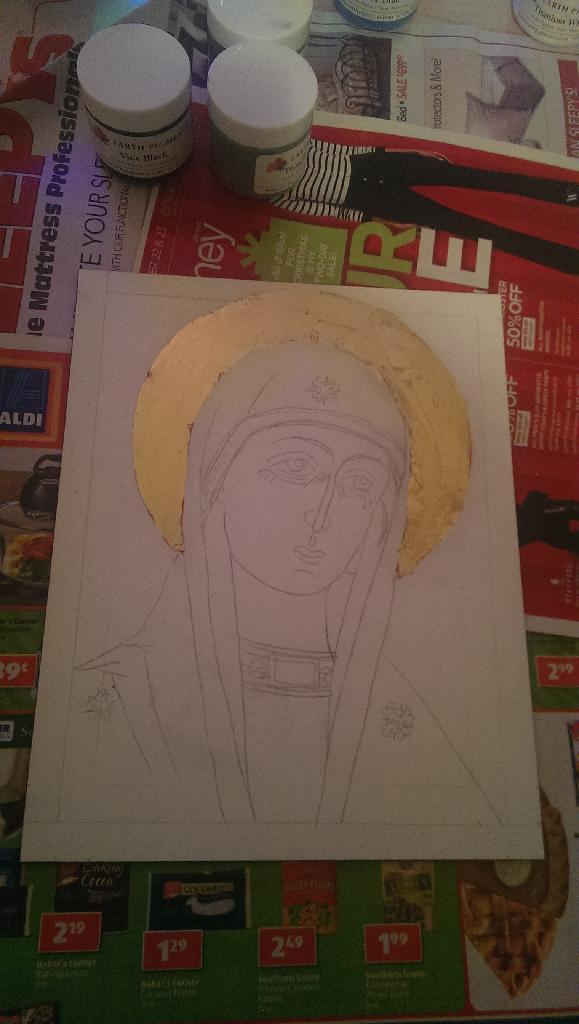
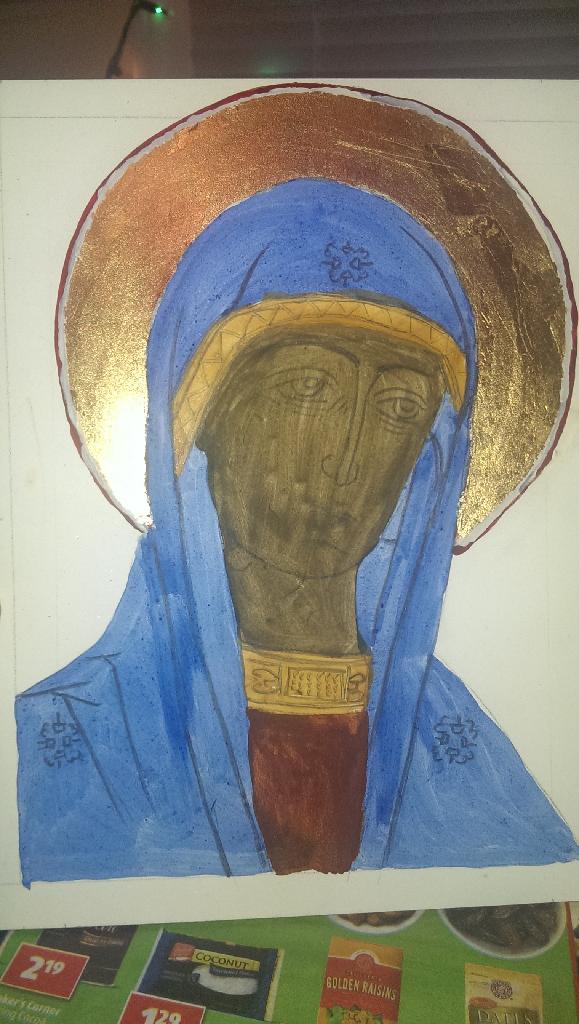
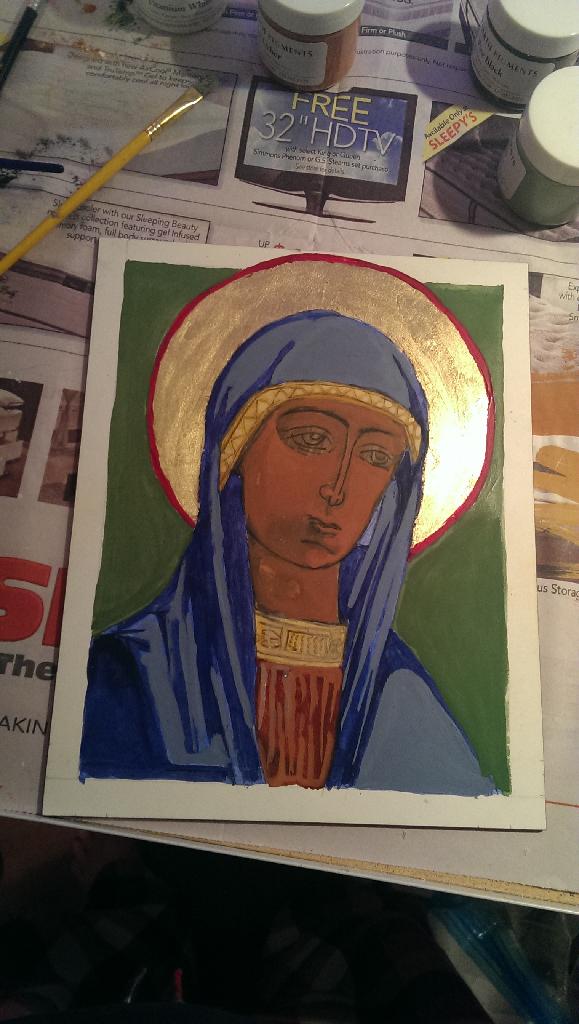
I made this specifically for my friend in the East Kingdom Artisanal Exchange for this fall. Typically, Mary would be in red, but since this was based on an in-joke between the recipient and her friends, I put her in blue. Aside from that, I can happily say that my skills have improved since my last attempt. Egg tempera is a tricky medium.
I can’t tell you how many times I’ve seen people emulating this look from the “Byzantine Fashions” Dover Coloring Book by Tom Tierney and “Ancient Greek, Roman, and Byzantine Costume” by Mary G. Houston.
First of all, I want to say I have no issue with the images presented by Dover. They usually do a good job, but they have a hard time backing up their sources. When asked about that particular clothing style, especially the belt, I had no idea what their source was, and upon asking others, I got a lot of shrugs and odd statements such as, “Oh, the book says it’s a princess/prostitute/ancient Roman goddess.” Which only led to me getting more confused.
I’ve had the Tierney books for a while, both “Byzantine Fashions” coloring book and the paper dolls of Justinian and Theodora, which are adorable. They do provide a pretty solid idea of Byzantine styles based on artistic record. So don’t knock them, but don’t run off with them as a primo source, either.
This particular style intrigues me. Mostly because it’s almost always done with a V-neck. This seems wasteful, especially for the opulent, fabric hoarding Byzantines. So, I ran a brief Google search on “Bamberg textile” and…
The so-called “Bamberger Gunthertuch“, a Byzantine silktapestry depicting a Byzantine emperor on his triumphant return from a campaign. He is crowned, bears the labarum and rides a white horse. Originally identified as Basil II (by A. Grabar), it is now accepted that he represents John I Tzimiskes on his return from the campaign against the Rus’ in Bulgaria. He is flanked by two female tychae, who personify Constantinople’s two demoi, the Blues and the Greens. The one on the right offers [possibly] a crown, and the one on the left a triumphal toupha headdress. The silk was acquired by Gunther, bishop of Bamberg, in 1064-5, and re-discovered on 22 December 1830 in his grave. The silk is now on display in the treasury of the Bamberg Cathedral.
Well, there you have it. They aren’t princesses, they’re political parties.
Now, moving on. What are we looking at here as far as clothing goes? This is 10th Century, so it’s 100 years prior to my period (not that it’s ever really stopped me or anyone else in the SCA about being anachronistic with their anachronism.) And what I see, instead of any sort of fitted short sleeveless tunic, is the trusty stola. A woman’s garment that was somewhat carried over from the Classical period, only cut like a classical tunica, or “Roman Rectangle” as my friends and I like to call it. Here’s a Coptic-Byzantine stola:
You’re looking at an insanely simple garment. Almost tabard-like in nature, with minimal decoration. The ones depicted by the ladies in the textile fragment only have trim on the bottom, and it’s short enough to show off ornately decorated tunicae underneath, which seemed to be a popular look. This would explain the heavily gathered appearance on the Bamberg piece. After trying a stola for myself before, I can see why women would rather opt for the look portrayed in the Dover books, it’s a lot more flattering. Yeesh.
As far as that double hanging belt thing goes…uh…it doesn’t look like anything depicted in the textile at all. The woman to the right is wearing a belt, but that looks more like the end of a buckled belt than any extra ornamentation, and they certainly don’t have the spacing shown in the Dover illustrations. So that’s something that is certainly open to interpretation as far as design goes. I also really like the pink pallas, as I have a pink palla. 😉
It’s hard to say exactly if this was a commonly worn fashion. Much like the sideless surcoat debate, it may have been something only worn for ceremony and therefore depicted in art, or, as is common with Byzantine motifs, it’s hearkening back to the classical period of Rome. Either way, I hope that women looking for more information on this dress style have at least been able to get what they’re looking for from this little blurb. 🙂
I’ve officially started my Kickstarter for the next book! I know I tried that IndieGoGo back in the summer, but it didn’t work, because I think I was asking for too much at once. This is a more solvent project, just for the book, to get me through the initial production costs while I’m still a poor student. I’m shooting for an August release. Just in time for Pennsic War! If you liked “Of Summer and Winter” you’re gonna LOVE “The Overcast of Autumn.”
I’m sure readers are wondering why a woman, who is normally focused on the clothing of Rome and Byzantium, is now making Norman garb. Well, for one, I’ve wanted one for a long time. For twos, my persona is half-Norman. My boyfriend is Norman, and the freehold I am apart of is a Norman keep. So…it was only a matter of time before I made Norman garb for myself. My friends in the neighboring barony are being invested as baron and baroness this coming weekend, and they are Saxon. So, what could be funnier than all of their pals showing up as Normans to the party? Our area 12th Night event is also very early 12th century and traditionally a 10 foot rule event, so I needed to make something appropriate for that, also. The only hitch was that I’m 11th Century, 1090s to be exact, so I had to find evidence to support the wearing of this garment in that period. That was relatively easy, as the Bayeux Tapestry clearly shows women wearing snug dresses with droopy sleeves. Tada!
Queen Aelfgyva says, “Whatevs.”
I found the spot of evidence I needed from Sarah Doyle’s Page on The Clothing of Norman Women in the Late 11th and Early 12th Centuries. She gives a wealth of sources that made it easy to get an idea of the style I wanted to make, as bliauts can vary quite a bit. I wanted to keep it relatively simple with sleeves a reasonable length such as Aelfgyva’s above, and line then to show contrast as what seemed popular during this period. The only other real issue I had was determining a neckline, and I went with the keyhole rather than the V-Neck. It will be mostly covered by my veil anyway.
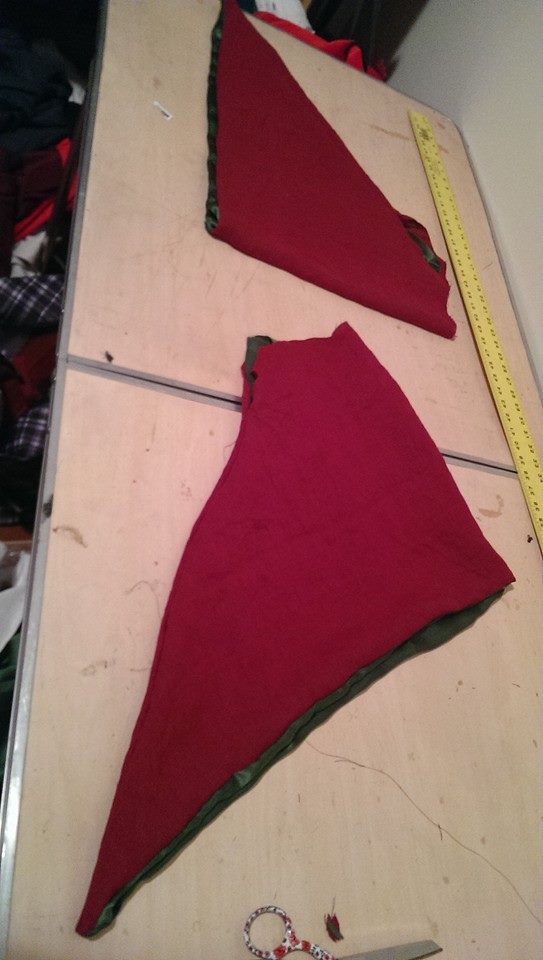
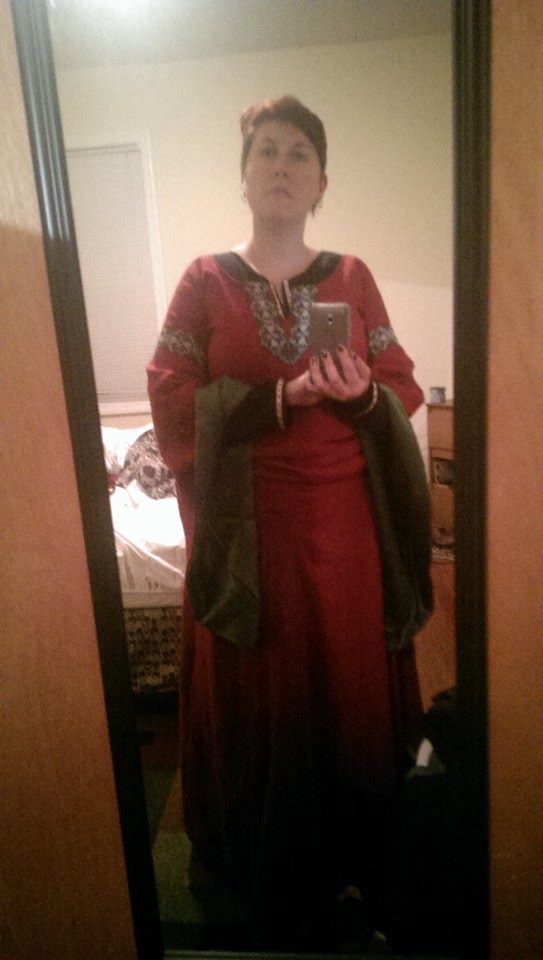
The process didn’t take too long. I made an underdress out of black linen and 4 gores. I threw some trim on the neckline, cuffs and bottom hem. The main gown is made from a deep red linen, that also has 4 gores and cut-out underarms to allow for the easier attaching of the sleeves. The sleeves were really the most tedious part, but still not difficult. Linings don’t scare me, but I ran into some hiccups as far as being able to ensure the hiding of seams but still closing a side seam up after the sleeves were inserted. So I basically had to partially complete the sleeves and then leave about 5-6 inches unsewn so I could attach it to the main body of the dress. Easy enough. Under normal circumstances I would have sewn just the linen together and then finished the green silk lining over the seam by hand, but it was fighting back and some points weren’t matching as well as I planned them too, SO, the silk got machined into the seam and finished with a zig zag. This makes me worry a bit about fraying, but it was the best option given the circumstances, and that I decided to make this 3 days before wearing it. More on that later. Here’s some pictures of the sleeve process.
Before pressing.After pressing.Attached to the body. There’s also trim on the outside, which I should have waited to do by hand.
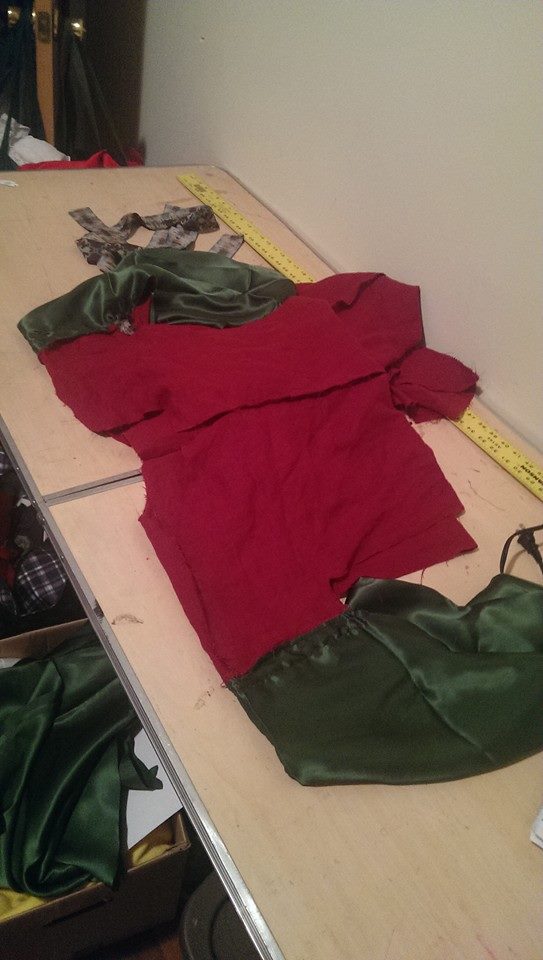
Once the sleeves were on, the dress came together much faster. All I had to do at this point was finish the trim on the neckline, sew on the side gores and then close the sides. The dress itself is a foot longer in the torso than a normal tunic dress, this allows for the ruching look that was desirable during the period. I opted to not lace the side of the dress. This results in some interesting shimmy shimmy shakes to take it off, since I had to take in the sides to make it tight enough.
I told you. Long dress is long. This is what it looked like before I shaped the side seams.
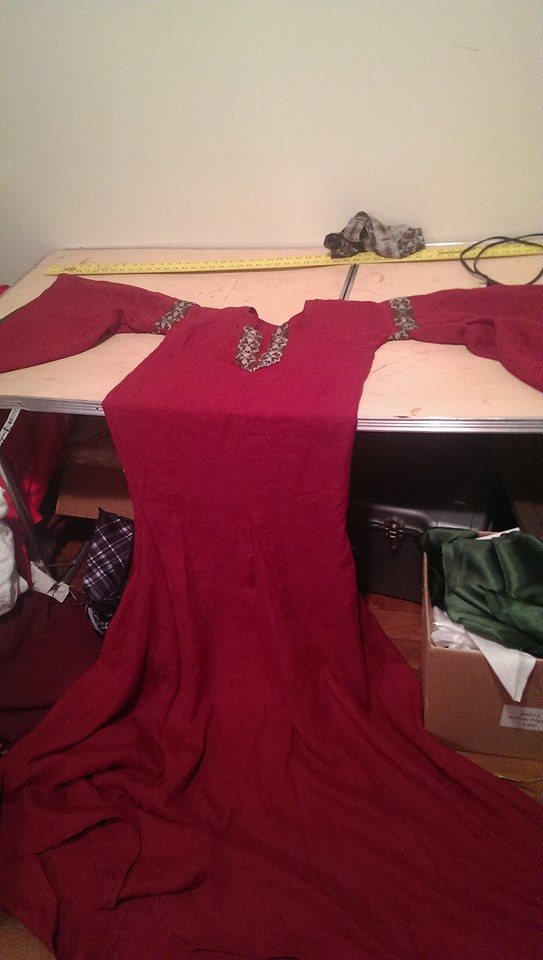
And here’s a snapshot of my first test fitting before taking in the sides.
I pulled in the sides a bit more after this, and made the girdle out of the leftover trim I had. The only REAL mistake I did was attaching the trim on the upper arm before sewing the side seam. This sounded like a great idea at the time, but they don’t match up, which you can kind of see if you’re standing behind me. I expect to hear some crap about that this weekend. So I figure once the event is over, I can go and remove the trim, and replace it by hand so I don’t have that problem. I’m still not sure why my measurements are off.
The only other real “problem?” I’ve lost weight. 8 inches total from my hips alone to be exact from two points, so making a fitted dress earlier in the year was going to be a problem. Chances are if I keep this up, I’m going to have to not just take in more from the sides, but put in the lacings to MAKE it tight enough. This is why I had to wait until last minute to make it. 🙂


 Baronessa Maria Pagani and Baron Juan Xavier’s tribute to the Patriots was a team effort. Pani Astrida Borowska made Maria’s dress. Lady Syele von Heidelberg made Juan’s Wams and coif. Juan made the pants. Elvira Violante de Ballesteros made the red/white/blue cording. The coif slashes represent the team logo and the large “X” motif on the back of the Wams is both a play on my name, Xavier, and also makes him #10 on the team. Maria’s gown has elements drawn from a Patriots cheerleader uniform.


 Easy enough.
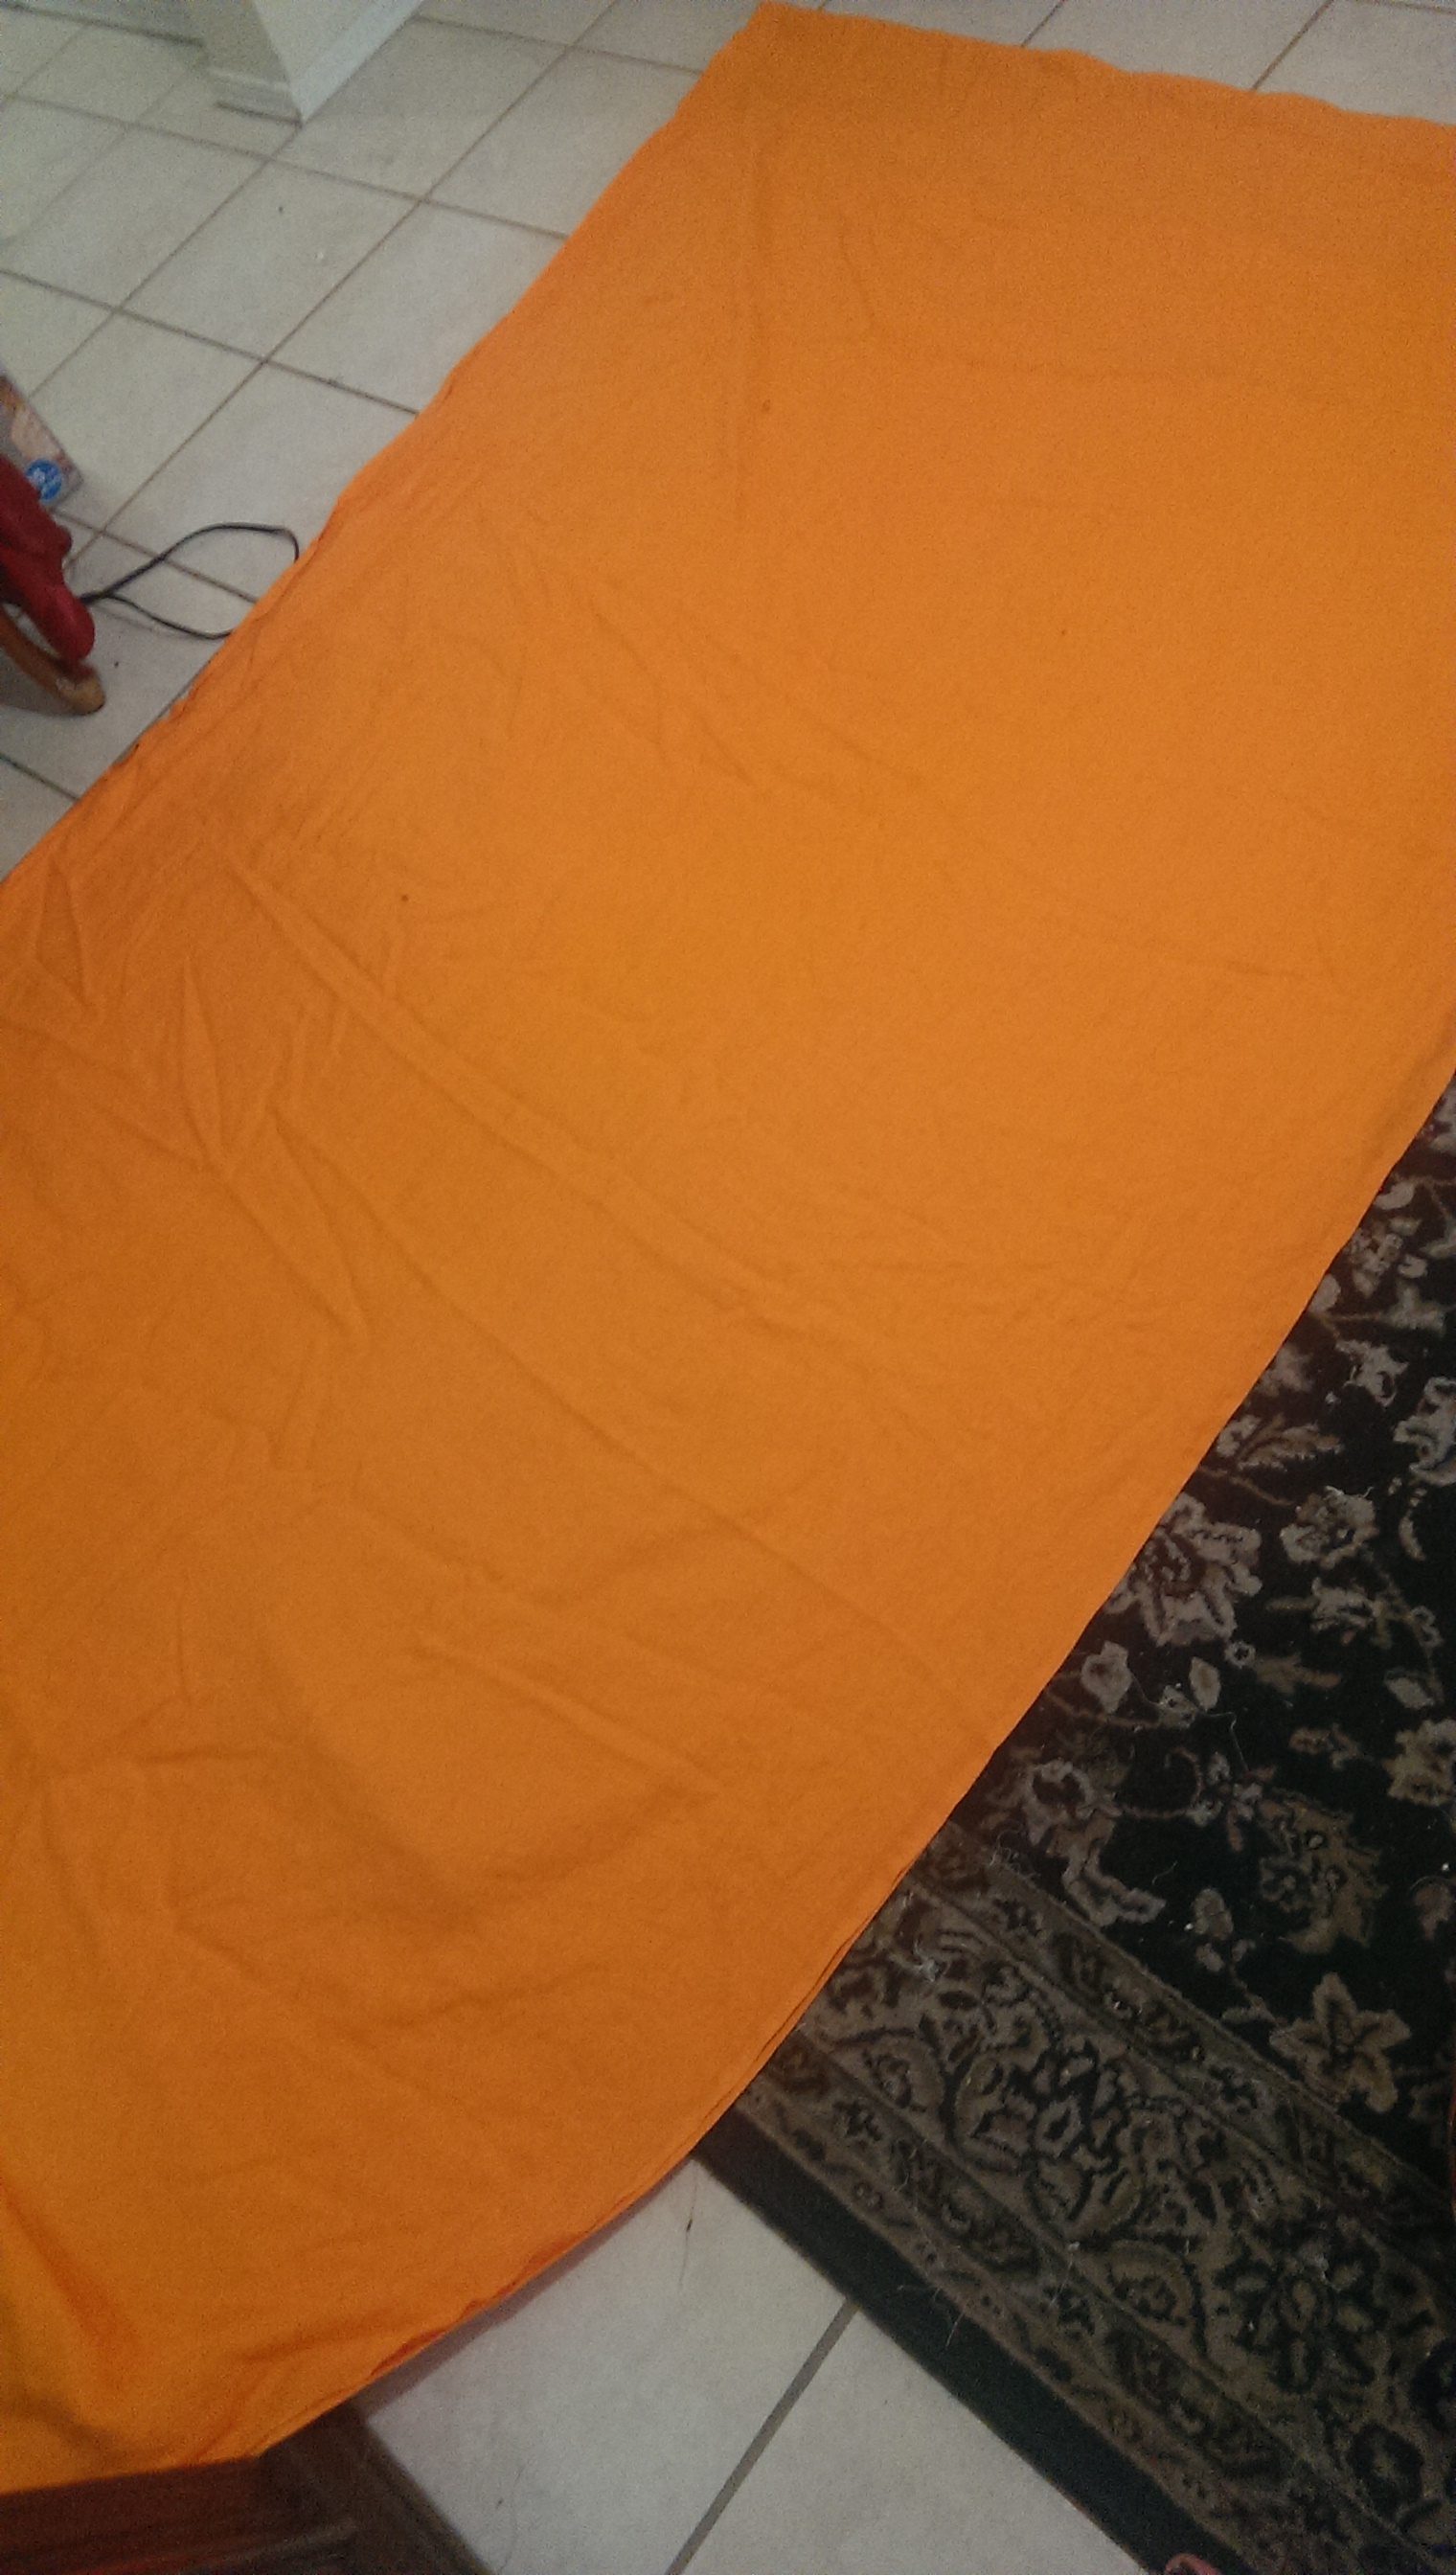


You must be logged in to post a comment.