This post shows you the deepest darkest secret of iconography: the patterning process.
This is tongue in cheek for obvious reasons. Why?
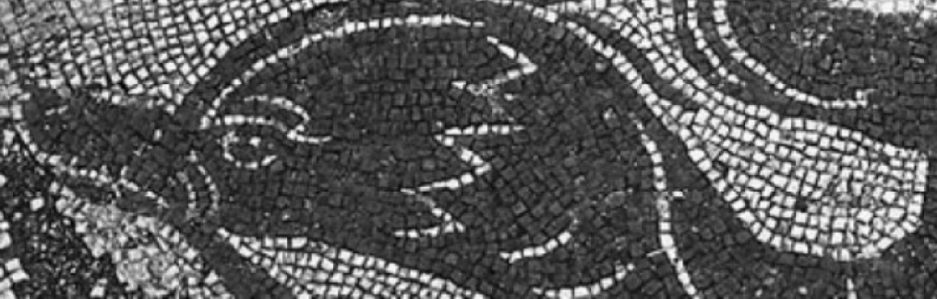
No, really. While many iconographers draw their own images, the vast majority of them are made from patterns that have existed since the Middle Ages or Early-Modern period. You can go on Amazon right now and find dozens of books of icon patterns and line art for this purpose. Copying is period. In fact, I was able to see an actual medieval icon pattern in person, once. I was unable to take a picture, but it was made of animal skin, and had the image punched into it so the iconographer could transfer it over onto their panel with a stylus. How else do you think so many icons look identical, save details and color?
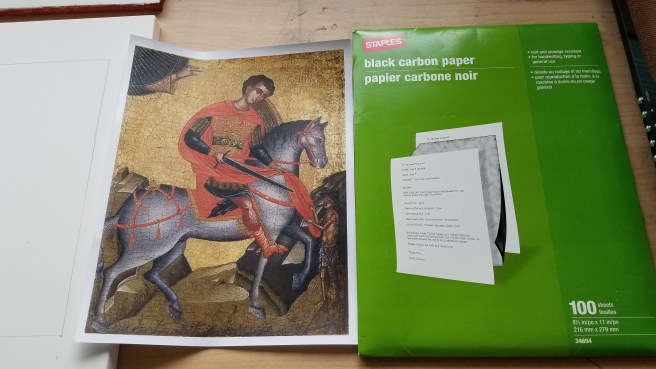
I’m too poor to afford skins I can dedicate to patterns, but I can use the modern method of carbon paper, which is how most schools today teach it. (I do believe carbon paper, or a form of it, is period, but let’s not grasp at straws for stunt documentation.)
So, the way to do this is fairly straight forward. I’m using an 11×14 panel for an 8×10 printout, so I need to measure that out to create my border. Then I play the corner matching game and tape the image with the carbon paper down to the panel with painters tape. After that, using a dull pencil or a ballpoint pen, I go ahead and trace over the lines I need to create the line art. No need to get too detailed, because I learned early on you do too much work on the pattern, and paint over and lose all those detail lines. That’s all work you do on top of the base layers.


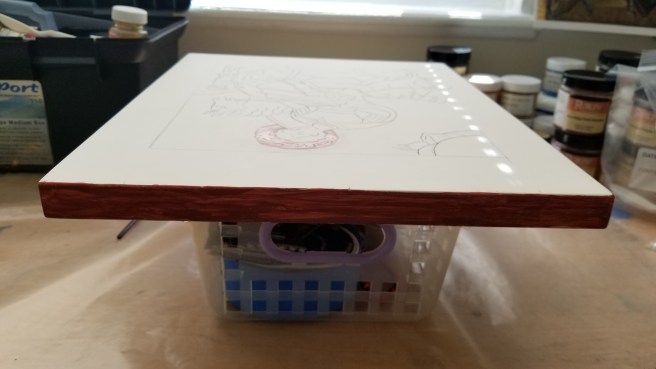
After you get a successful trace, go back in with a graphite pencil and fix some details and missed lines.

After you have your line art, it’s time to prep for gilding.
Always get your gold down before painting. Gold will stick to all the things, so it’s important that you get it to stick to the only thing you want for the time being, and that’s a substance called bole.
I’ve mentioned this before in my previous icon posts, but bole is a mixture of red clay and hide glue. I’ve made it before, but I also like buying it ready made from Pandora because it make my house not smell gross and my stove and floors not get stained. Since I live in military housing, paying for others to do this for me is a great convenience.
I put two thick layers of bole down on the halo, and then a rough, thin layer on the edge of the board. This is highly symbolic in the icon process, but also important: the bole provides a cushion for the gold to have a design engraved into it if desired, and the layer on the edge helps protect the board while it’s being handled. In icon speak, it’s the base of earth from which God shone the divine light at creation (halo), and the edges are symbolic of the roughness and mortality of the artist. It’s kind of dark, and I love it. Because I paint these as an historical art in a secular manner, versus something that will be used for actual veneration, I don’t dwell too much on the sanctity of the process, but it makes a great mnemonic for the process, because the order of operations matters for a practical reason, as well as spiritual.


After the bole cures, I’ll use an agate burnisher to smooth it out, but that will have to wait until tomorrow morning. If all goes well, I’ll be able to get the gold leaf down, and the first layer of egg tempera on all three icons.
To put things in perspective before painting, here’s the three brushes I use most of the time.


Do you have a preferred resource for finding templates/examples to trace from? Google shows a great deal of what I had in mind, but I’m wondering if there’s an “archive” or “gallery” that’s your go-to for references and pulling pieces.
LikeLike
There’s actually books you can buy. I can show you next time we’re creating chaos together.
LikeLike